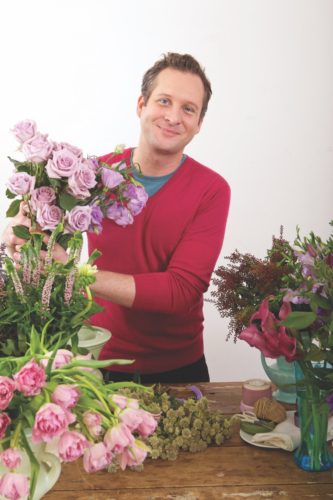
My inspiration for these wedding bouquets was the soft, romantic sensibility conjured up by spring flowers. I love walking through New York parks in late spring to see the flouncy blossoms on the cherry trees and the robust, spirited tulips providing a much-needed dose of color. For the bridal bouquet, I chose to focus on the abundance of spring by including a good mix of textures, shapes, and tones. I put together a mix of lilac hues with a splash of deep purple and a few anemones to add drama and whimsy. A bridal bouquet should set the tone for the other flowers carried by the bridal party, so for the bridesmaid’s bouquet I took a cleaner, more tailored approach, as it should really just play a supporting role.
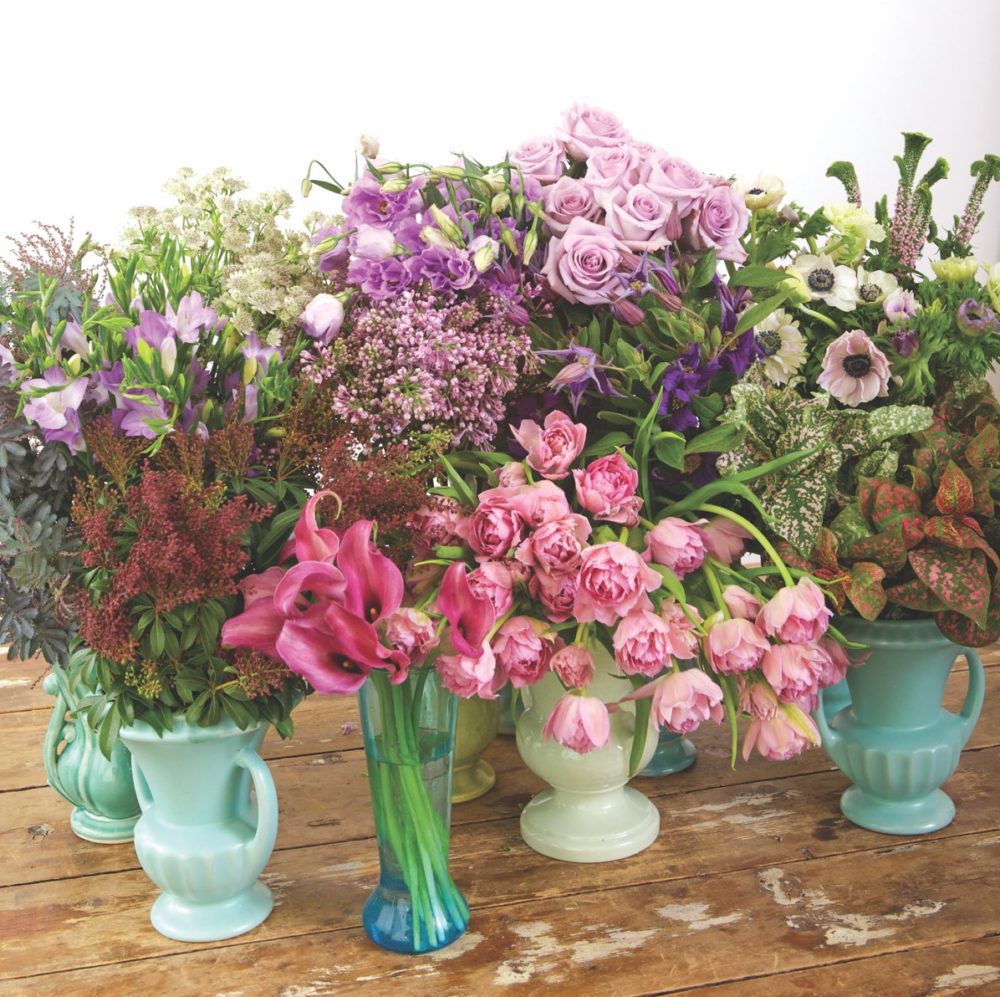 Materials
- lilacs
- roses
- lisianthus
- freesia
- andromeda
- tulips
- astrantia
- veronica
- clematis
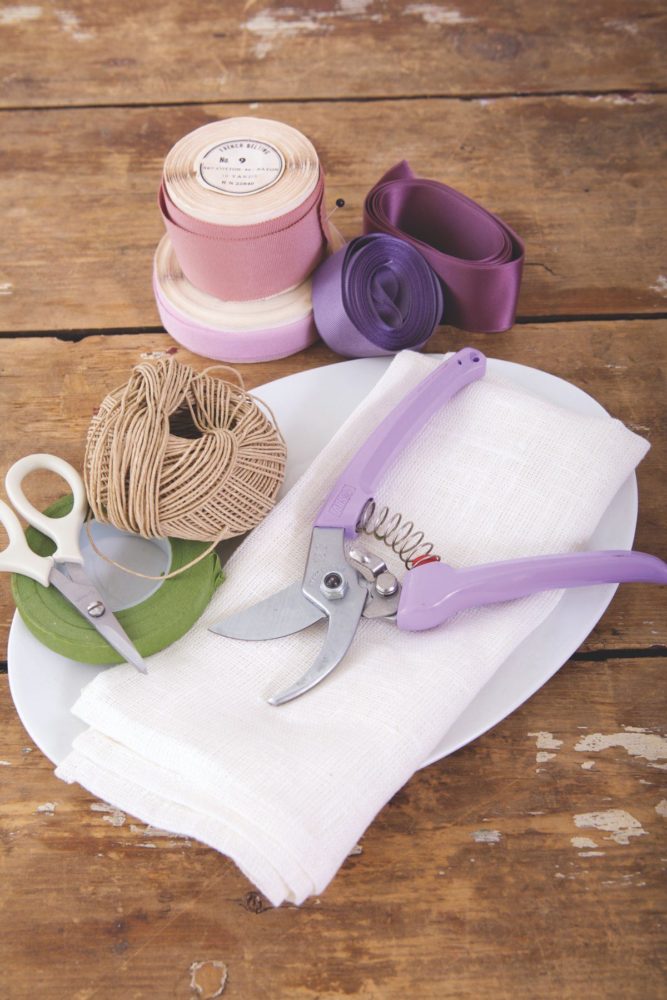 Tools & Supplies
- sharp floral shears
- floral tape
- twine
- vintage ribbons in my color palette
- sharp ribbon scissors
- a small pin
- a clean hand towel for drying the stems before wrapping them with ribbon
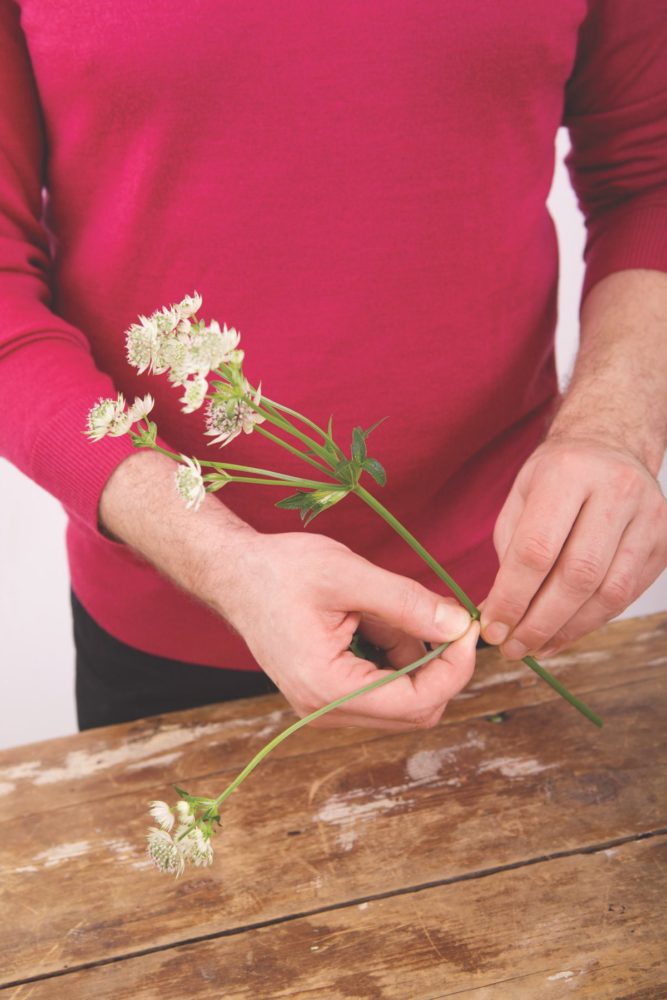 1| Start the bridal bouquet with the astrantia. They have multiple smaller stems that provide a nice base for holding the other flowers, but you do need to remove the lowest stems.
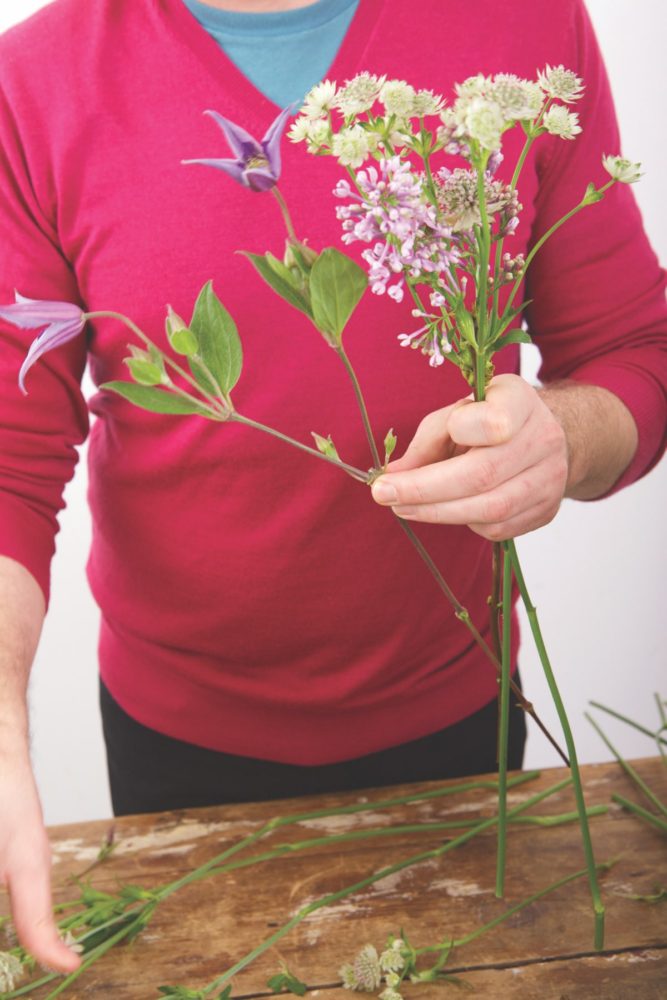 2| Begin by crossing the first two flowers just beneath the blooms, and continue this pattern each time you bring a new flower to the bouquet. Then add the “busy” blooms such as the purple clematis.
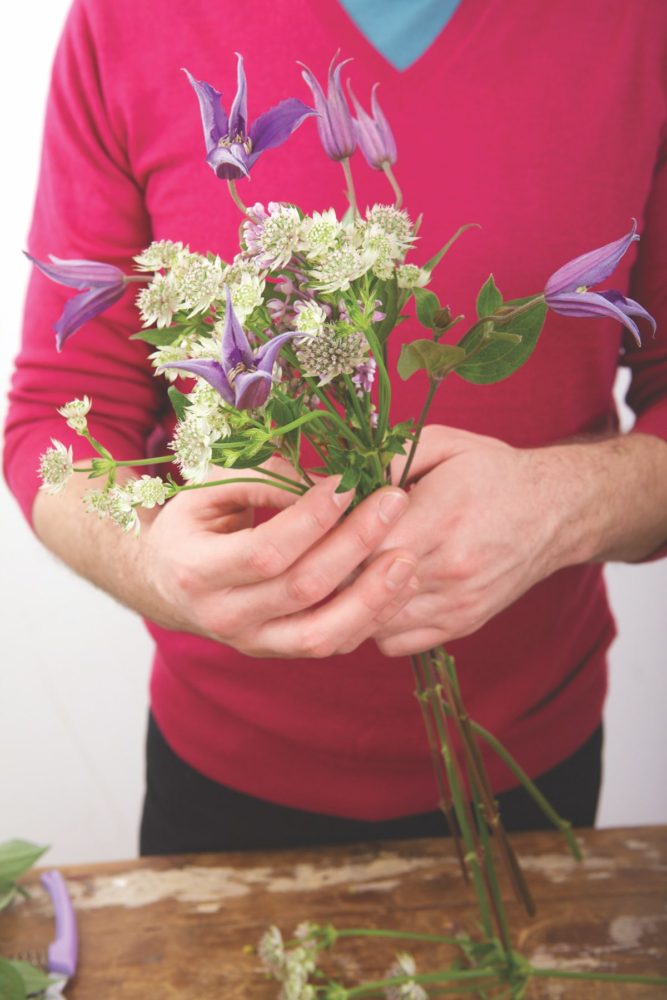 3| When using dramatic flowers like clematis, allow them to really show of their shape and personality; I did this by keeping them higher in the bouquet. If any stems have a natural curve, allow that to dictate the shape of your bouquet.
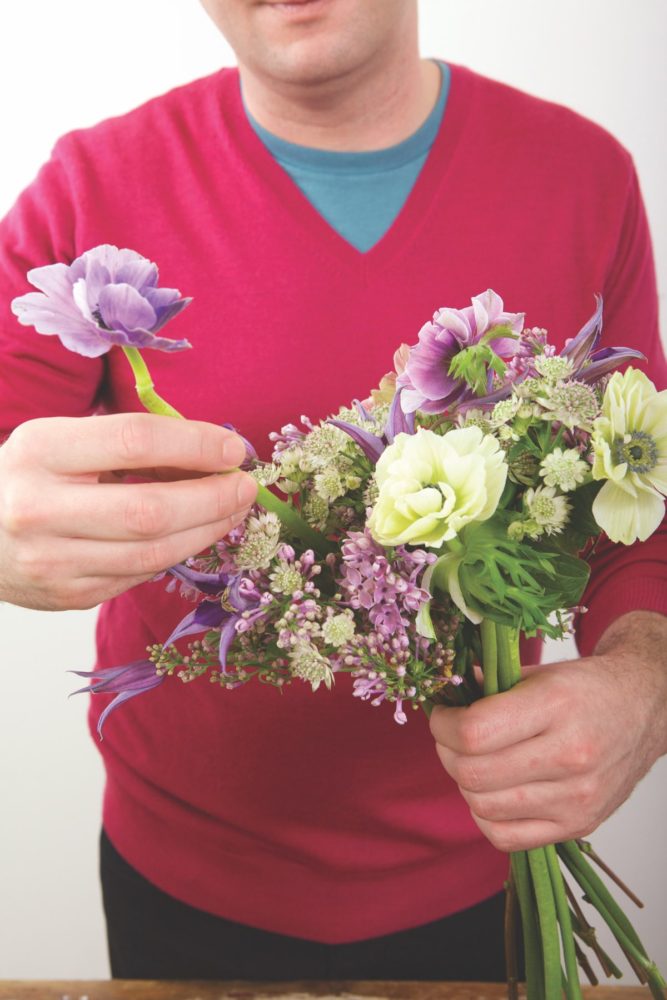 4| After adding the textural elements, carefully and artfully place the “star” blooms— in this case, the anemones. Sometimes you need to place a delicate bloom like this from the top of the bouquet stem-first into the arrangement to find its perfect spot.
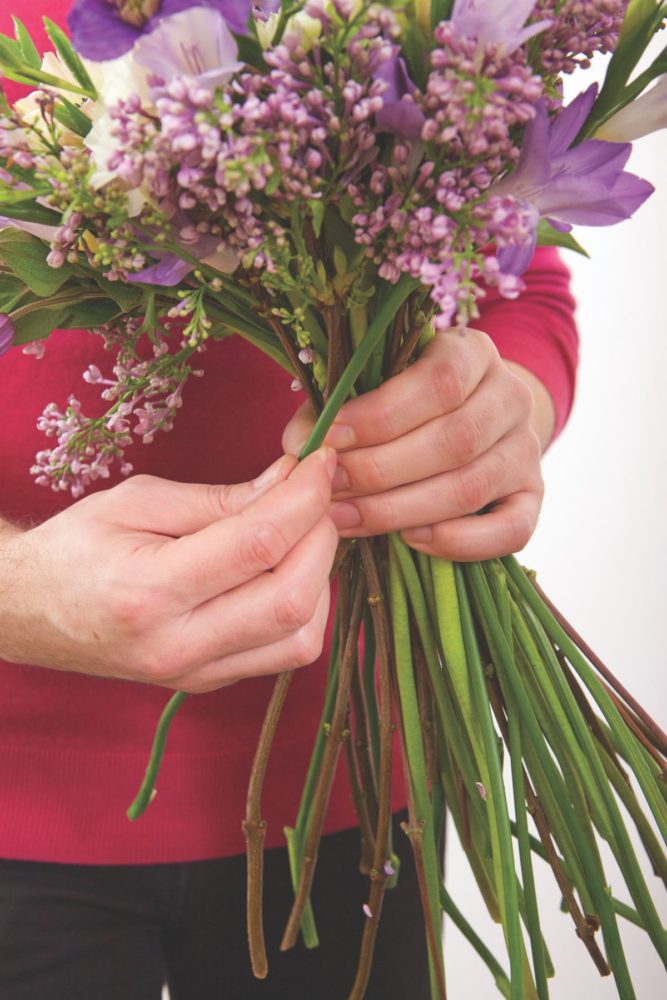 5| Layer your stems by crossing them one over another in the same direction, and turn the bouquet as you add more stems.
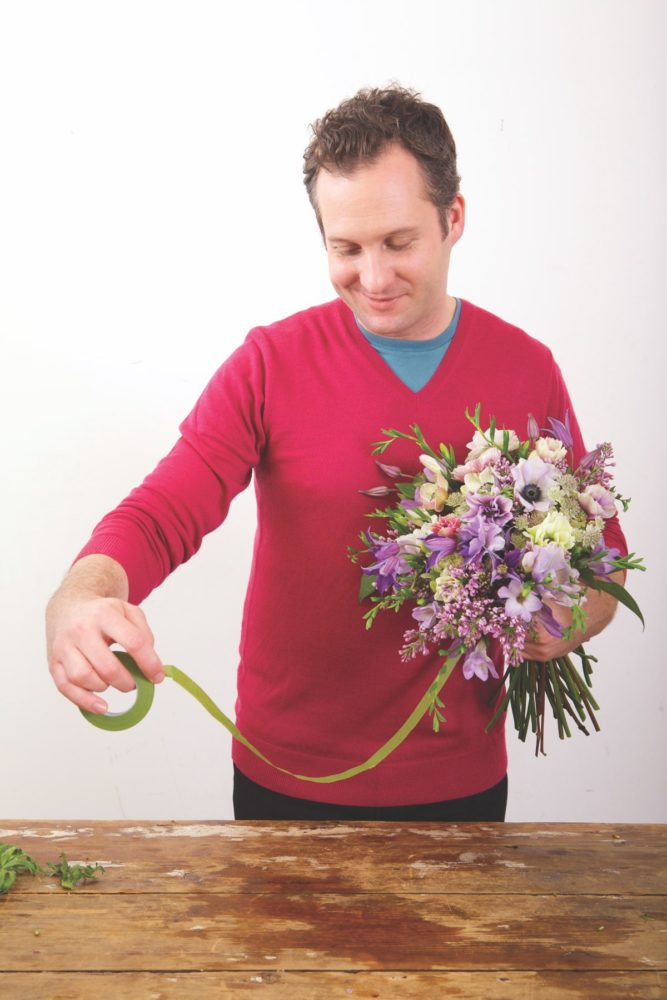 6| Holding the bouquet with one hand, pick up your floral tape with the other and measure out an arm’s length to wrap the stems in a narrow band. Be sure the layers of tape overlap in order to hold the stems tightly.
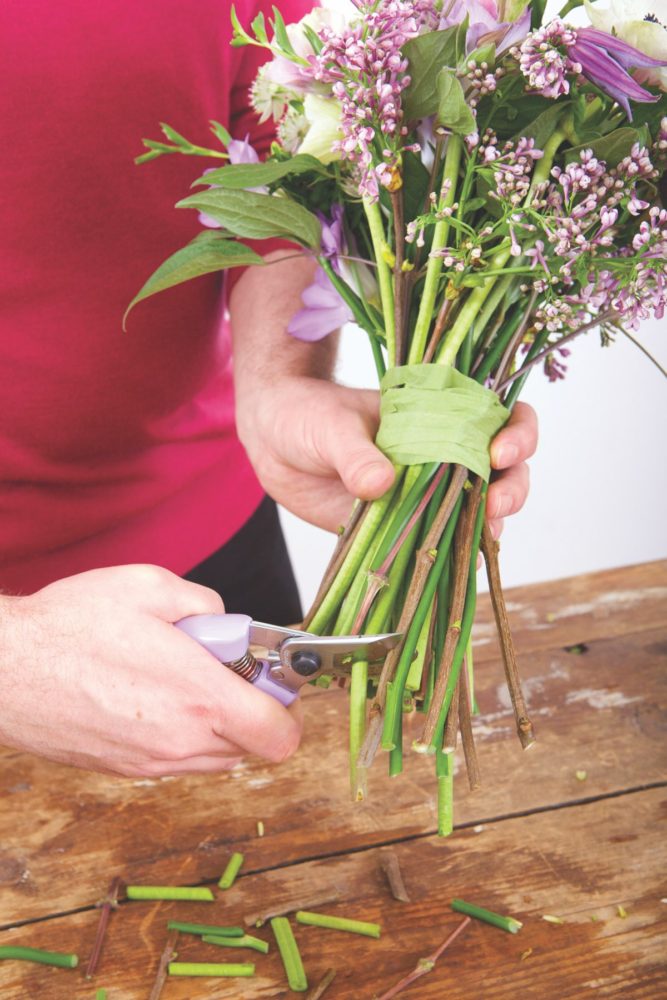 7| After taping the bouquet together, cut the bottom of the stems to the appropriate length.
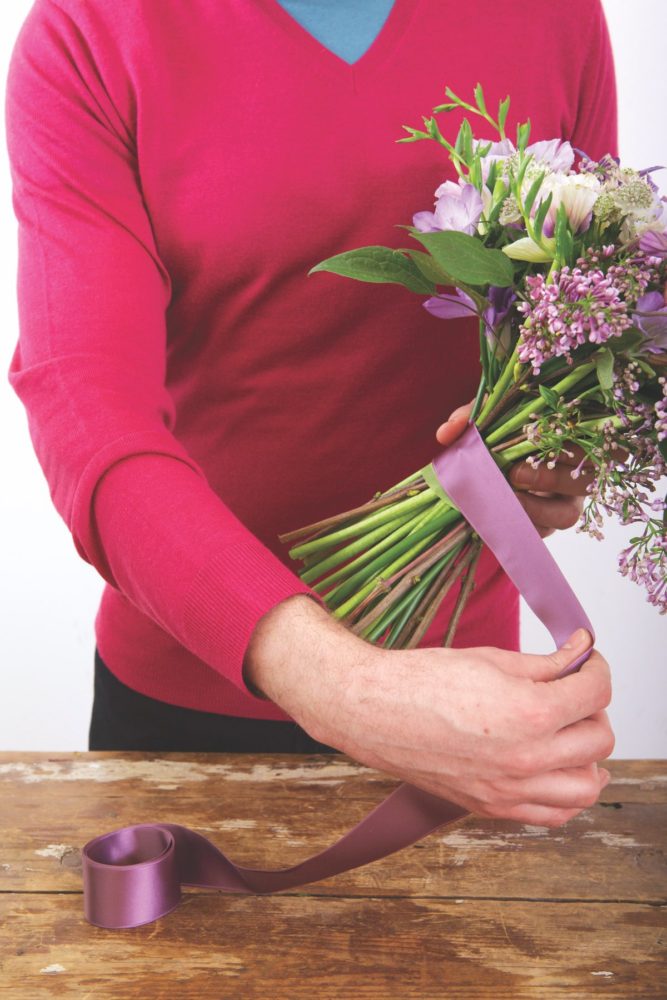 8| Next, you’ll add the ribbons. Hold the first ribbon on the stems with one hand and catch with your thumb as you wrap it around the taped area.
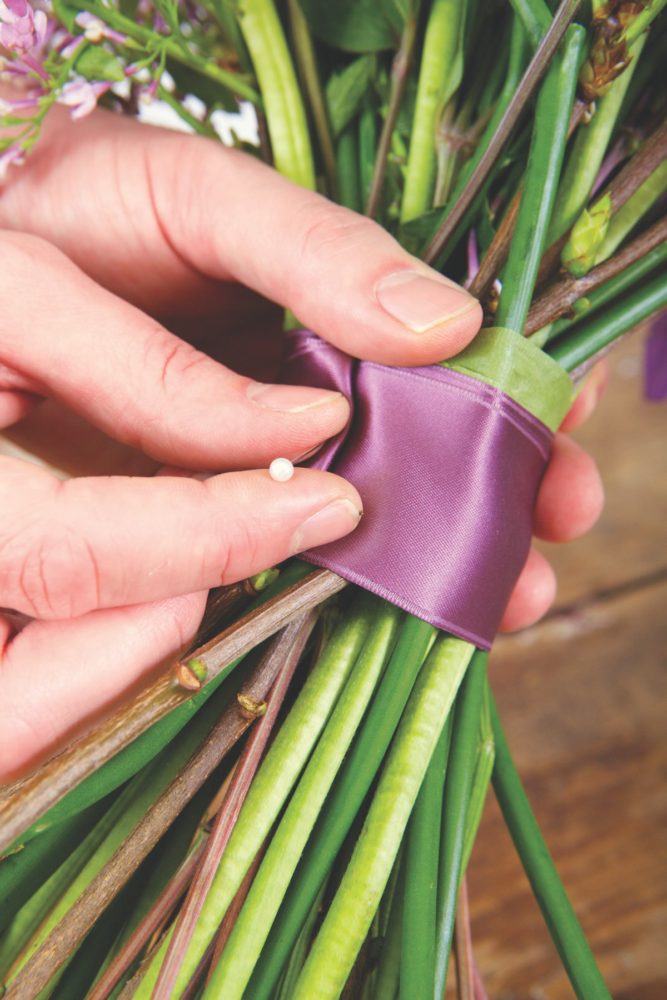 9| Once the ribbon is wrapped around the bouquet and cut with ribbon scissors, fold the end of the ribbon under to create a more finished edge. Then secure it with a small pin.
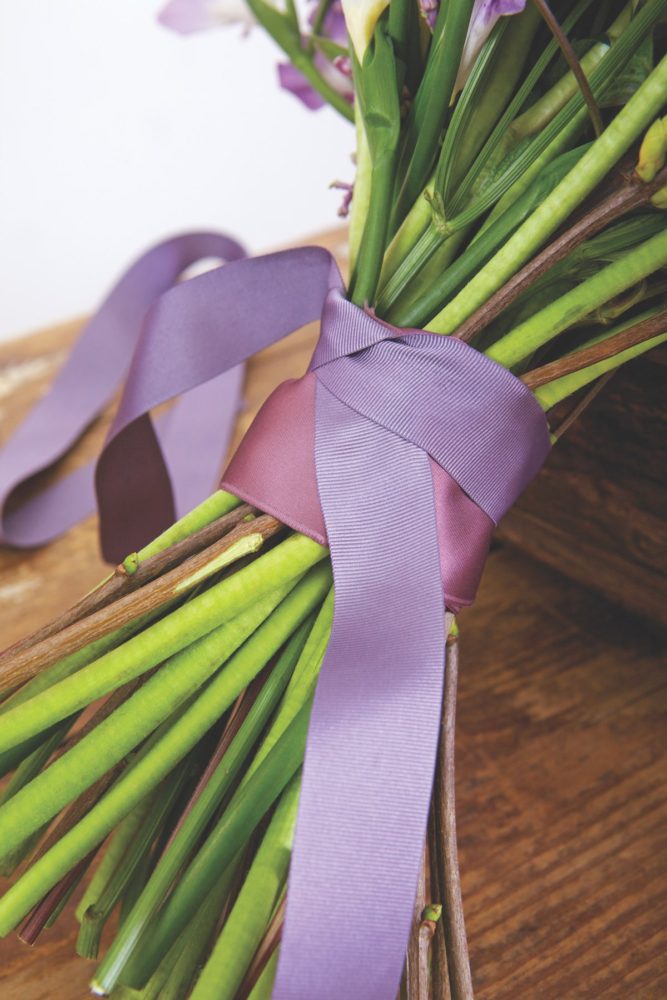 10| As a finishing accessory, tie a second ribbon (in a similar color tone) around the bouquet. Be sure to cover the pinned area with this second ribbon.
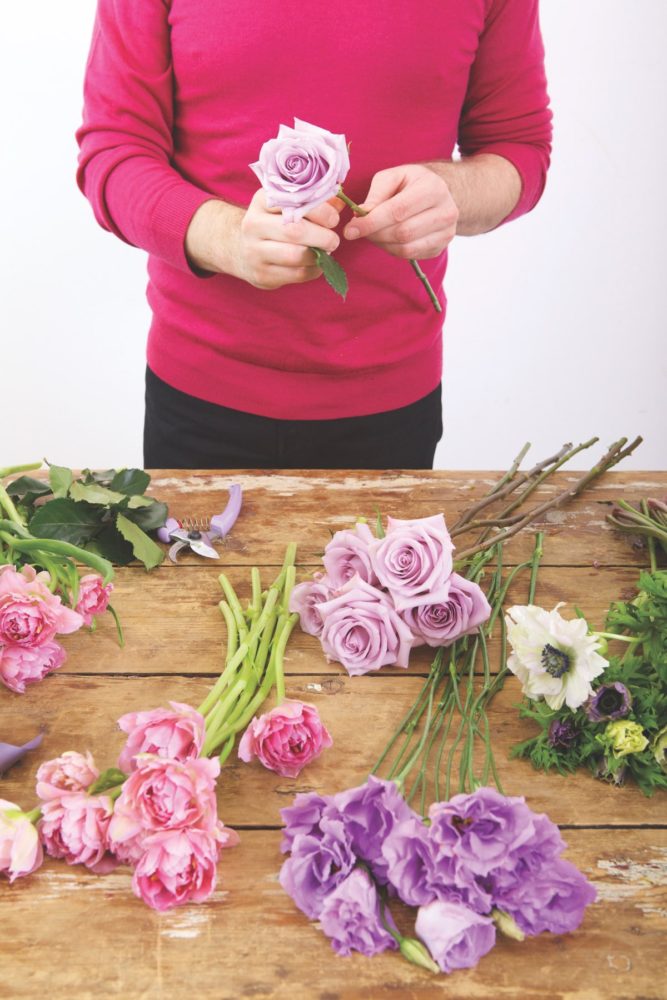 11| Next, begin the smaller, more tailored bridesmaid’s bouquet. Start with the larger, stronger-stemmed flowers, such as the roses, to create a nice base for the arrangement. Remove all of the foliage from each stem before adding it to the bouquet.
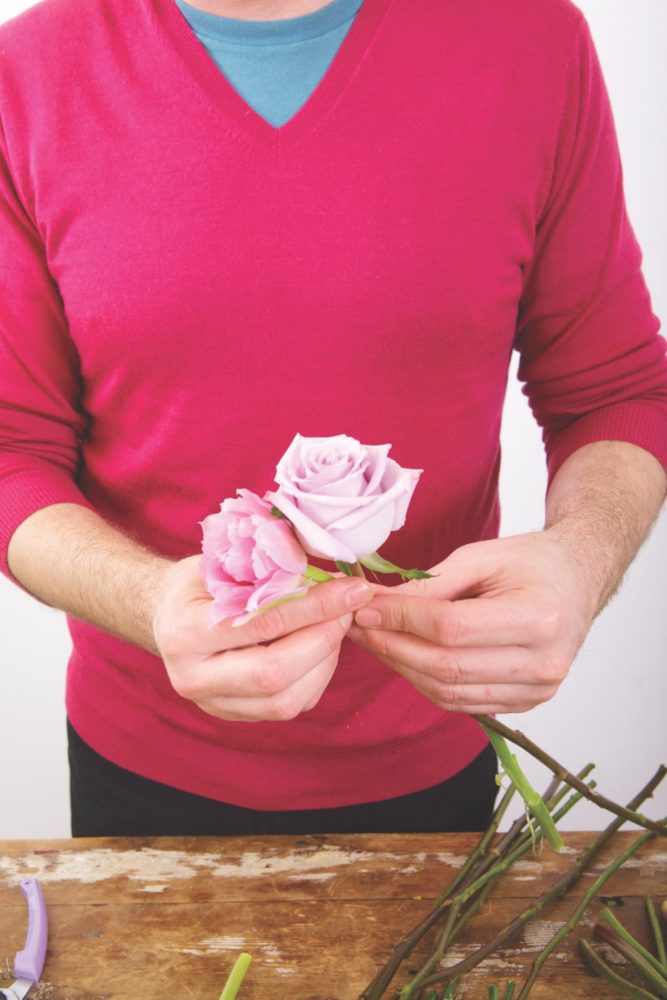 12| Layer tulips over the sturdy rose stems to keep the blooms in their best position, and then do the same with the lisianthus.
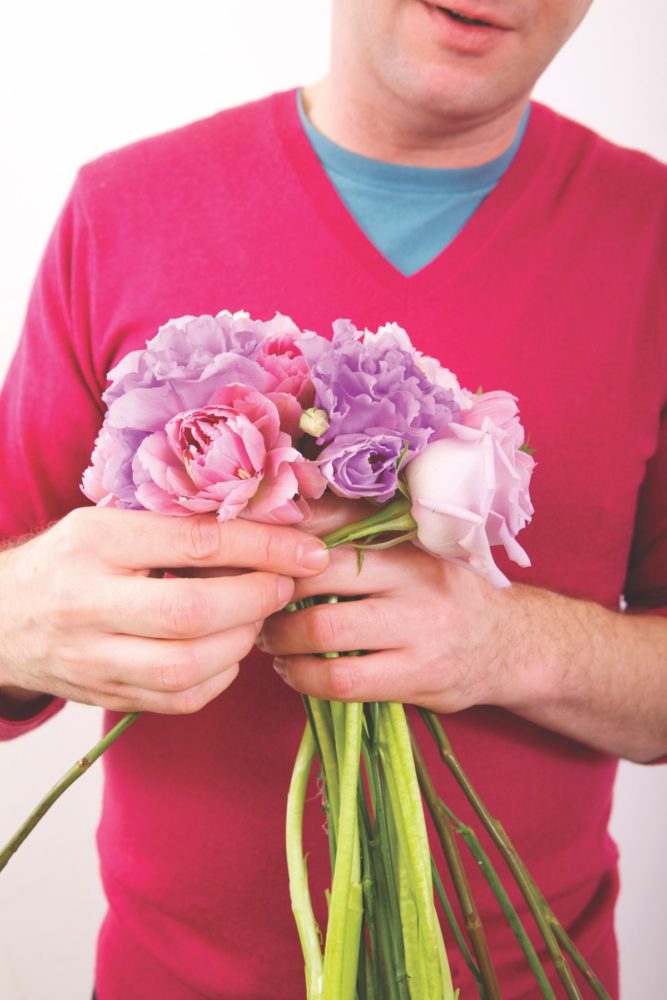 13| Nestle the roses around the edge of the bouquet to add support to the tulips and lisianthus. (If you don’t secure the delicate-stemmed flowers with stronger ones, I promise you’ll see a bride or bridesmaid with flowers falling out before the ceremony.)
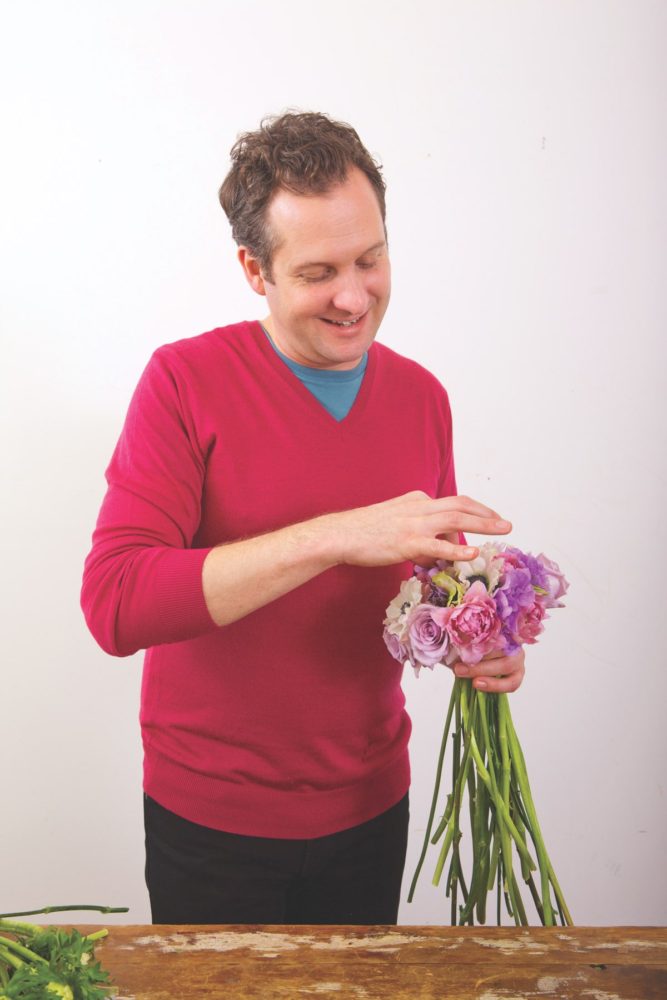 14| While adding the remaining flowers, hold the stems loosely so you can adjust the flowers as needed. I sometimes bring a few key blooms up higher by gently pulling the flower from just below where the bloom meets the stem. You don’t want your important blooms to sink into the bouquet. Keep the shape rounded and full.
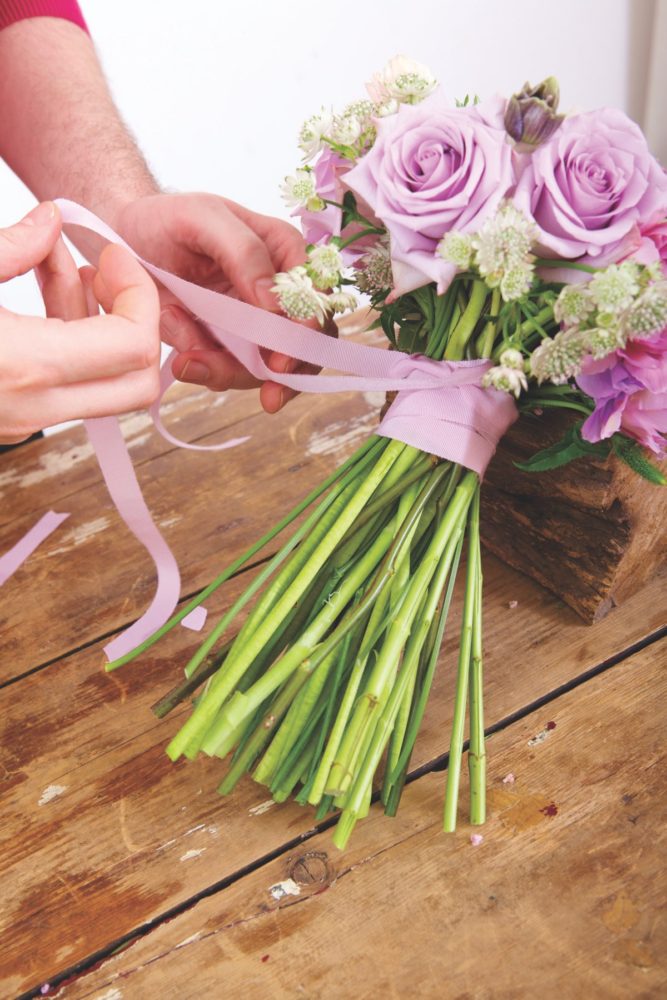 15| For the bridesmaid’s bouquet, I used only one grosgrain ribbon. Instead of cutting and pinning the ribbon after it’s wrapped around the bouquet, cut one long strand and cross it back and forth as you wrap the stems. Then tie the long tails of the ribbon into a bow.
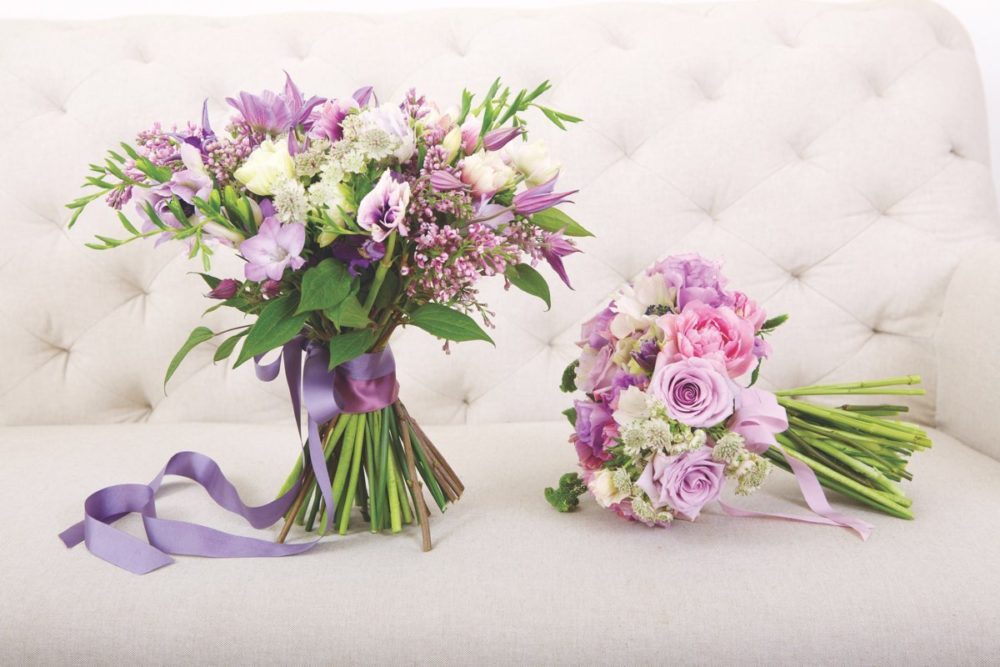
“Bouquets are some of my favorite things to make when planning the décor for a wedding. You can really personalize a bouquet by doing something as simple as choosing to incorporate a favorite bloom or color palette. Remember that you don’t have to match bouquets to the centerpieces or other details in the wedding. As long as there is a consistency in the overall look, I think bouquets are the perfect opportunity to feature a few very special things you might not include in other areas of the décor.” –Matthew Robbins
 Produced by Pamela Hanes | Photography by Brooke Slezak
See more of Matthew Robbins’ work at MatthewRobbinsDesign.com.
Purchase Matthew Robbins’ Inspired Weddings: Designing Your Big Day with Favorite Objects and Family Treasures at the Flower Magazine shop.
More Weddings and Bridal Arrangements
Catch These Bridal Bouquets
Making a Flower Crown
How to Make a Boutonniere
How to Make an Easy, DIY Flower Crown
How to Condition Roses
