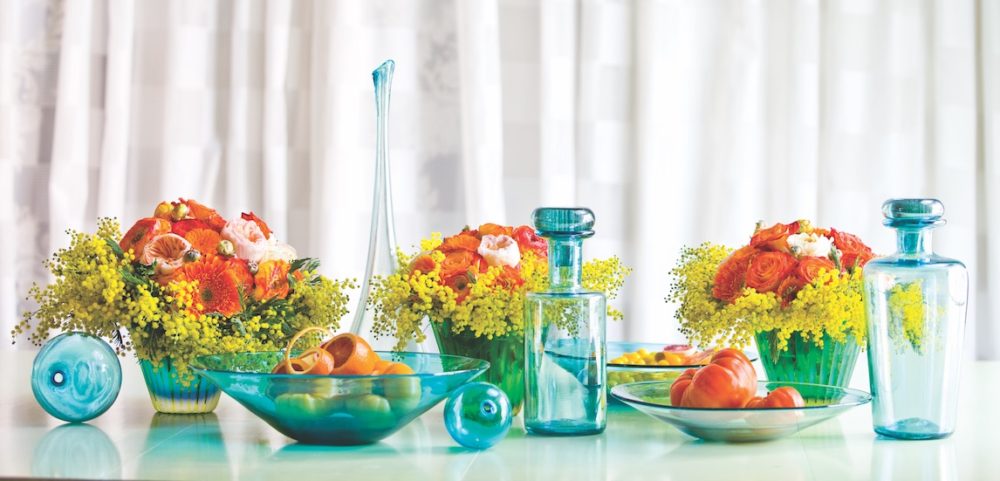

My inspiration for this design was my collection of turquoise art glass, the color of which just says summertime! Vibrant color is such a strong summer statement, and orange is probably my favorite expression of the season. Varying shades of orange blooms with pops of yellow mimosa are the perfect contrast to the bright blues and greens of the art glass. Because I am also a gardener, I like to incorporate something grown in the vegetable garden. Here I have chosen heirloom tomatoes, whose colors and whimsical shapes lend themselves well to the overall effect.
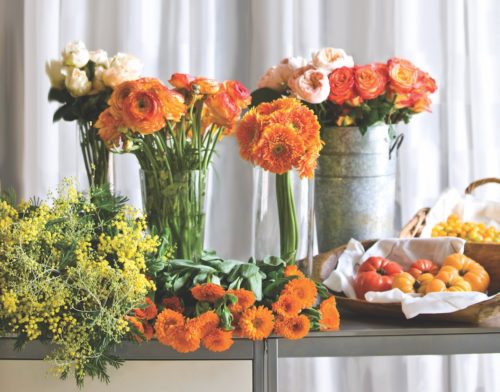 Materials
- bicolored ranunculus
- caramel antique garden roses
- David Austin ‘Juliet’ roses
- mimosa
- orange gerber daisies
- orange chrysanthemums
- blood oranges
- striped German heirloom tomatoes
- yellow heirloom tomatoes
- yellow pear tomatoes
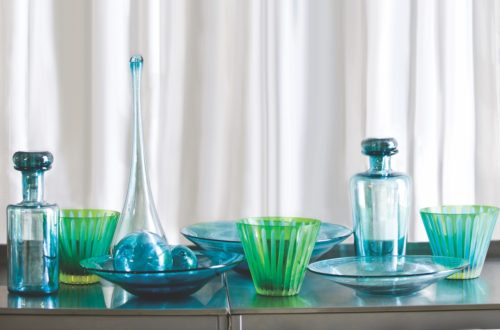 Supplies
- a collection of turquoise and green art glass
- a florist knife
- shears
- raffia
Summer Flower Arrangement, Step-by-Step
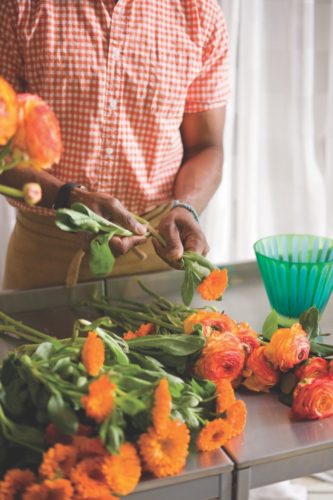 1| Before creating the three hand-tied bouquets for this design, prep the stems of your roses, ranunculus, and mums by removing leaves and thorns as necessary.
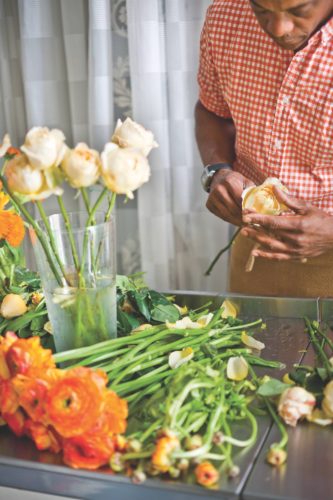 2| After removing the foliage, take a look at your roses. Most garden roses open well, but sometimes a bit of gentle, manual coaxing helps to create the fullness you want.
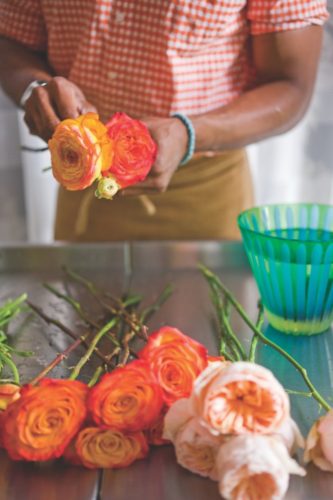 3| Now it’s time to create your table arrangements. When starting a hand-tied bouquet, I find it helpful to lay out the flowers in groups at the front of my work surface.
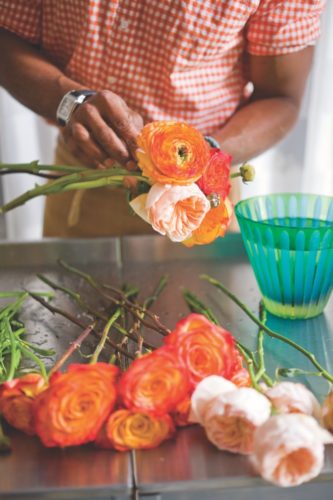 4| Adding one stem at a time, turn the bouquet in your hand as you work so that the stems spiral around the center.
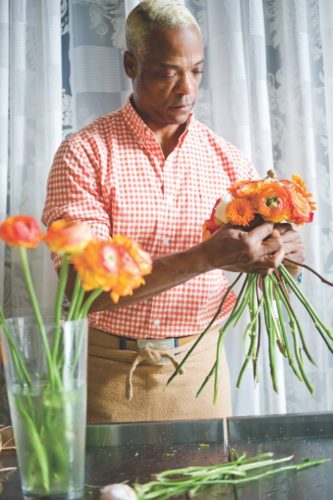 5| The center of the bouquet is your “crown.” Working around as you spiral, make sure the shape of your “crown” is balanced and uniform.
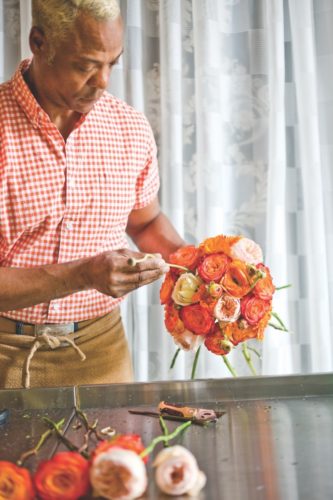 6| When adding flowers, include some small buds of the ranunculus last so that they won’t get lost in the mass of the bouquet. Insert them directly into the “crown” of your bouquet, and then pull the stems down gently until the ranunculus buds are right where you want them.
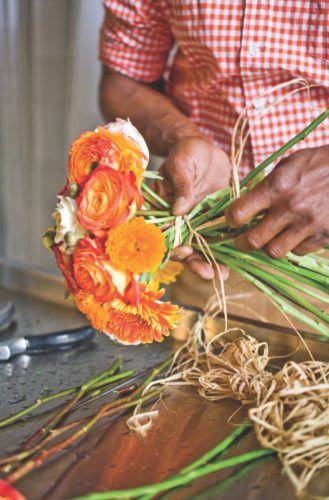 7| Then simply tie off the bouquet with raffia underneath the “crown.”
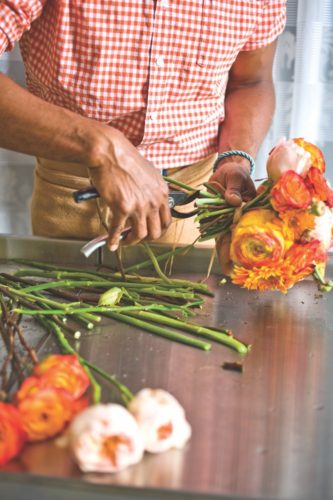 8| Next, cut the stems of your bouquet to a uniform length, keeping in mind the height of the vase. A well- constructed bouquet will stand on its own, so give it a try on your work surface. (Repeat steps 1-8 for your two remaining hand-tied bouquets.)
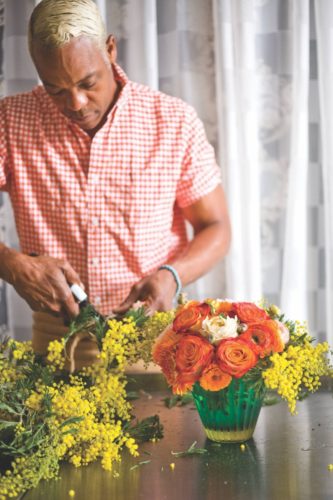 9| Once your three finished bouquets are placed in vases, it’s time to add the mimosa. Process the mimosa by separating and snipping small pieces before adding each piece directly into the vase around the “crown” of your bouquet.
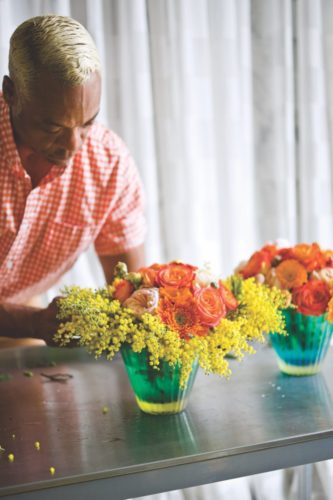 10| Continue to fill in the mimosa all the way around the edge of each vase to create a collar for each arrangement.
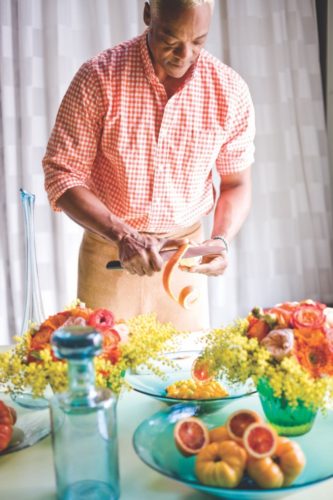 11| Once your collars are complete and your containers are in place, it’s time to add the details. Cut a neat spiral of a blood orange peel, which is easy to do with a very sharp knife.
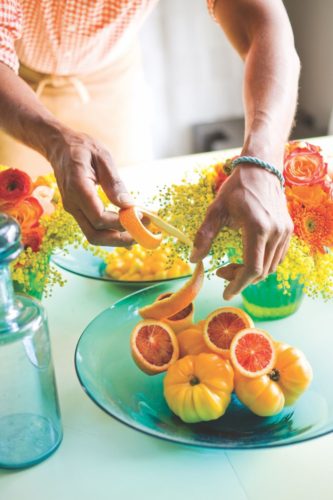 12| Arrange the tomatoes and oranges to best show colors and contrast, and to create balance in your vessels.
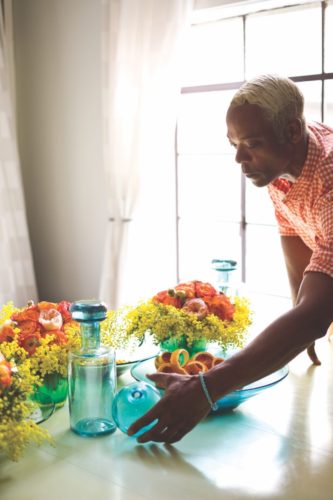 13| And finally, finish the look by adding any remaining pieces of the glass collection. Here, I added a couple of glass orbs for effect.
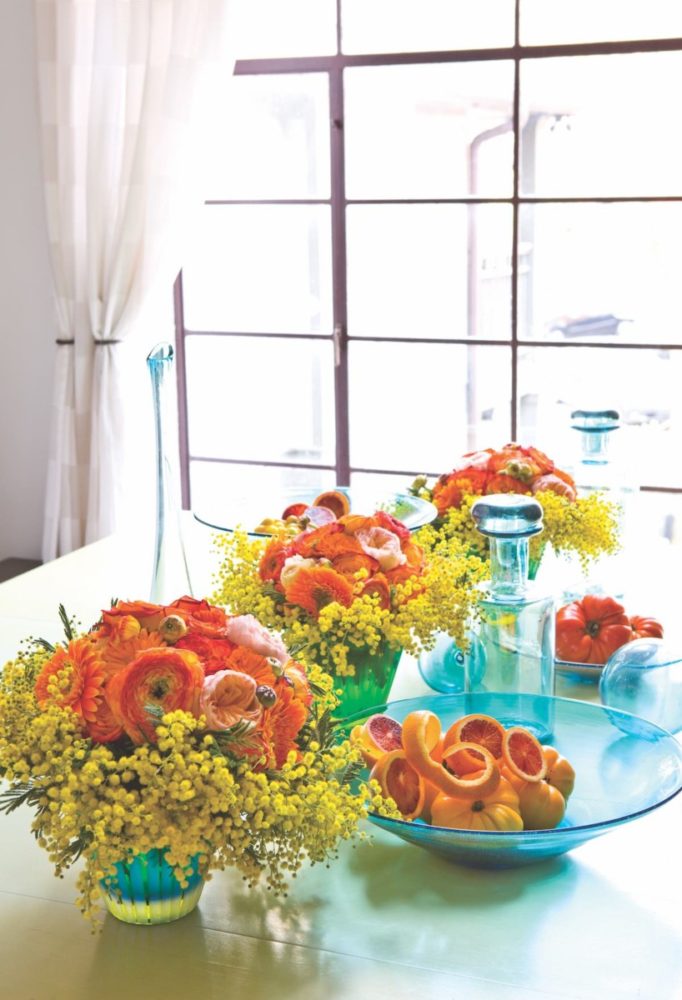
“We all collect something! . . . dishes, teapots, pewter, cloches—just to name a few. Any can be the inspiration for a design like this, which shows the collection in a new way.” –Keith Robinson
By Keith Robinson
Photography by Erica George Dines
Follow Keith Robinson and Gloriosa Design on Instagram, Facebook, Pinterest, and at GloriosaDesign.com.
