Greg Campbell shows how to make a white amaryllis arrangement with step-by-step instructions.
“This is an easy amaryllis arrangement that has a real ‘wow’ effect. I chose white blossoms, but red amaryllis would look great in the same application with perhaps a layer of fresh cranberries instead of using moss and pine cones to cover the floral foam.”—Greg Campbell
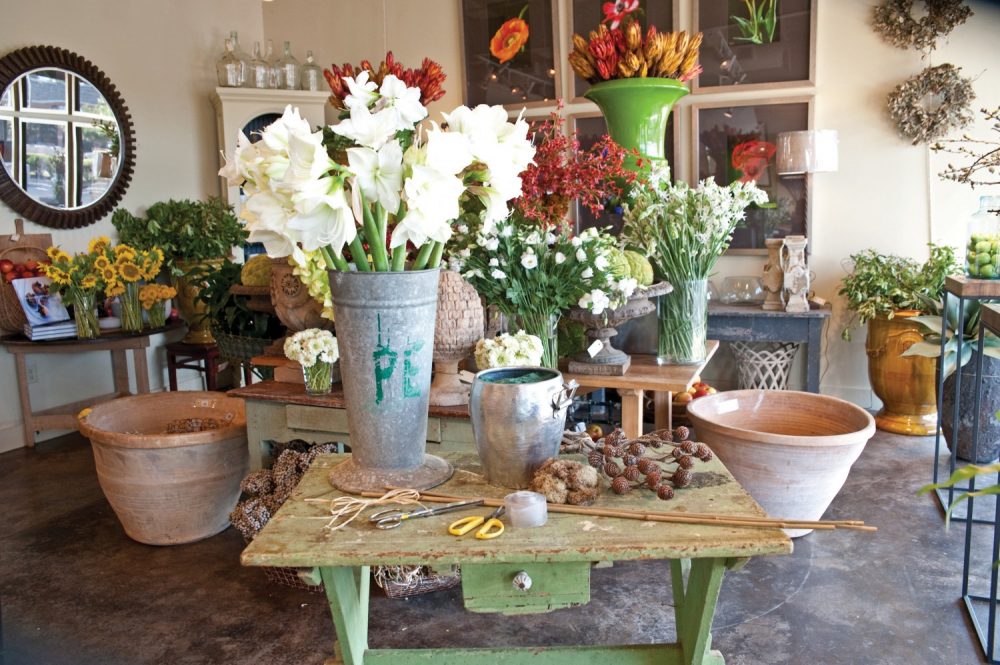 Before you begin, gather the tools and supplies you will need. I used an aluminum wine cooler as the watertight container, but a porcelain cachepot or even a rustic terra-cotta pot would work. Next, prepare the floral components.
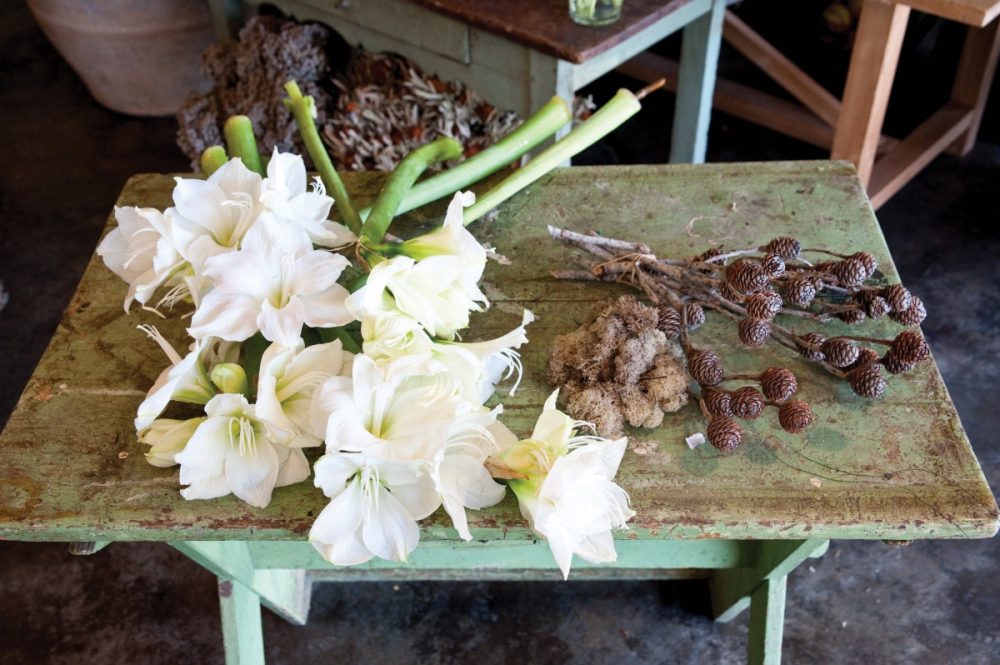
MATERIALS | You will need approximately seven stems of amaryllis and 20 or so small pine cones, either on the stem or glued to wooden picks. Remember, if you want your arrangement to last longer, choose amaryllis stems with tighter buds. Don’t worry if they are super tight. The buds will slowly open as long as you keep plenty of fresh water in your container.
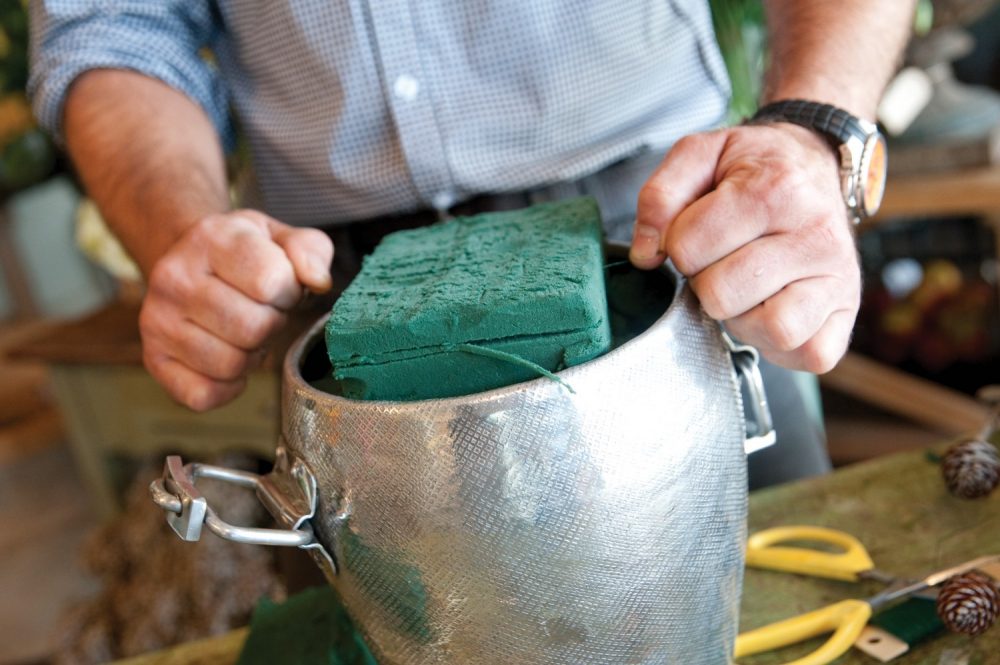
STEP 1 | Place the wet floral foam in your watertight container. Use enough bricks of floral foam to fill the container. Then, use a piece of thin florist wire to cut the foam (like a wire cheese cutter) so it is an inch or so below the level of the lip of the container.
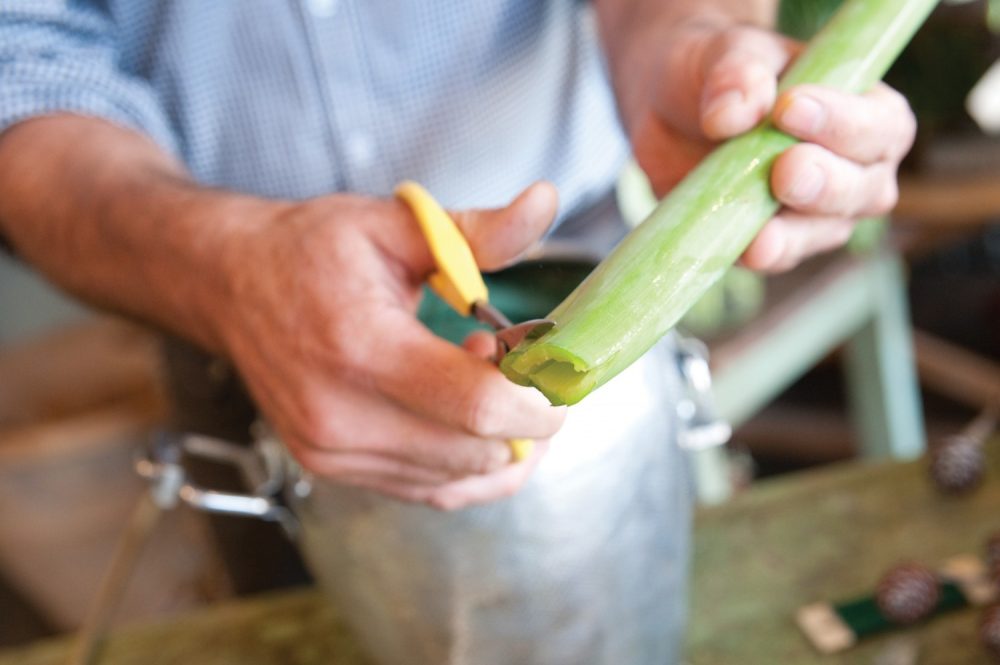
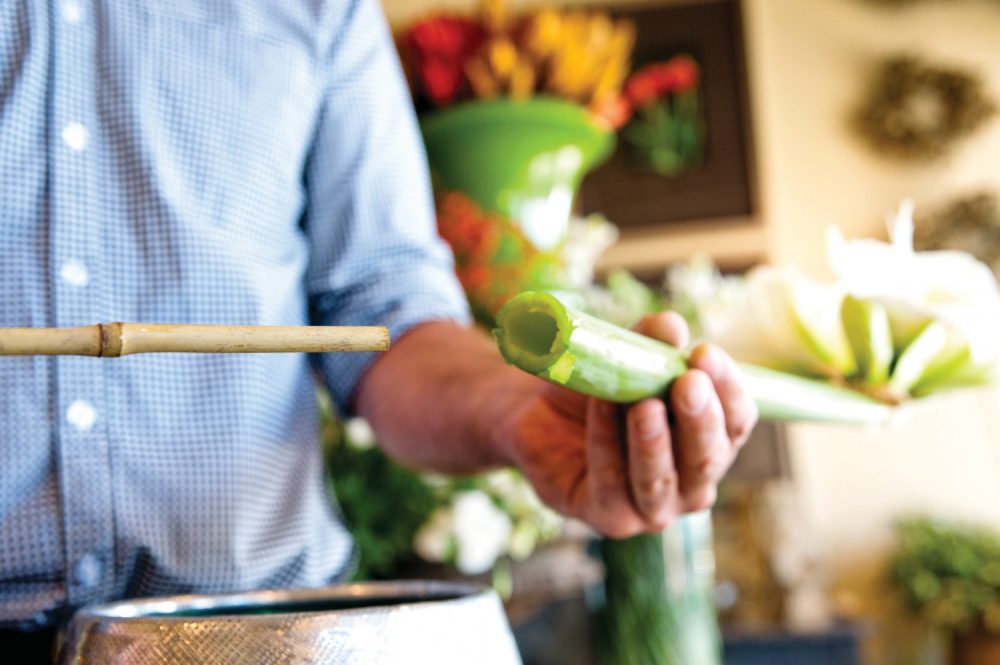
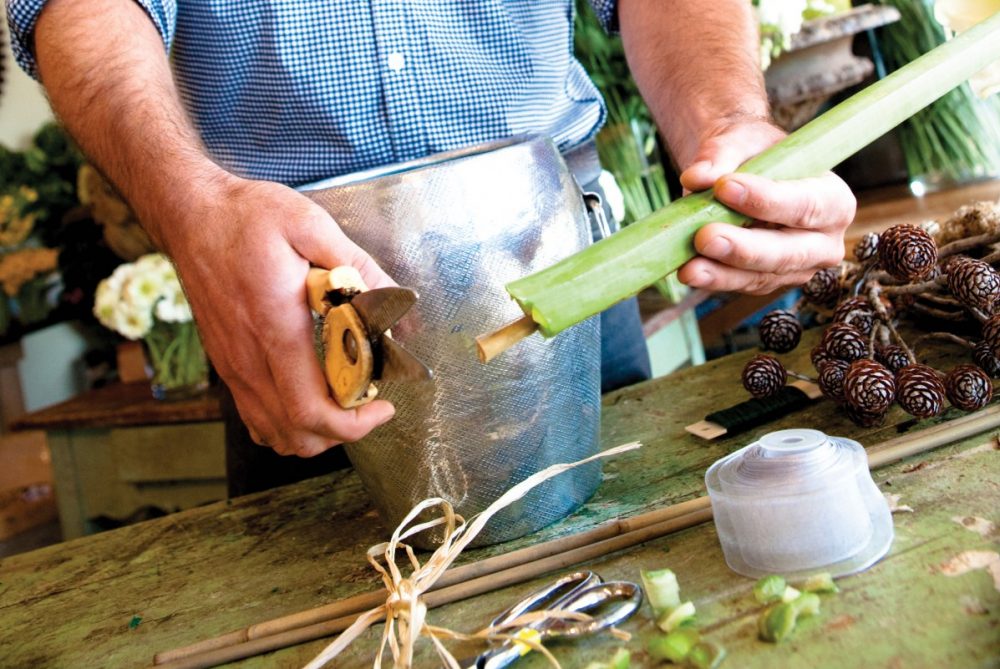
STEP 2 | Cut the end of each amaryllis stem at an angle to create a point. This will help when inserting the thick, hollow stem into the foam. Then, insert one stake into the hollow end of the stem until you feel the stake touch the top of the stem, right below the flower head. Do not push too hard or the stake could puncture the top of the stem and blossom. Cut the bottom end of the stake even with the bottom of the hollow stem. (The stakes are placed into the amaryllis to keep the stems from collapsing from the weight of the opening blossoms.)
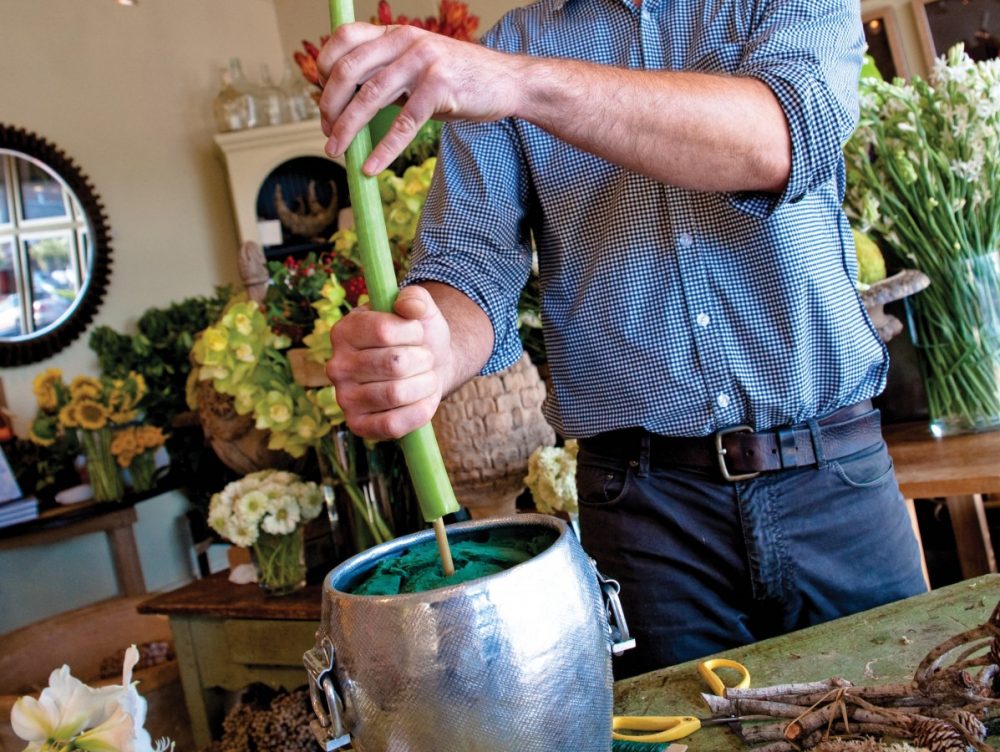
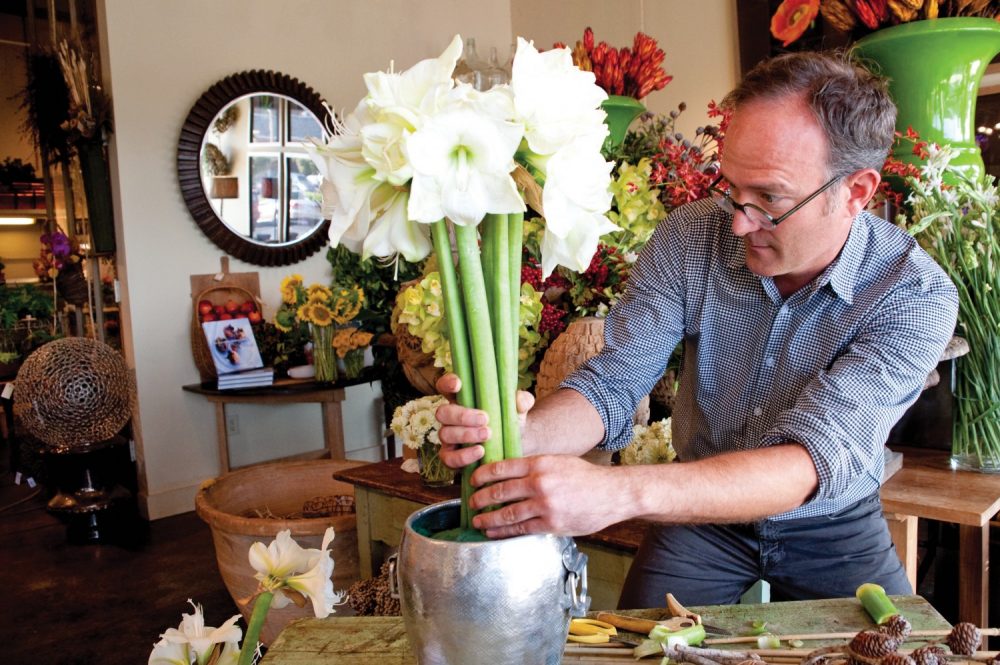
STEP 3 | Insert the prepared amaryllis stems into the floral foam one at a time. Starting in the center, gently push the stem into the floral foam to a depth of 3 or 4 inches. Place the second stem very close to the first and insert it into the foam so the blossoms are the same height as the original stem. Repeat with the remaining stems. Be sure to stand back and make sure the stems are being arranged in an even, circular pattern in the center of the container.
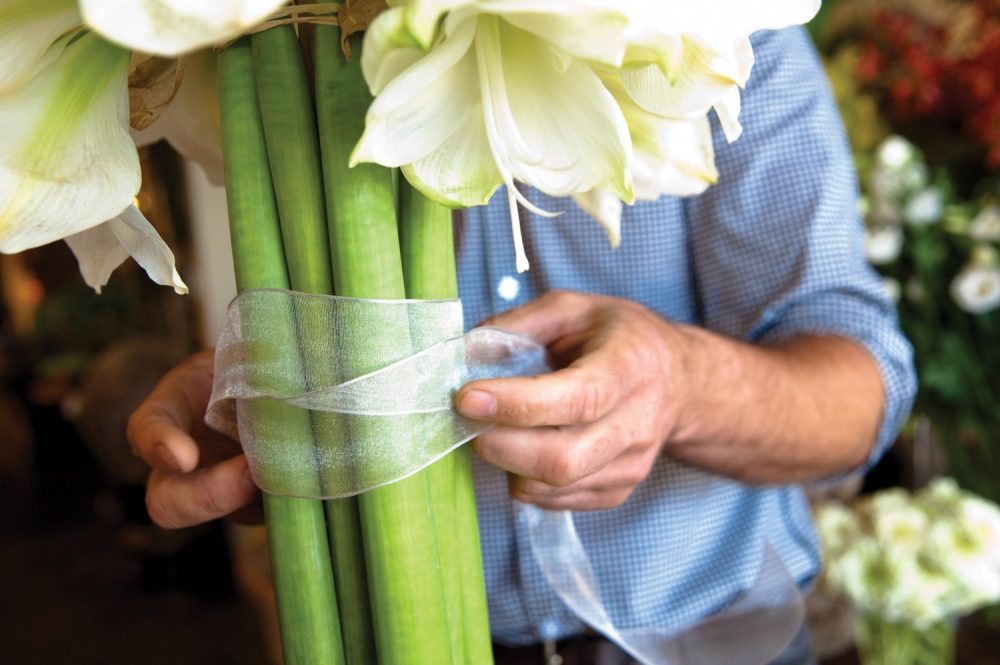
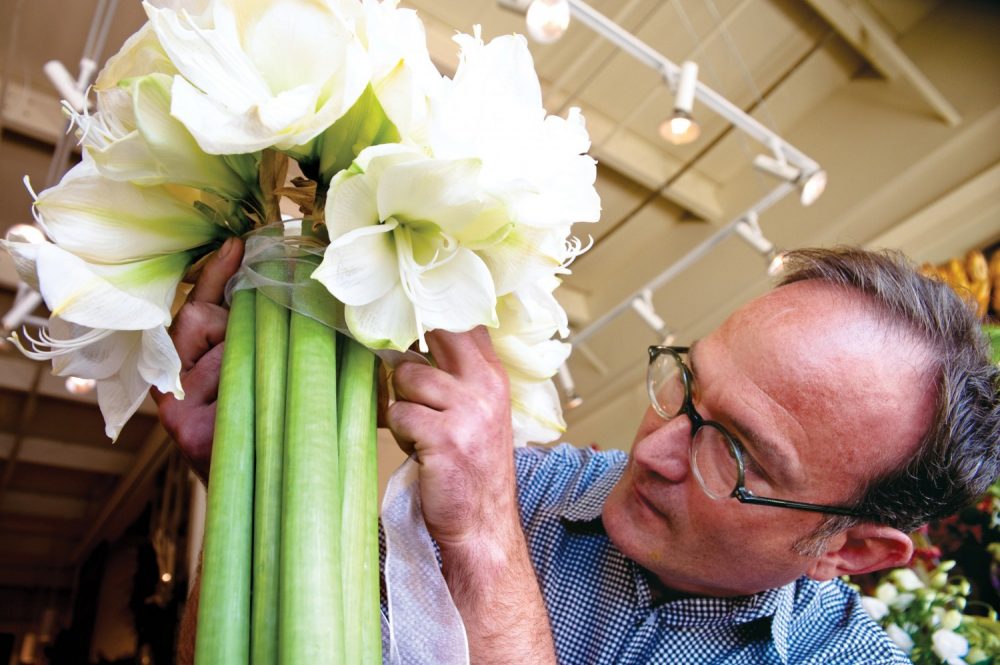
STEP 4 | Next, take a few pieces of raffia and tie them around the arranged stems a few inches below the heads. Knot the raffia so that the stems draw together. Do not to tie too tightly or the raffia could cut into the stems. Once the stems are tied together and they resemble the trunk of an amaryllis “tree,” cut the loose ends of the raffia and gently push the band up so it fits right under the blossoms. Then wrap sheer, silver ribbon several times to hide the raffia and tie it into a simple shoestring bow. Make a clean cut on the ends of the ribbons.
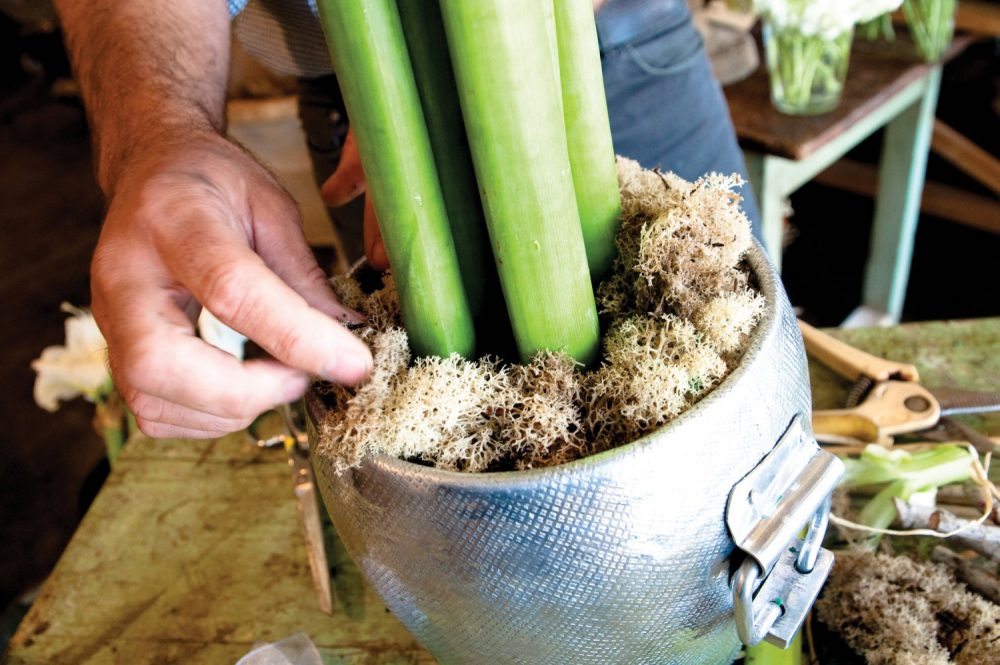
STEP 5 | Now that the flowers are in place, it’s time to hide the rest of the floral foam. First, apply the reindeer moss to the top of the foam using 3-inch pieces of thin florist wire, each bent into a small U-shape.
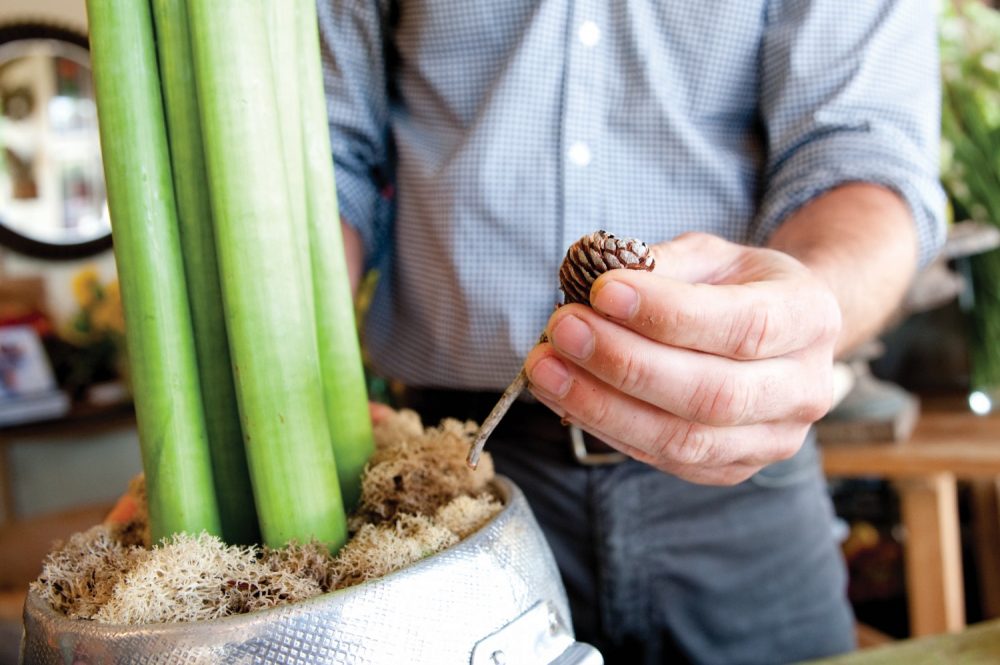
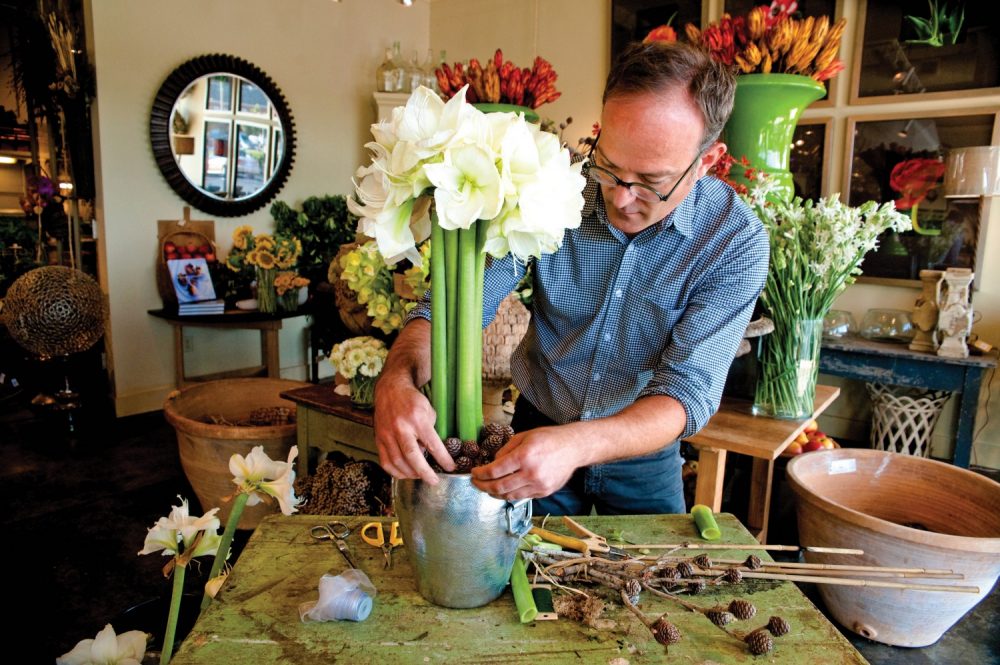
STEP 6 | Next, take the small pine cones and cut the stems to about 3 inches long. Insert the cones through the moss to form a mound around the base of the amaryllis stems. I like these cones because they have a gray cast that, along with the reindeer moss, works well with the container.
THE FINISHED WORK | The tall, linear design of this amaryllis arrangement looks great in pairs on a mantel or sideboard. A trio of amaryllis topiaries looks grand lined down a dining table. If you use quality stems with tight blossoms and keep the container full of fresh, clean water, this arrangement could last up to two weeks.
By Greg Campbell | Photography by Jay Adkins

