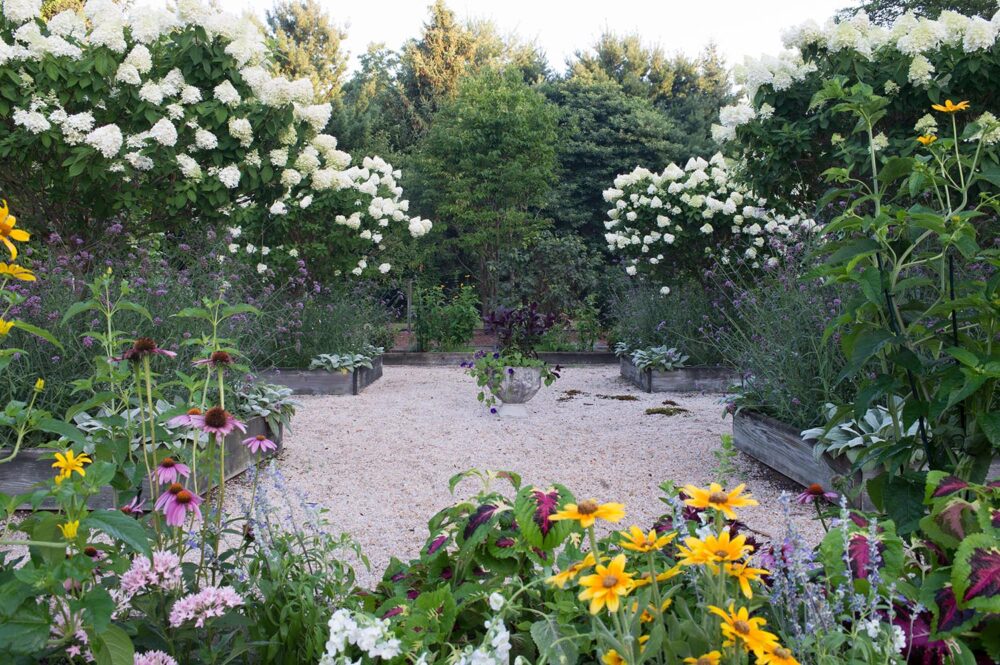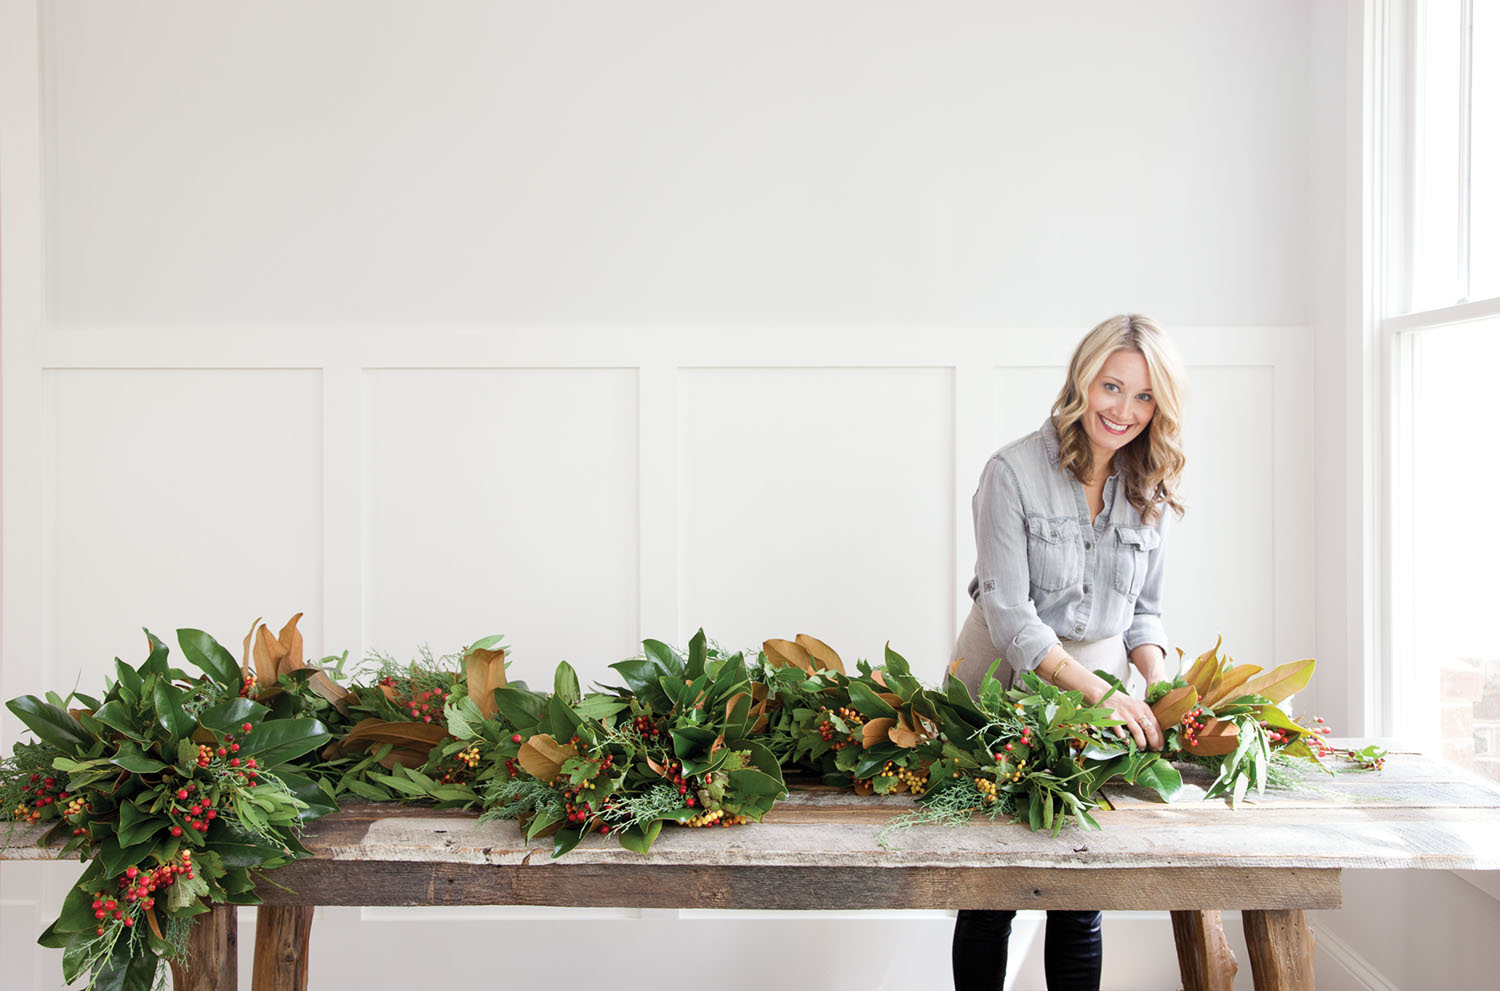
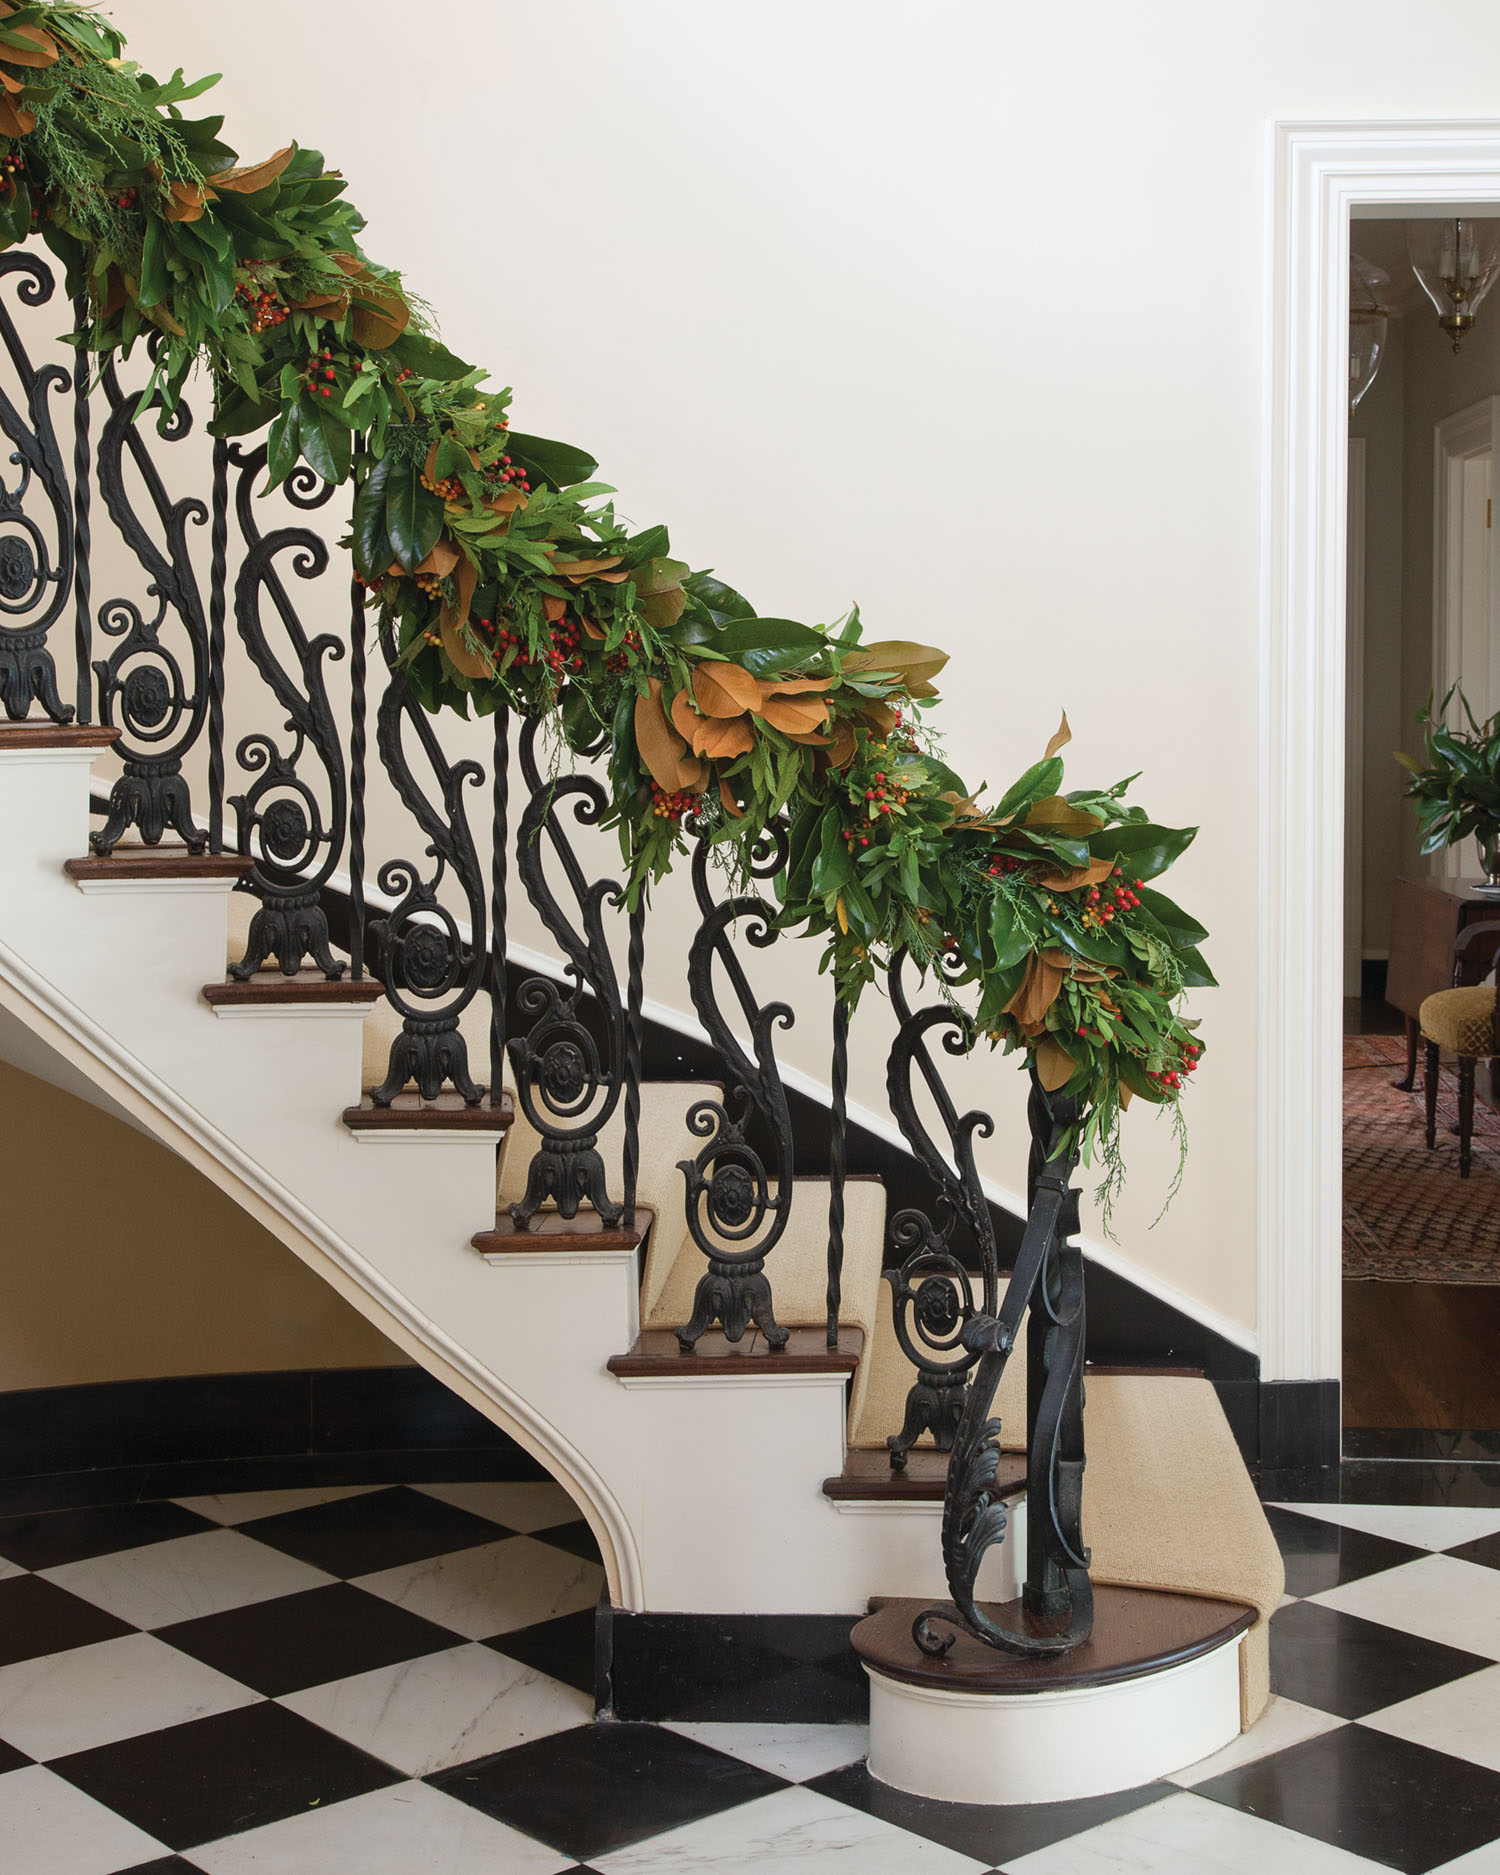
“My inspiration for this design was my favorite time of year—the holidays!” says event designer Jessica Sloane. “I always look forward to turning up the festive tunes and decorating the house. Bringing the outdoors in can freshen up any space, and this lush, evergreen garland of greenery and berries does just the trick. It will warm up the entryway, fireplace mantel, dining room table, or banister like we’ve done here. It’s sure to put everyone who walks through your door in the Christmas spirit.”
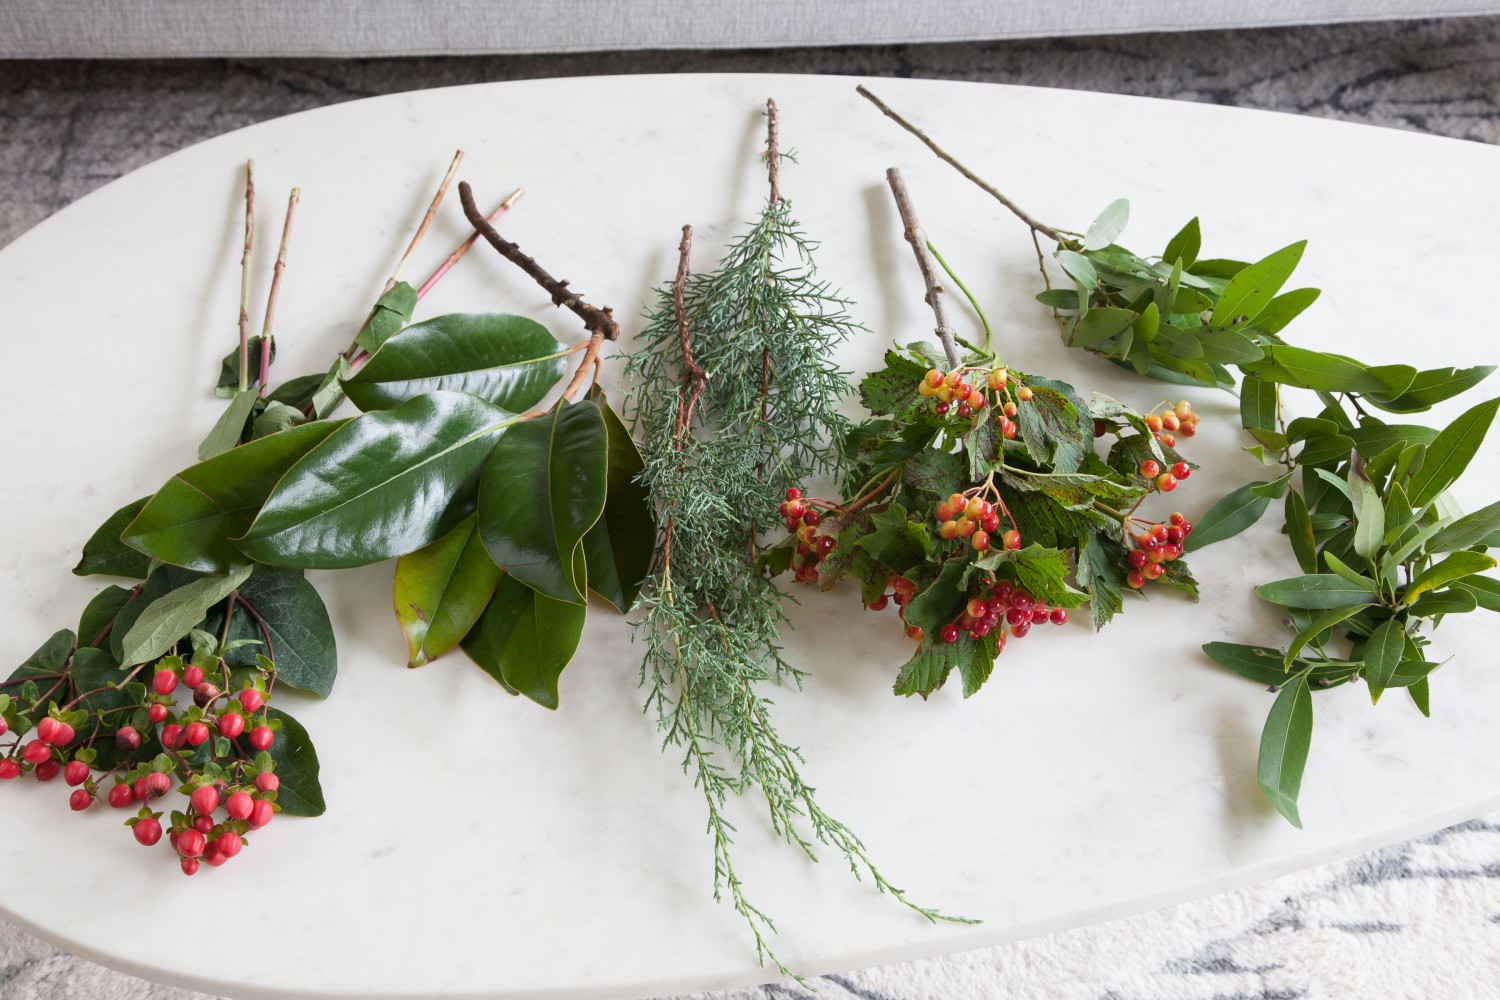
MATERIALS
-
- Red hypericum berries
- Magnolias
- ‘Carolina Sapphire’ cypress
- Red viburnum berries
- Bay leaves
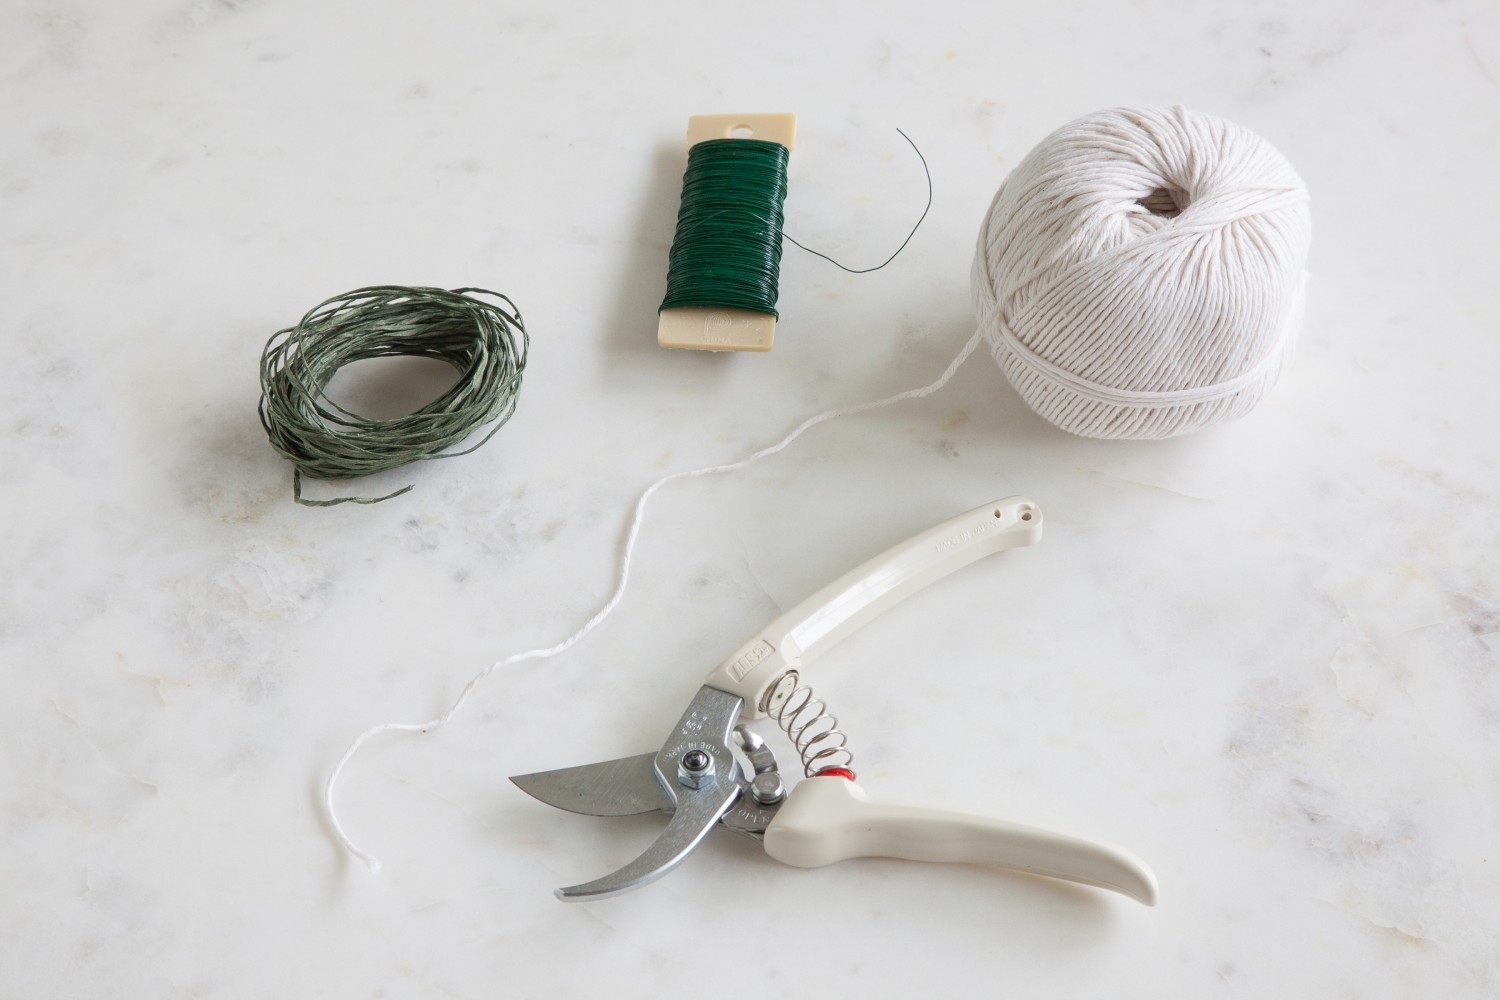
TOOLS & SUPPLIES
-
- Ball of twine or string
- Paddle of green floral wire
- Shears
STEP 1
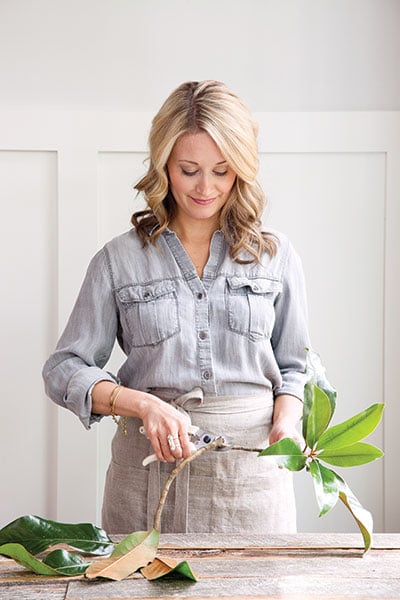
A branch of magnolia foliage will be the base of the first section of the garland. Begin by pruning any dead or damaged leaves, but be sure to leave around five to seven good ones left on the branch. Then clip the branch so it’s about one foot long.
STEP 2
Next, clip a branch of cypress about the same length as the magnolia, and add it to the other branch to begin a small arrangement. Any holiday greenery will work, but I use cypress to add depth, texture, and a bluish undertone to the mixture.

STEP 3
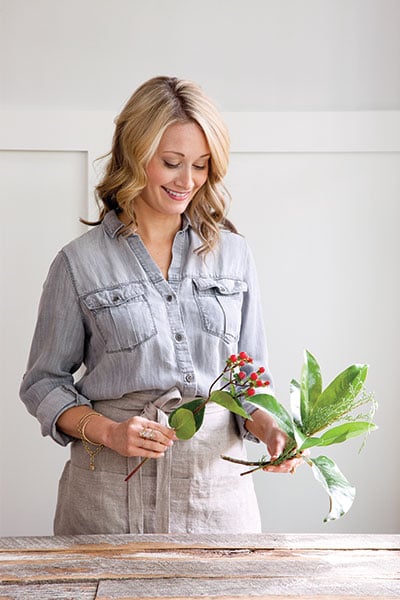
Continue by adding a branch of the red hypericum berries for color.
STEP 4
Next, bulk up the bundle with differently shaped foliage—bay leaves. It’s a classic Christmas element, and as an added bonus, it smells divine! Then layer in the viburnum berries for another pop of red.
STEP 5
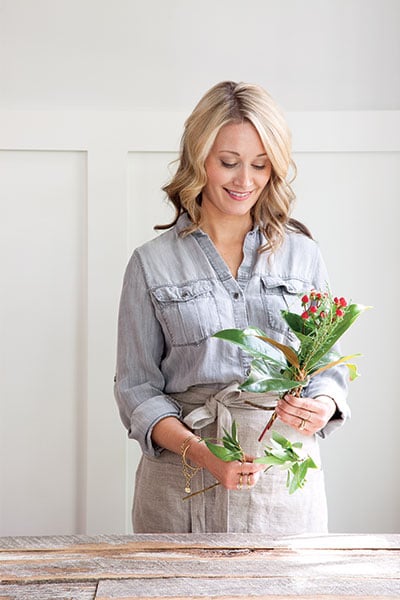
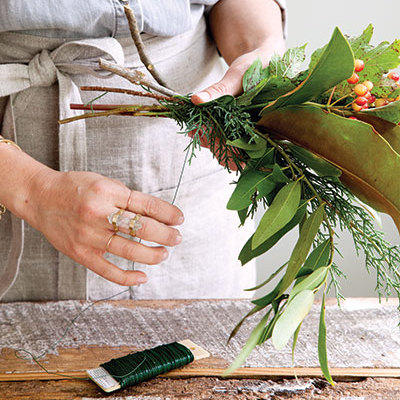
Wrap the small arrangement several times with the floral wire to secure it together, but don’t cut the wire yet. This bundle is the first of many, and the wire—along with the sturdier string—will connect each section together to create the garland.
STEP 6
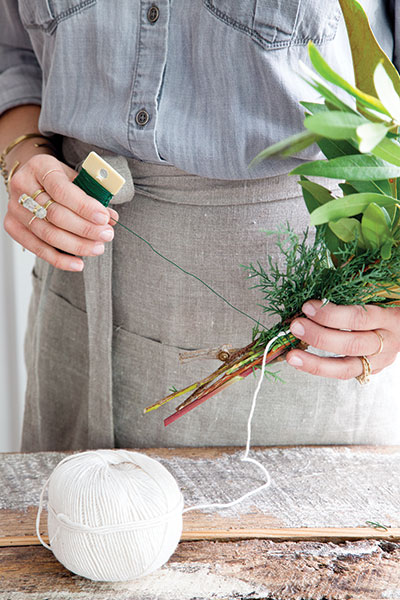
The string will be the foundation of the entire garland. Hold the beginning of the string up to the back of the stems, and then wrap the wire around the stems and string to secure it all together. (Don’t cut the string or the wire until the whole garland is assembled.)
STEP 7
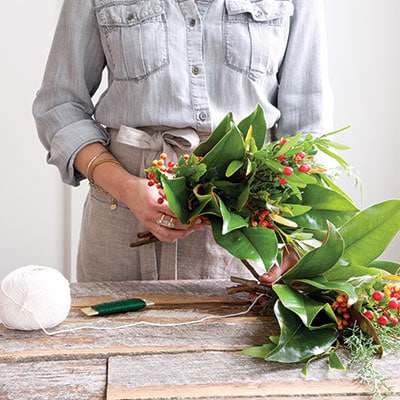
STEP 8
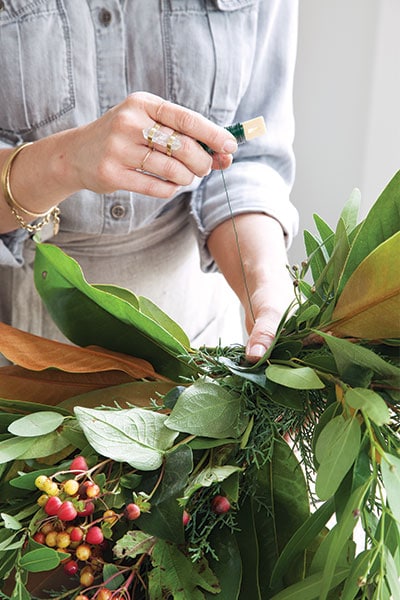
Continue this process until the garland is a desired length, but add the last arrangement by turning it the opposite direction. This way, berries and greenery will be visible on both ends, with no stems poking out. Finally, cut the wire and string.
— Jessica Sloane
Produced by Alexandra Schmitt | Photography by Caroline Allison

