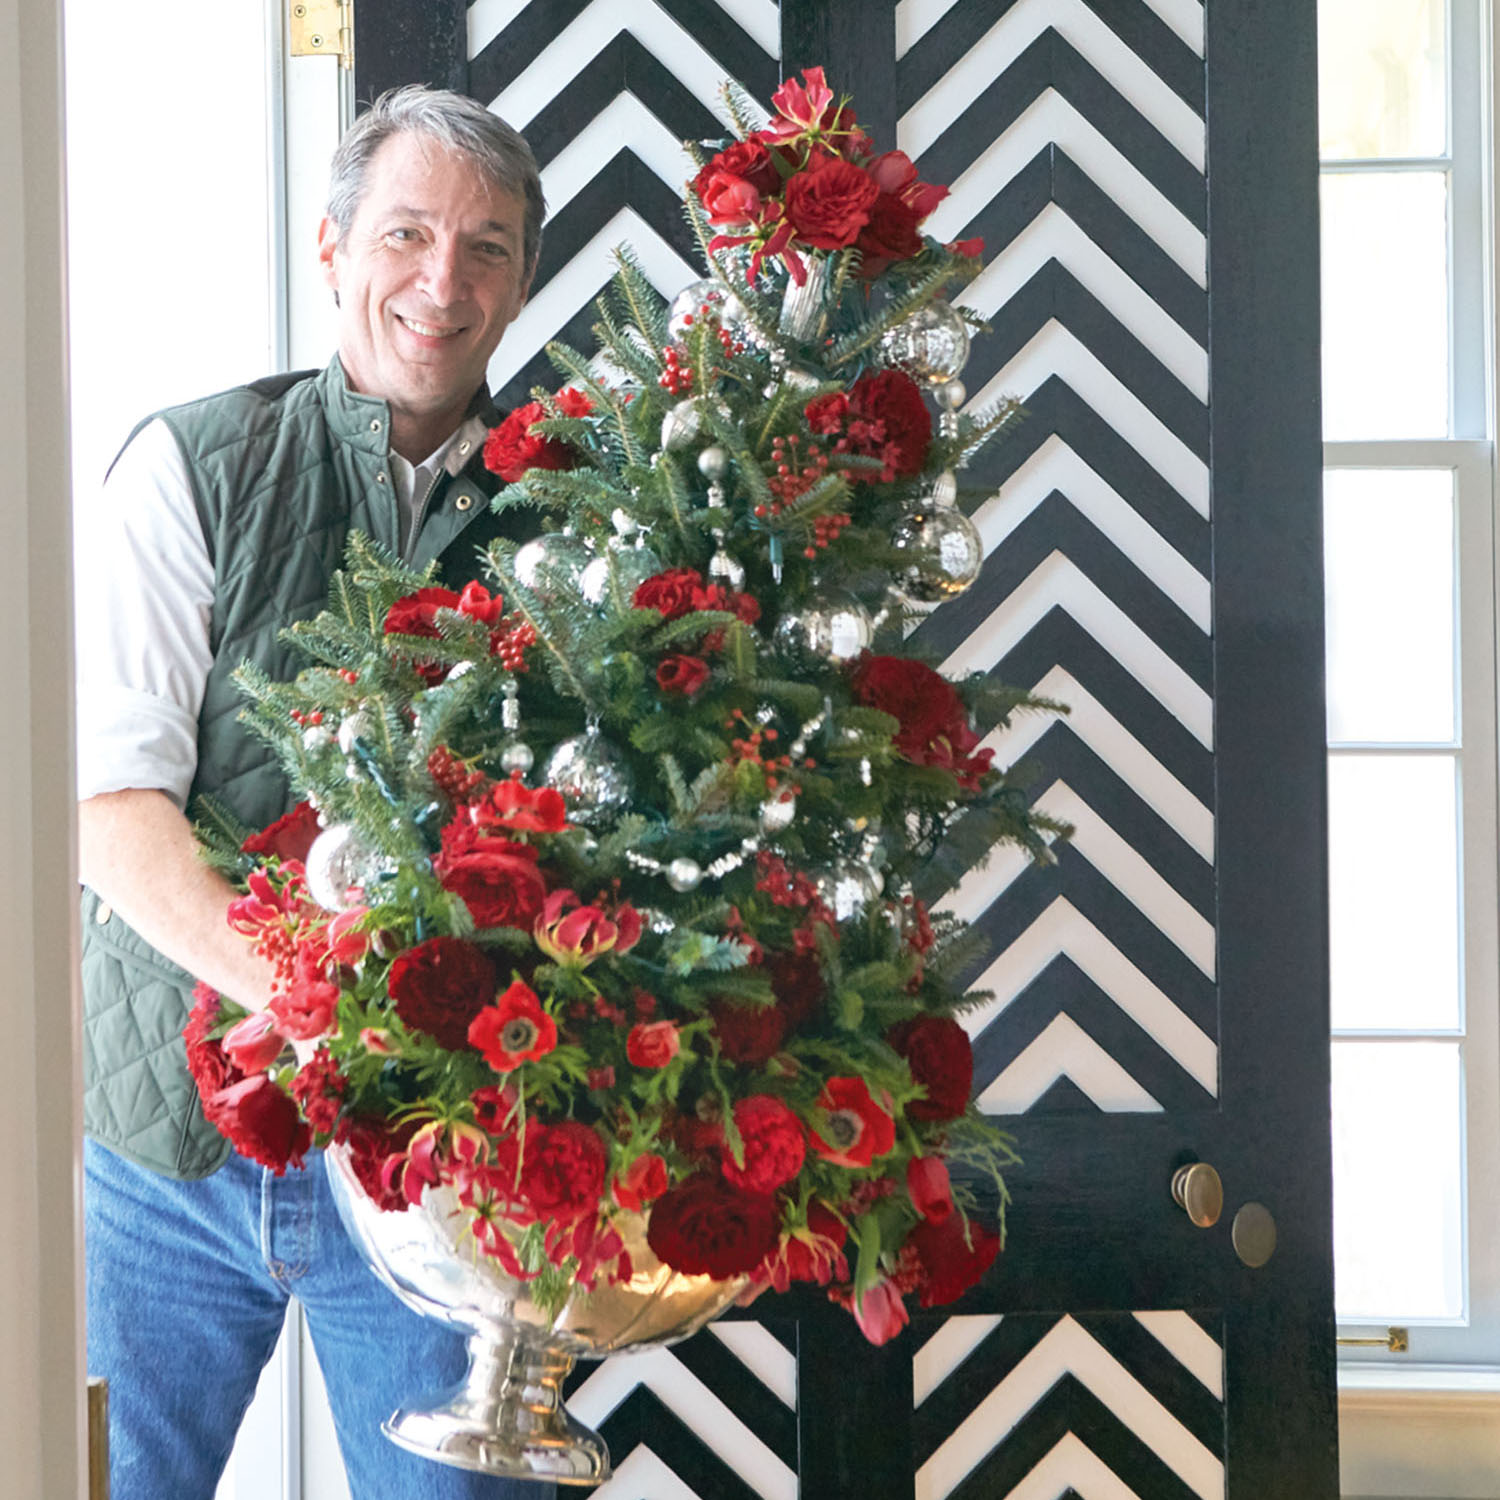
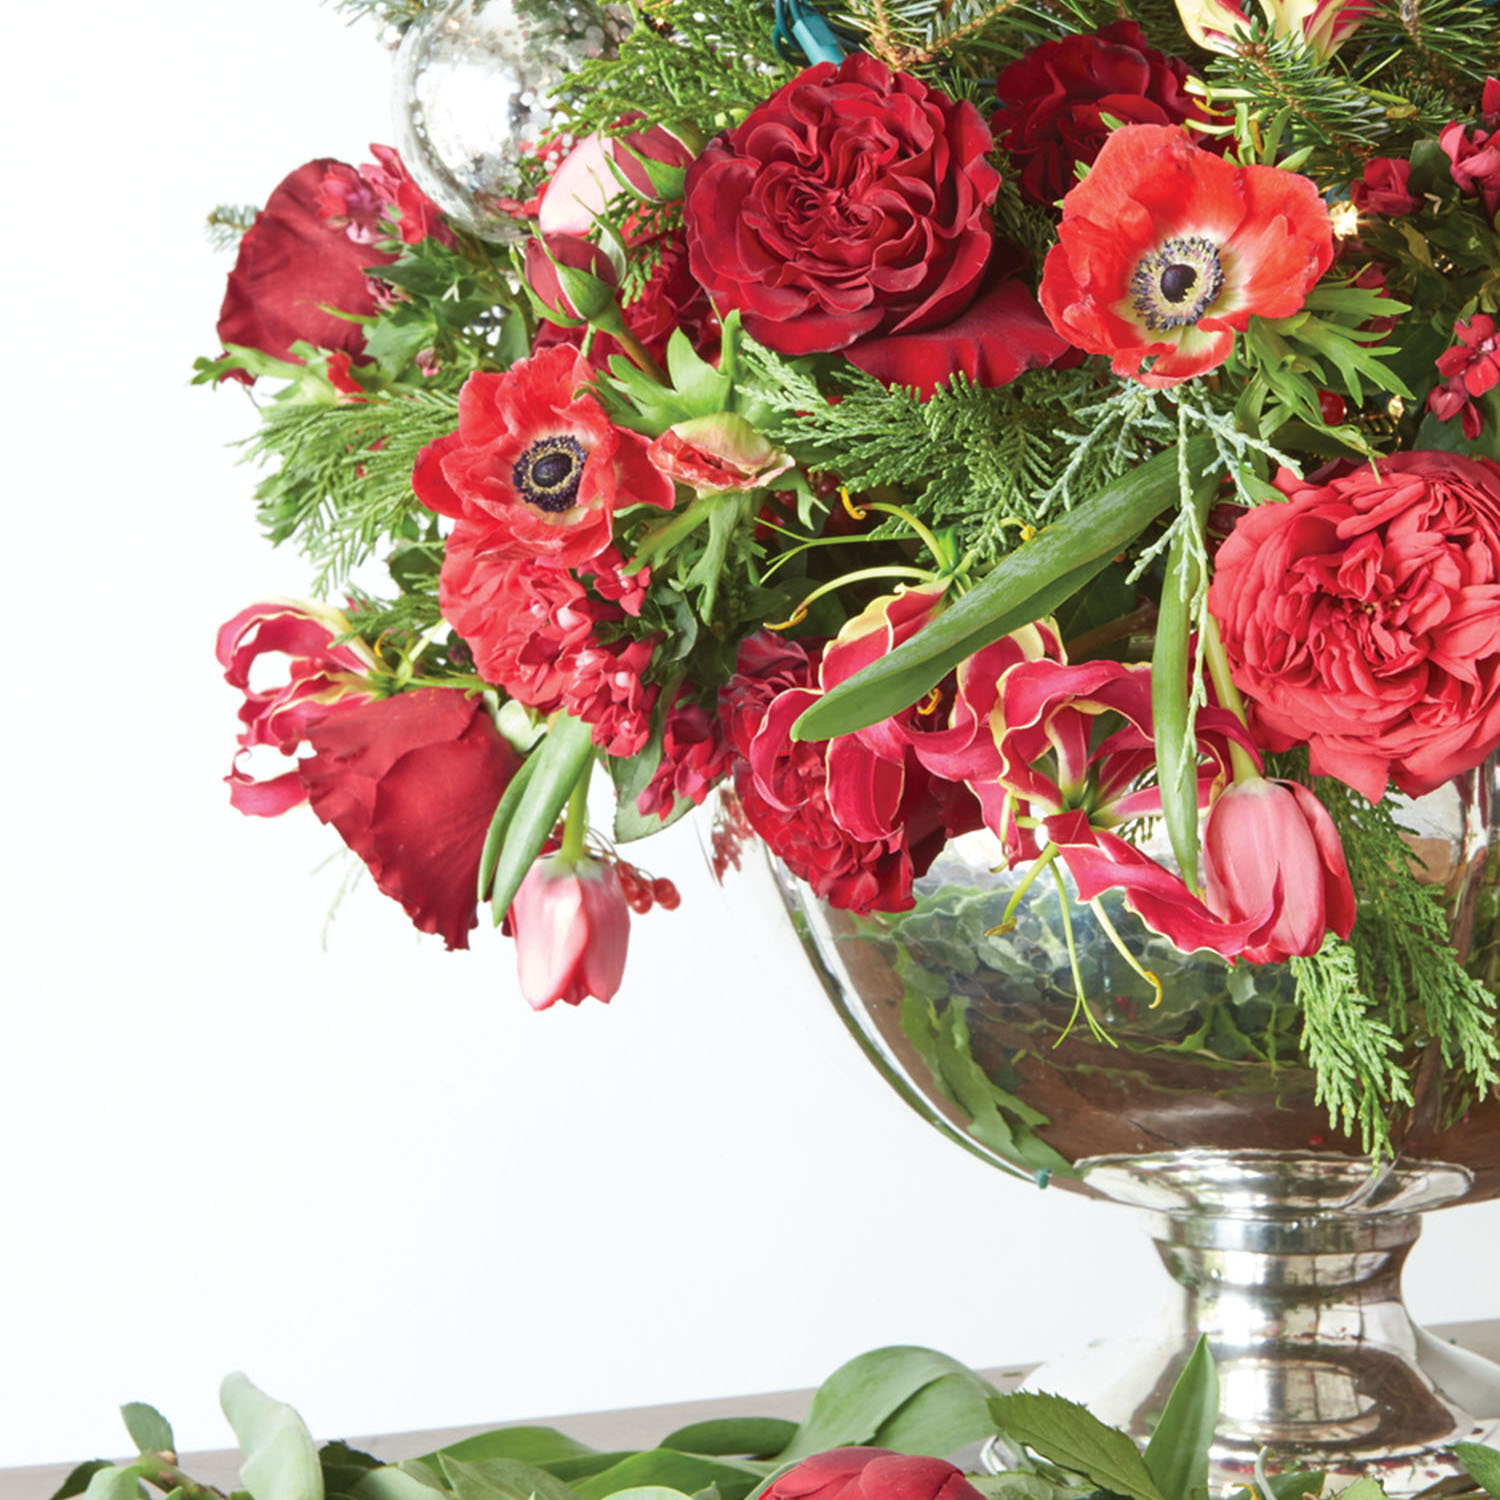
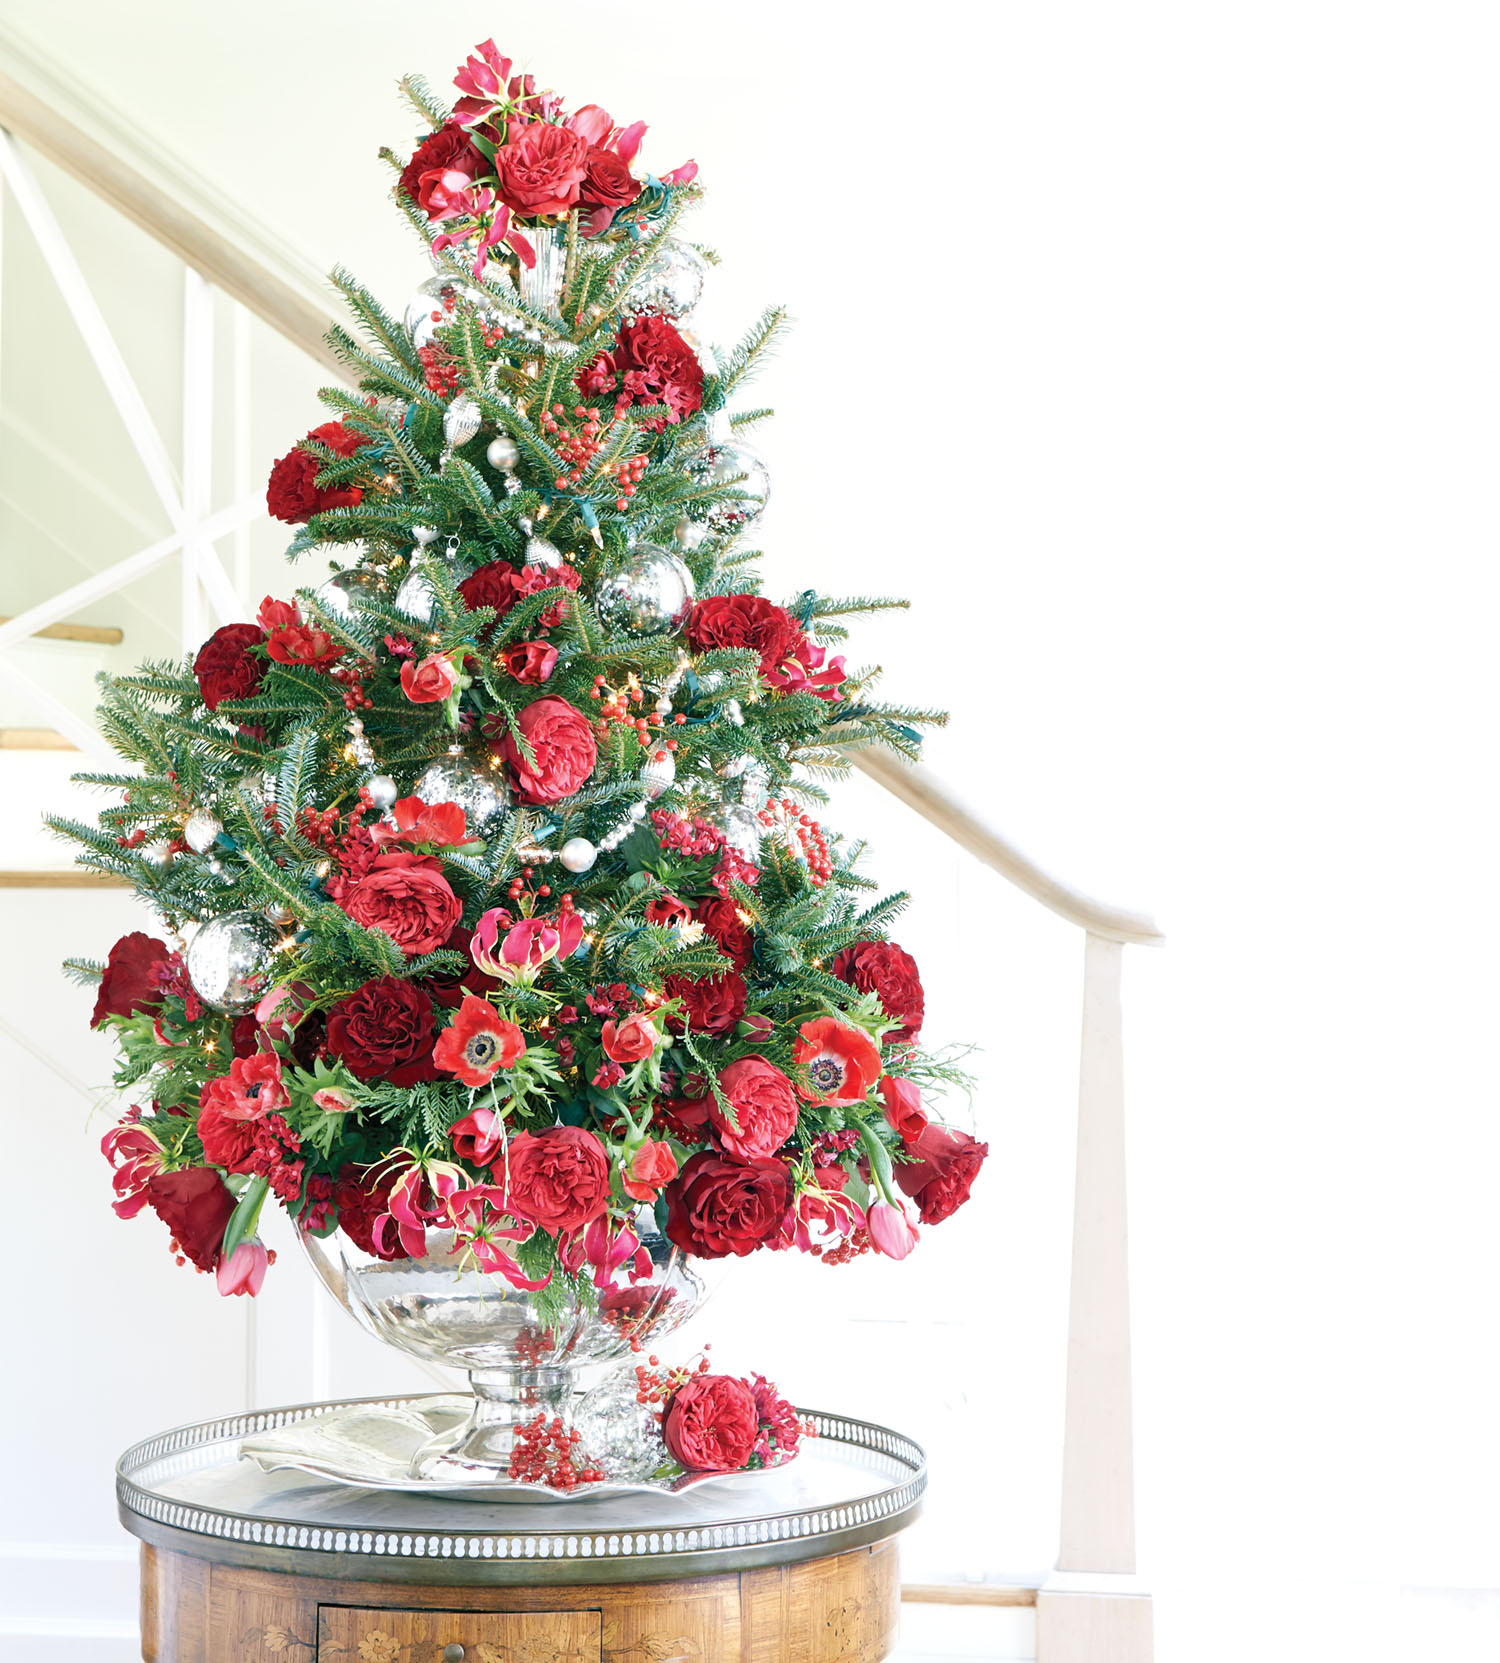
My inspiration for this design is so much of what I love about the holidays: traditional reds and greens, childhood memories of decorating the tree, and gatherings friends and family to celebrate. I’m creating a tabletop tree adorned with fresh flowers that is intended to serve as a welcome for an open house or as the centerpiece of a buffet table at a cocktail party. It makes me want to put classic Christmas songs by Johnny Mathis, Andy Williams, and Nat King Cole on the playlist, and pour a good glass of wine before I begin making the arrangement.
MATERIALS
- ‘Piano’ garden roses
- ‘Hearts’ roses
- Tulips
- Gloriosa lilies
- Bouvardia
- Anemones
- Viburnum berries
- Cedar boughs
- 3-foot Fraser fir in stand
SUPPLIES
- Strands of white lights
- Silver glass beaded garland
- Mercury glass ornaments
- Silver vase ornament
- Silver punch bowl
- Agra-Wool bricks or OshunPouches, soaked in water according to package directions
- Floral tape
- Paper towels or floral wraps
- Small plastic sandwich bags
- 1-inch-wide satin ribbon
- Boutonnière pins
- Shears
- Ribbon scissors
STEP 1
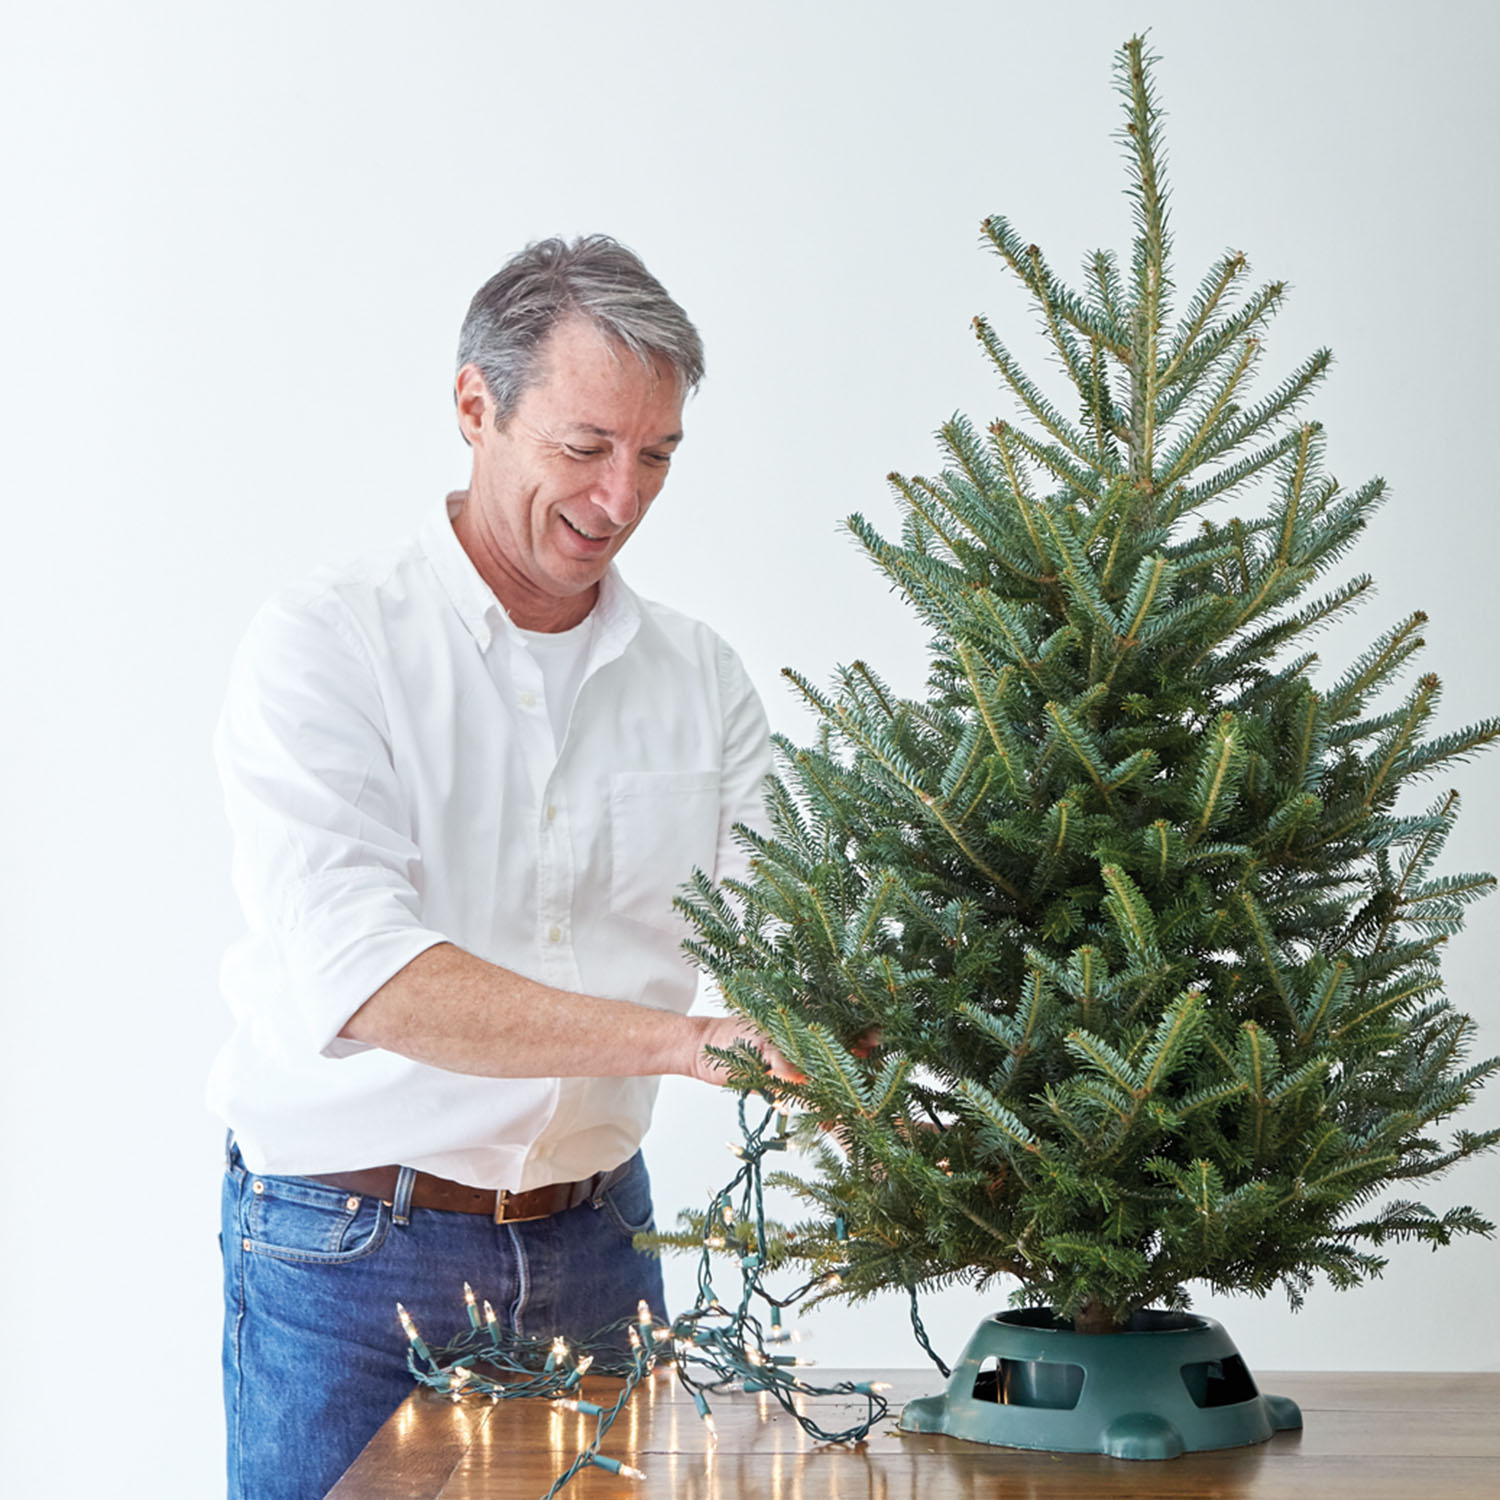
Start by giving a 3-foot Fraser fir a layer of permanent decorations. Lights go on first, and my method is to string them from the bottom of the tree up and wrap lights around each branch from the inside out.
STEP 2
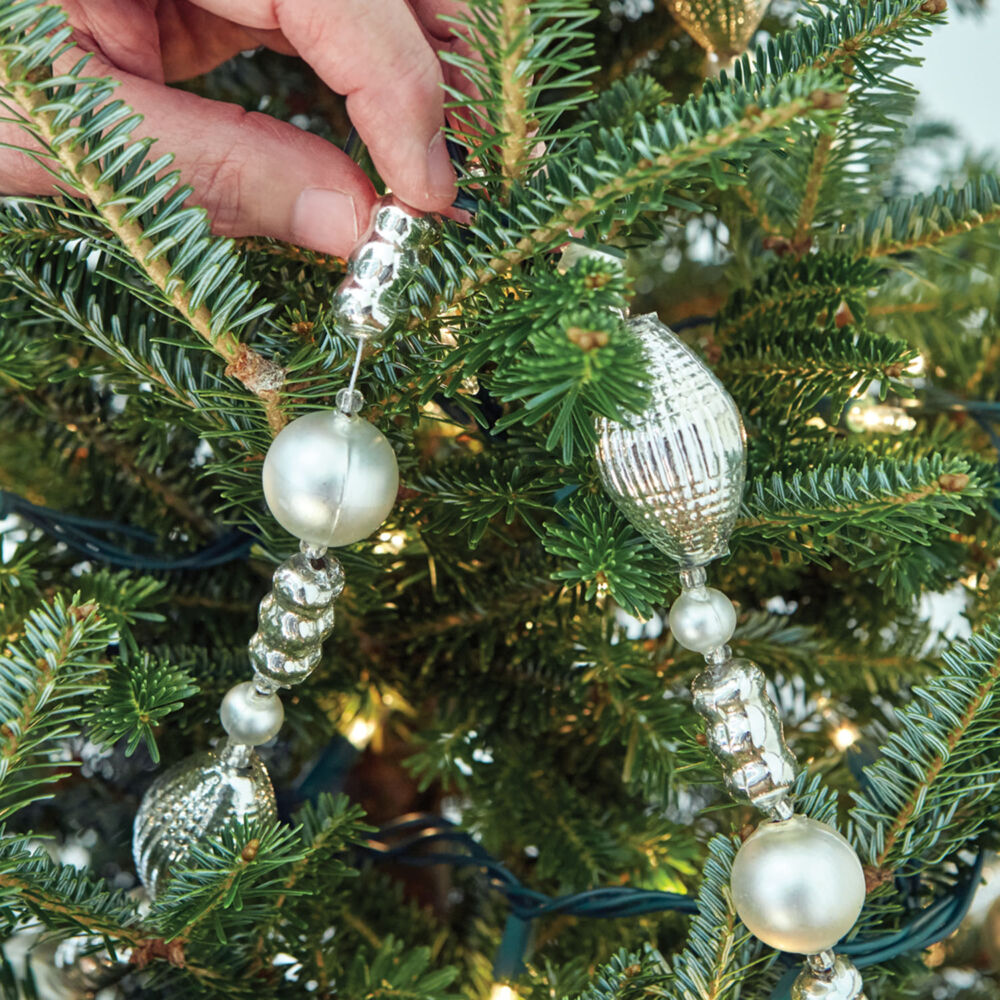
Next comes the garland. A rule of thumb is about 8 feet of garland for each foot of tree. Again, I start at the bottom and create swags. When I circle around to add the next layer, I like the drape above to almost meet the high point of the swag below.
STEP 3
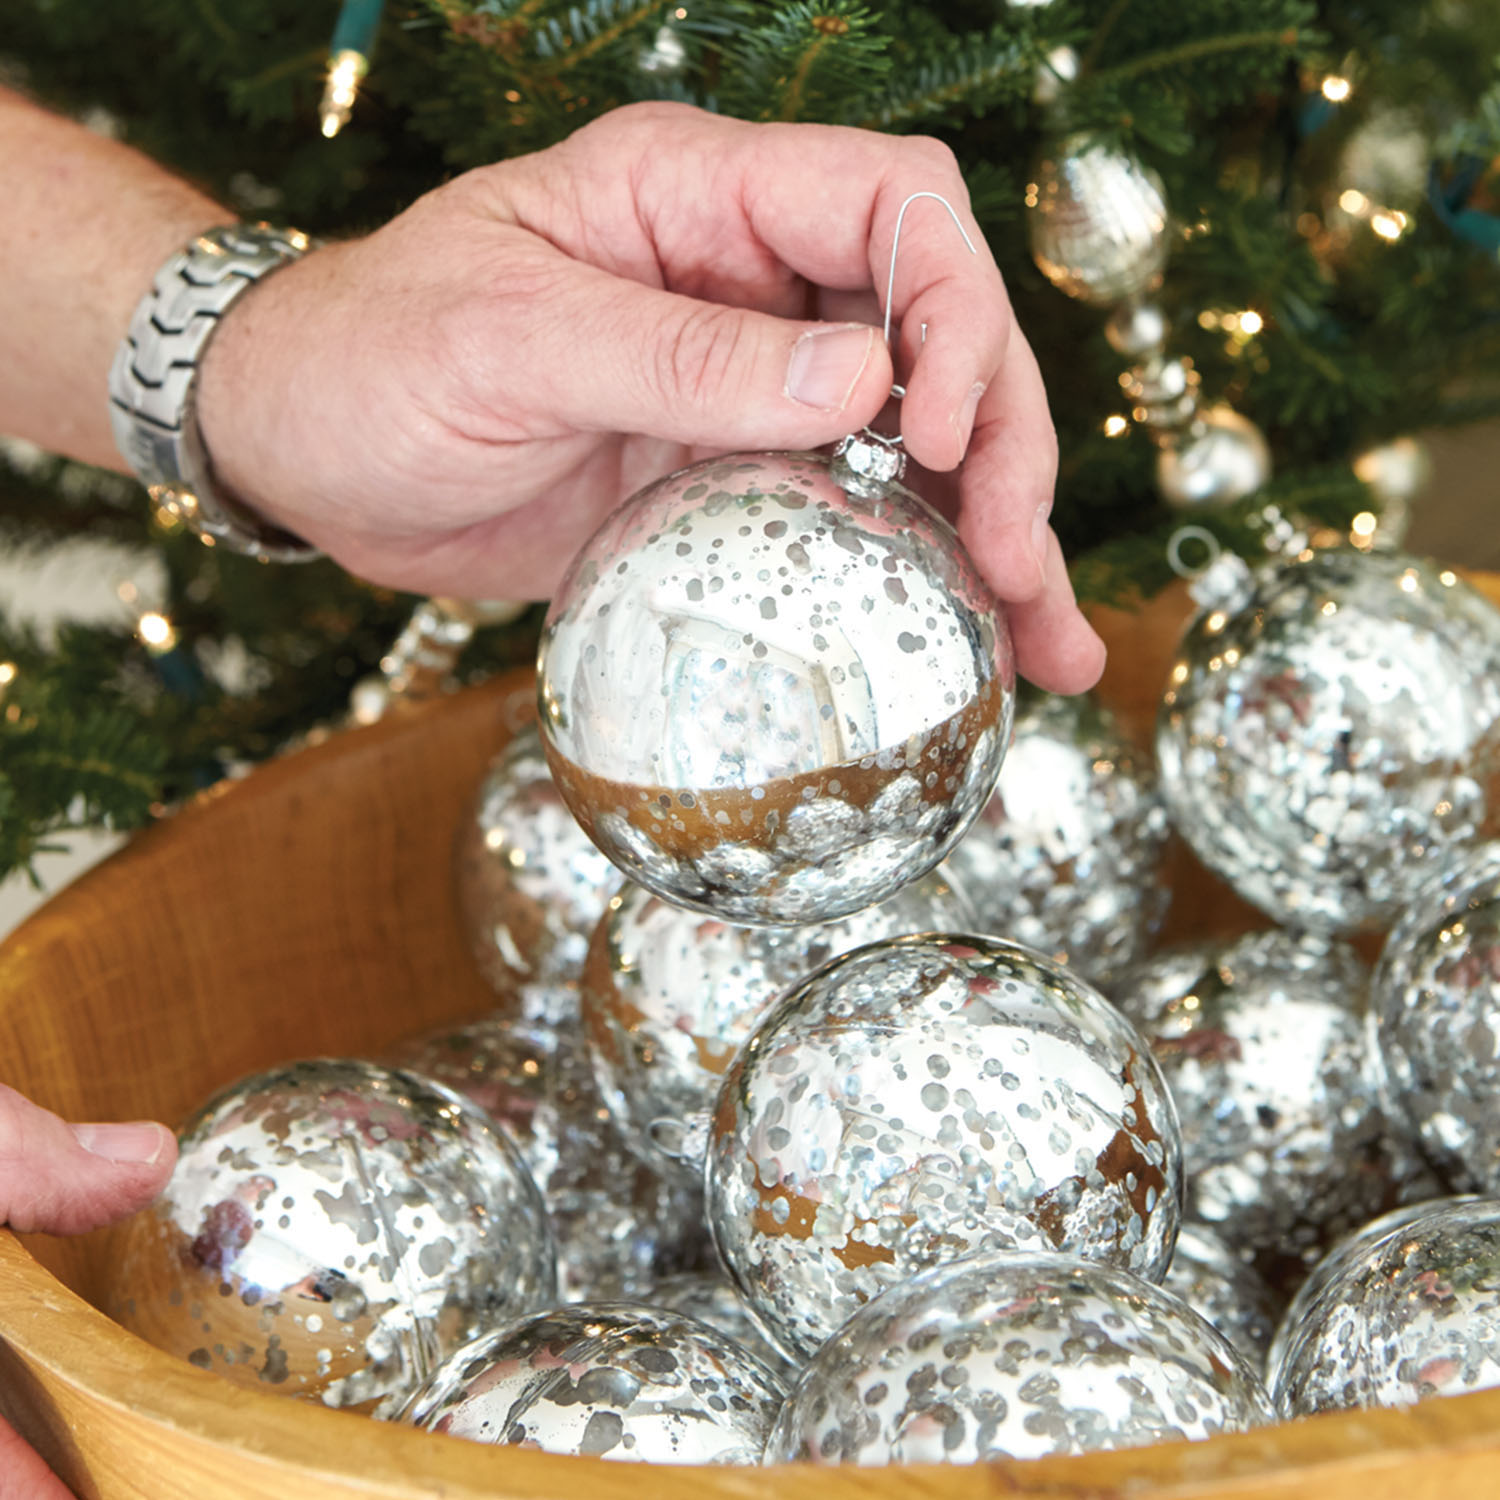
Time for ornaments. Here I use mercury glass balls, because I don’t want to compete with the floral nosegays to come. They should hang freely, not rest on the branches.
STEP 4
Place the tree and stand in a pretty container. I’ve chosen a silver punch bowl. To elevate the stand so that the lowest branches are above the container’s rim, you may need to use an inverted bowl as a base. Wedge the water-soaked Agra-Wool bricks (cut into pieces) or OshunPouches between the stand and bowl. This secures the tree and forms a foundation and water source for the flowers that encircle the bottom of the tree.
STEP 5
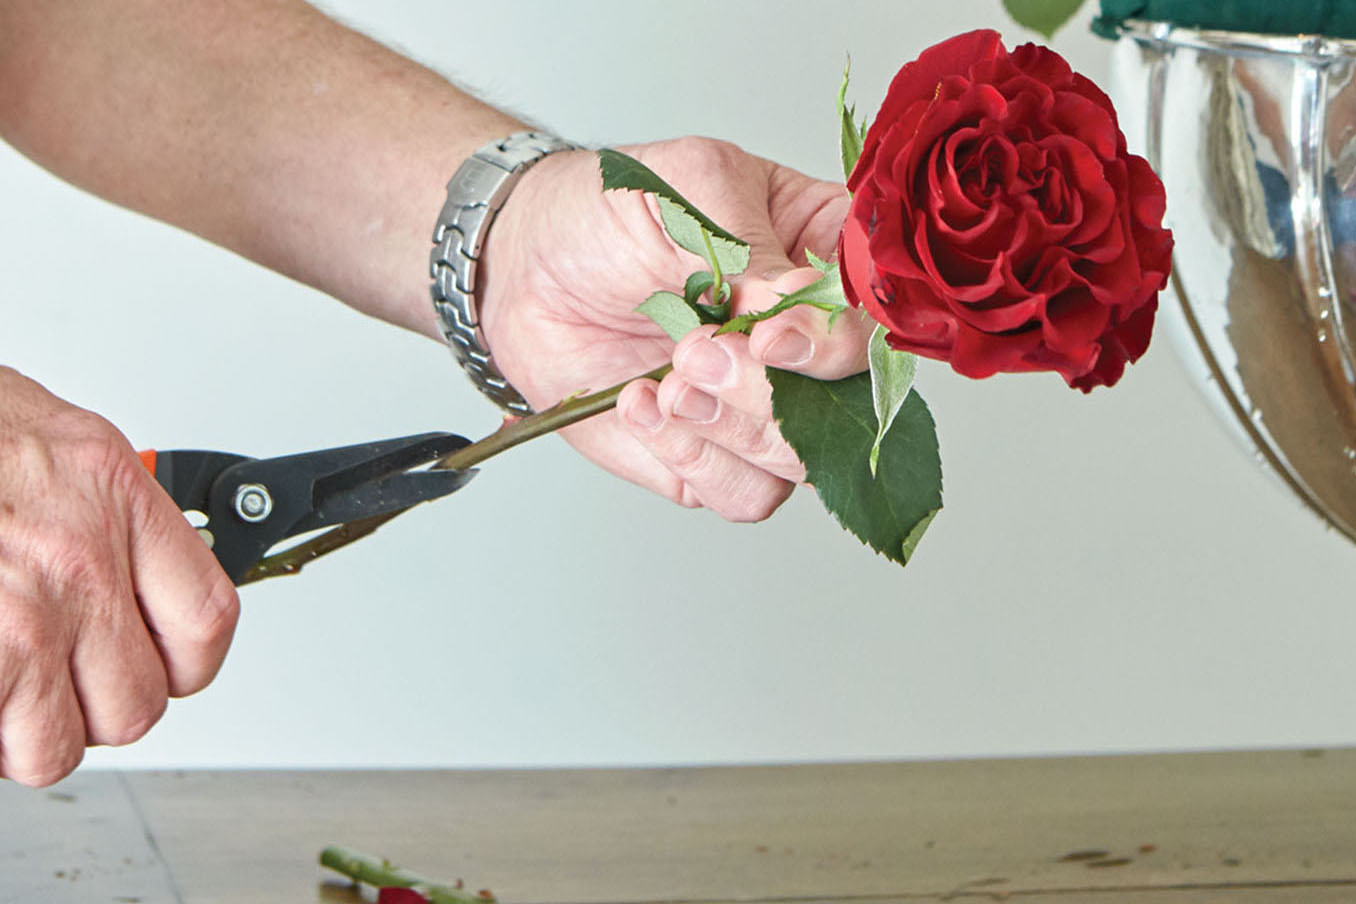
I’ve selected flowers in different shades of red, and cut the stems 4 to 5 inches long to vary height. Take the roses and insert them in the water-soaked base, some pointing up, some down, and some in the middle. Then add in the bouvardia.
STEP 6
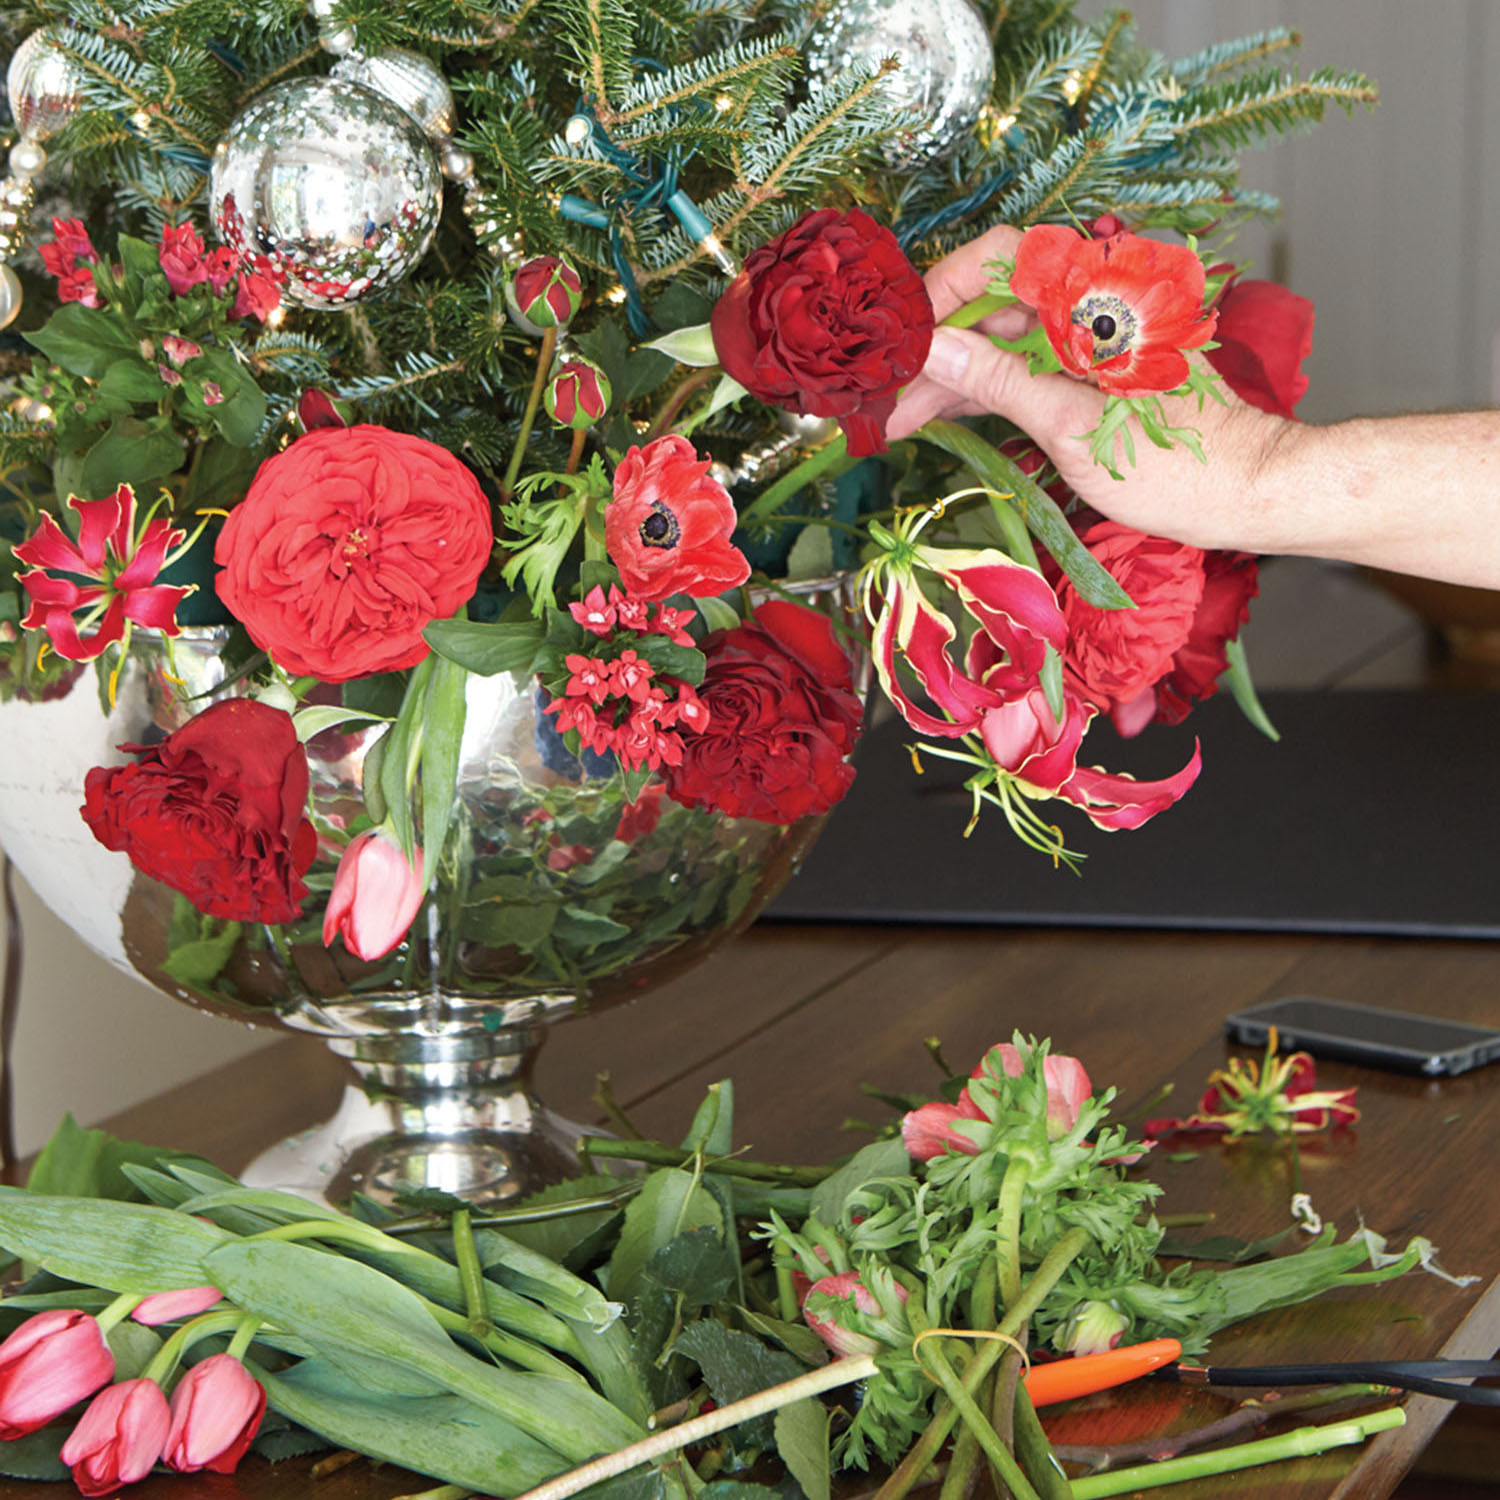
The “showcase flowers,” as I call them, are next: bright-red anemones with dark centers, tulips for a little drape, and gloriosa lilies, which I love for their spiky petals and stripes. Arrange these where they’ll make the most impact. Finally, use viburnum berries and small cedar boughs to finish covering the water-soaked base.
STEP 7
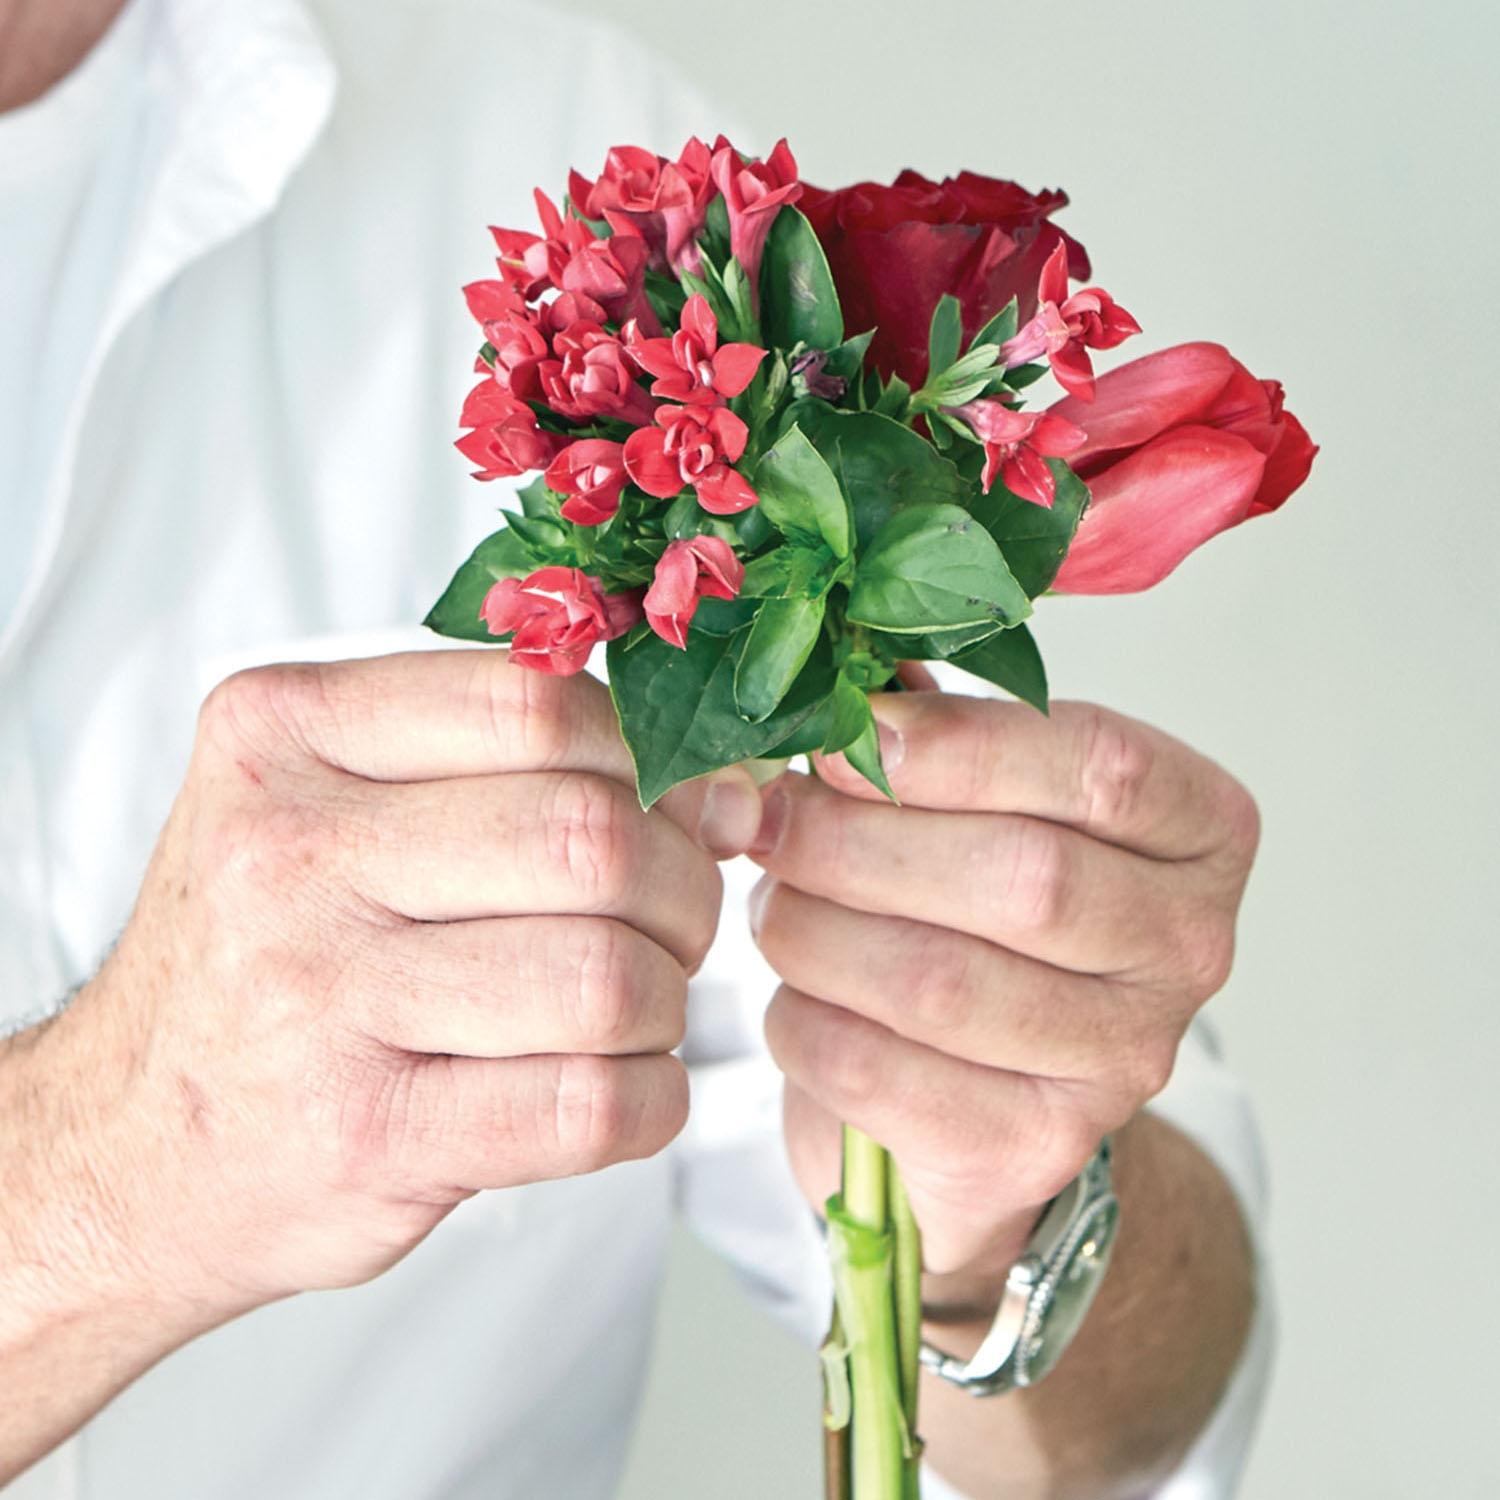
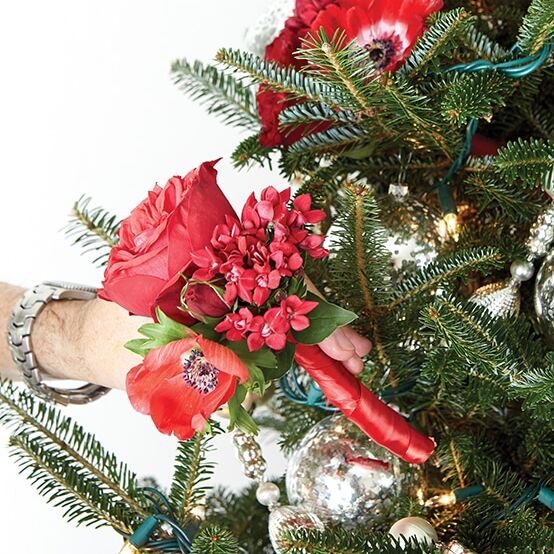
Now we’ll make nosegays for ornaments. Choose three different flowers and bundle together with floral tape at the base of the blooms. Cut stems about 5 to 6 inches down. Leaving them a bit long will help with stability when you’re placing them in the tree.
STEP 8
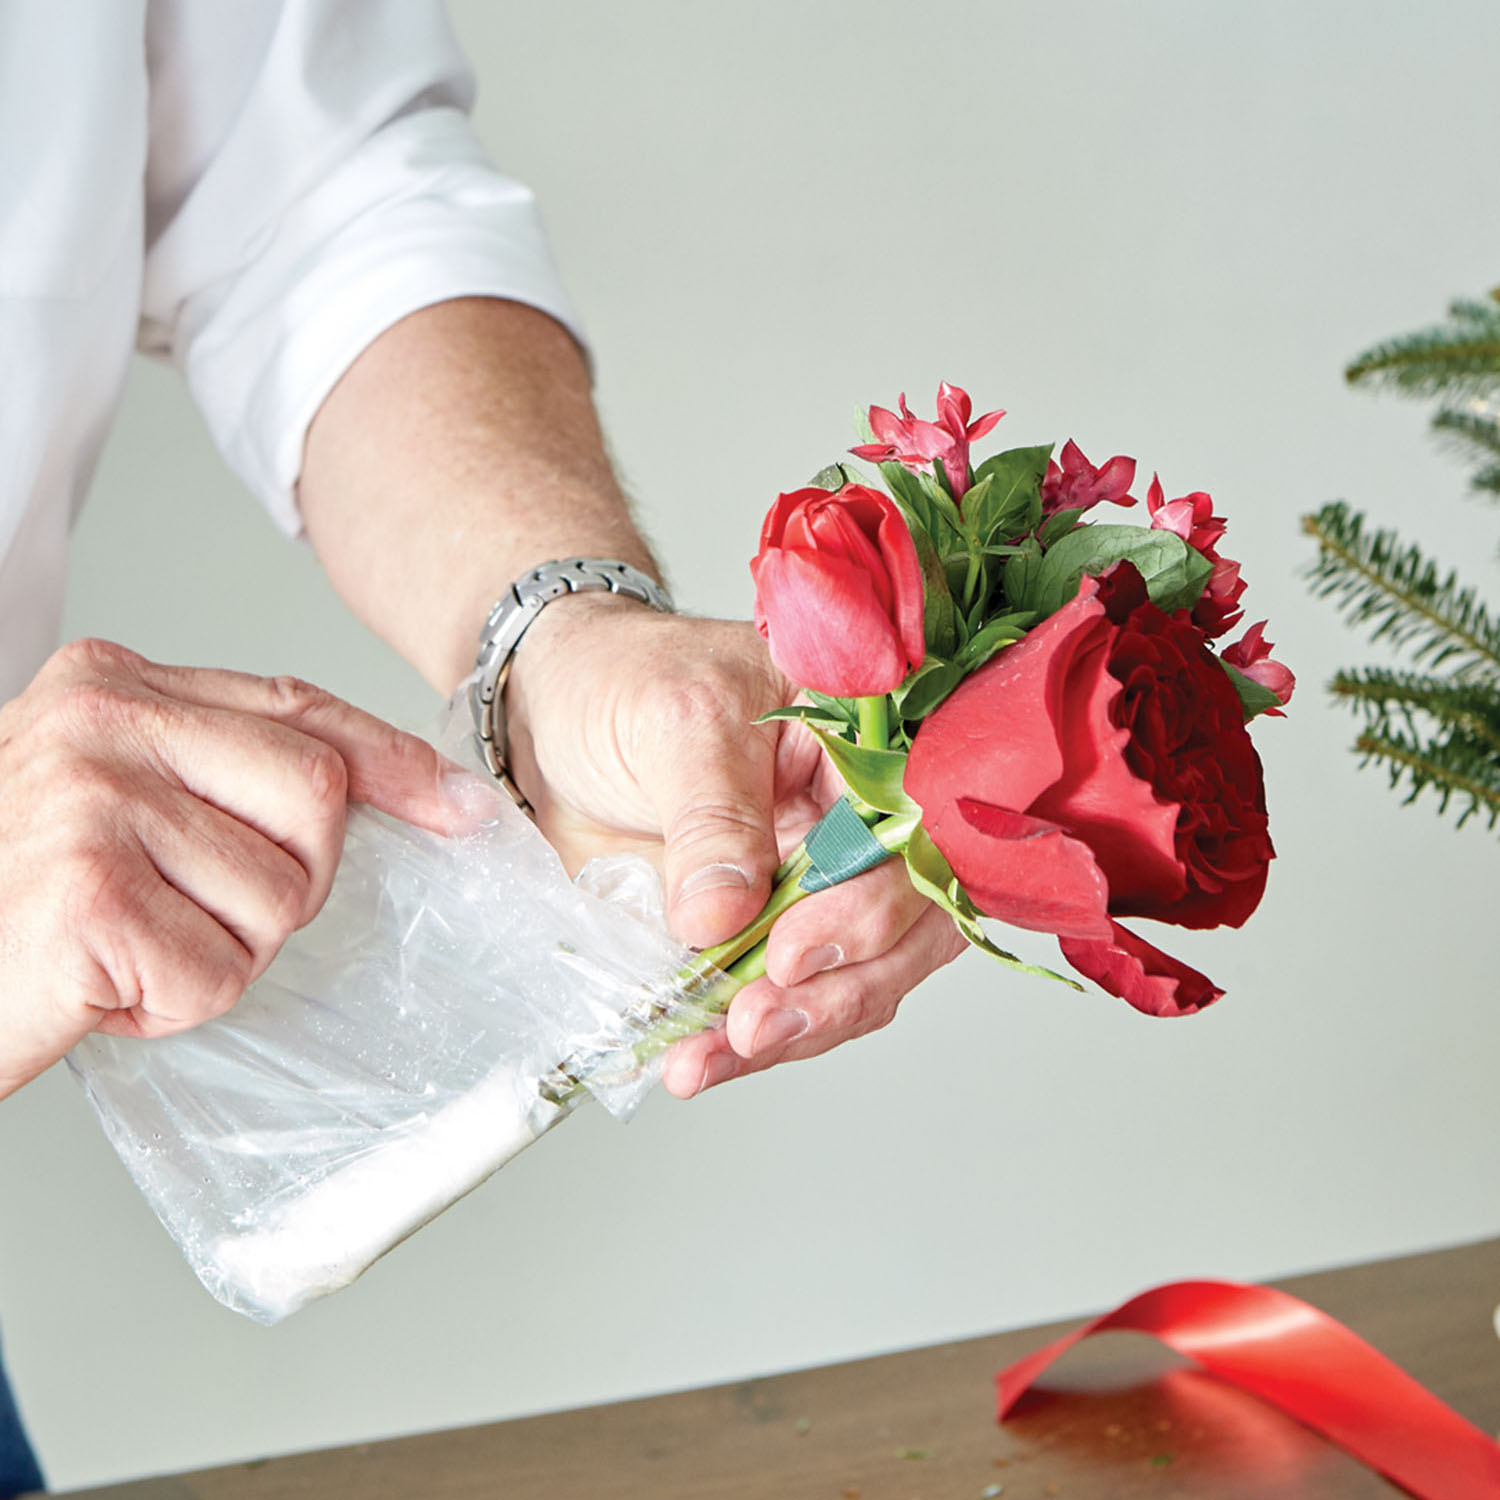
Wrap stems with a wet paper towel or floral wrap. Take a small plastic sandwich bag, place the stems inside, wrap the bag around tightly, and seal at the top with floral tape.
STEP 9
Using ribbon, start at the top of the stems and wrap tightly all the way down. Cut the ribbon with ribbon scissors, take two boutonnière pins, and secure the ribbon to the stems on either side. Continue making bouquets. I find that an odd number works best, and made 13 for this size tree. Nestle all within the branches.
STEP 10
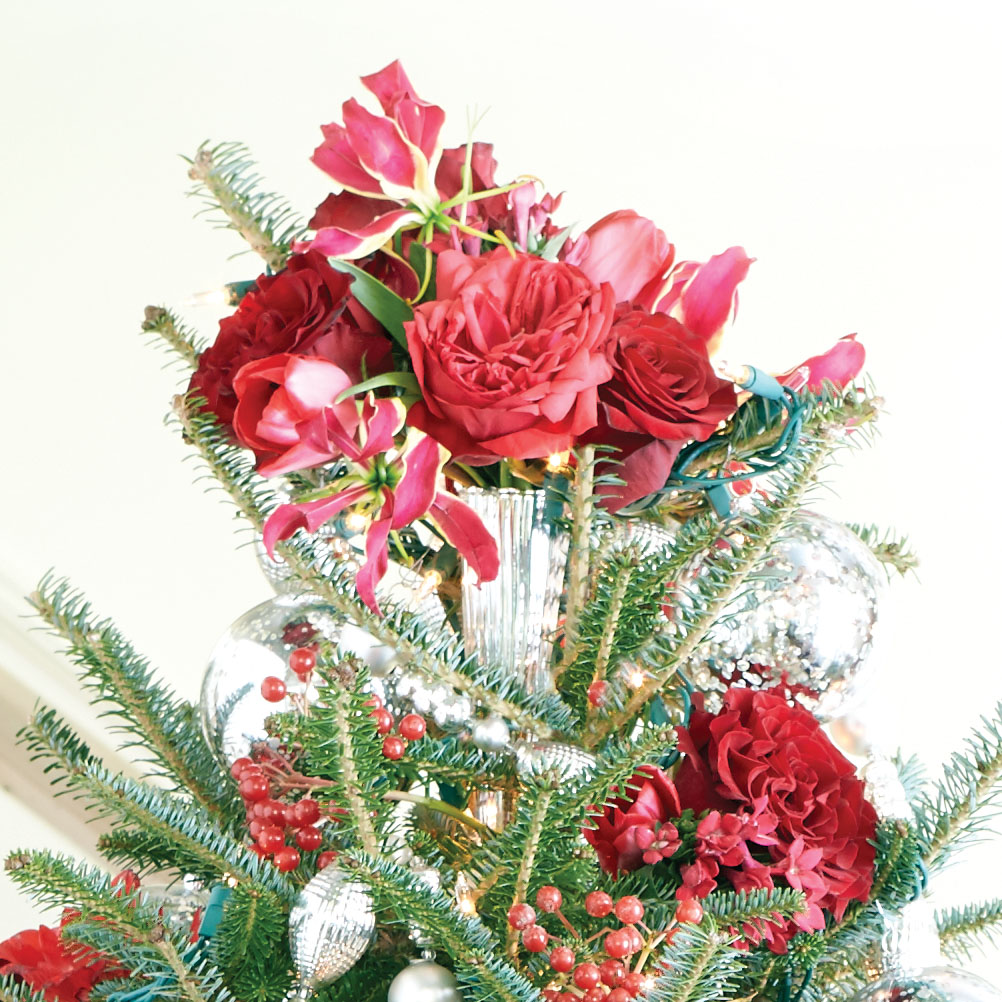
For the crowning touch, fill a silver vase ornament with water, arrange several flowers in the cone, thread ribbon through the ornament’s hooks, and secure to the top of the tree. You could also tie on another nosegay with ribbon for the topper.
The floral base of the tree should last several days and the fresh ornaments should hold up a day or two—long enough for this arrangement to serve as a showstopping centerpiece for holiday parties on back-to-back nights. After all, the house is already clean; the hors d’oeuvres have been made or ordered; the cocktail makings are on hand; why not double the fun? ’Tis the season!
By Ray Jordan | Produced by Karen Carroll | Photos by David Hillegas

