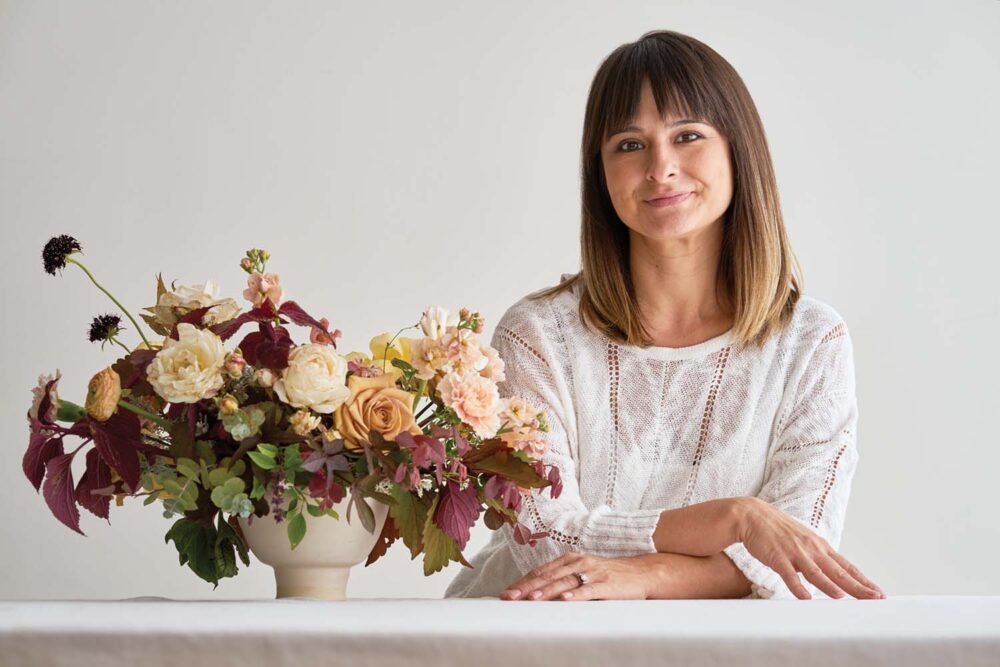
Follow along as Adri Smith of Moss Floral Design makes this autumn-hued arrangement step by step.
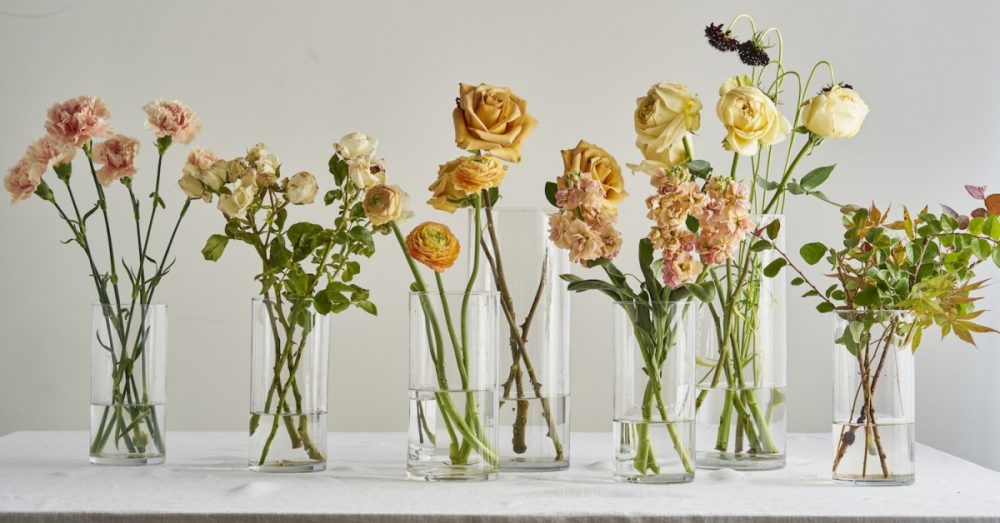
My single-source inspiration was the mustard combo rose, which works well with many different palettes, like the cream, pale peach, dark mauve, and burgundy one I used. I also wanted to include foliage that was distinct from the traditional blooms found at the flower market. I visited one of my favorite local nurseries to search for unique accent pieces that would complement the muted palette I envisioned. Delicate eucalyptus, coleus, and dainty foliage added interest without overpowering the focal pieces.
Step-by-Step Tutorial
Materials
- Carnations
- Scabiosas
- Ranunculus
- Coleus
- ‘Baby Blue’ eucalyptus
- Mustard combo roses
- Garden roses
- ‘Caramel Antike’ garden roses
- ‘Edith’ garden roses
- Milkweed
- Cinnamon basil
- Snapdragons
- Fringe flower foliage
- Artemisia
- Heuchera
Step 1
Prepare your mechanics. Editor’s note: When Flower magazine photographed this tutorial with Adri in 2016, she used floral foam. Since that time, Flower has moved away from the use of floral foam for environmental reasons. You can achieve similar results using one of the following methods. Click the links for further instructions on each method.
- For a compote or bowl arrangement, use balled-up chicken wire topped with a grid of floral tape (see Destiny Pinson’s how-to).
- To provide extra support for your stems, secure a florist frog to the bottom of your container using floral putty before adding the chicken wire and floral-tape grid (see Rowan Blossom’s technique).
- Streamline your mechanics with the Holly Heider Chapple Pillow—a reusable floral cage that rests in your container and even allows you to transfer your arrangement to a different vessel. Flower magazine gave the pillow a try in this video.
Step 2
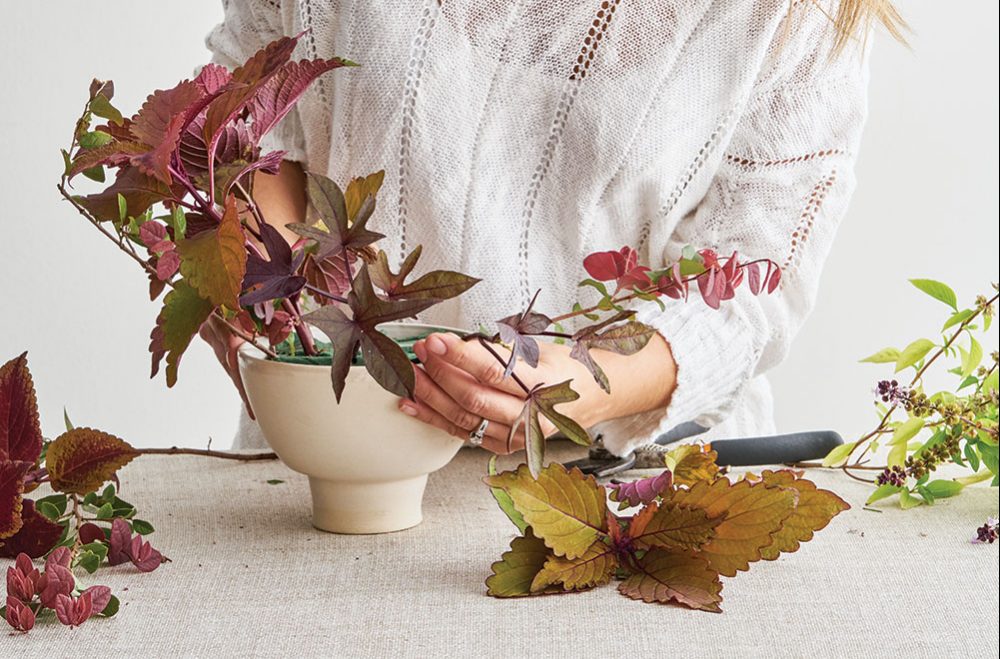
Build the framework for the arrangement. When placing materials, work with the natural curves of each stem, and think about movement—the eye needs to have something to follow. Make sure to place materials at different levels, and work toward a valley shape with the framework. Add the coleus (beautiful shape and color—even the stems), heuchera, cinnamon basil, fringe flower foliage, and milkweed.
Step 3
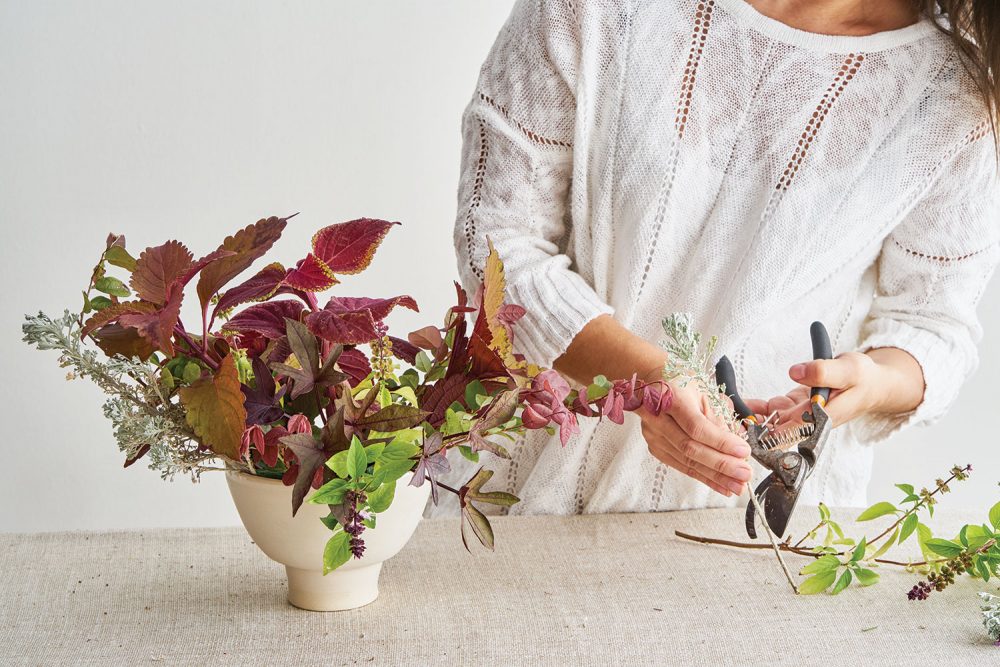
For the last step in the base, add a few stems of artemisia with the pretty silvery-green foliage. Be sure to check the arrangement on all sides, and fill in as needed to cover any bare spots. Vary the textures, and think about creating little moments and stories within the arrangement.
Step 4
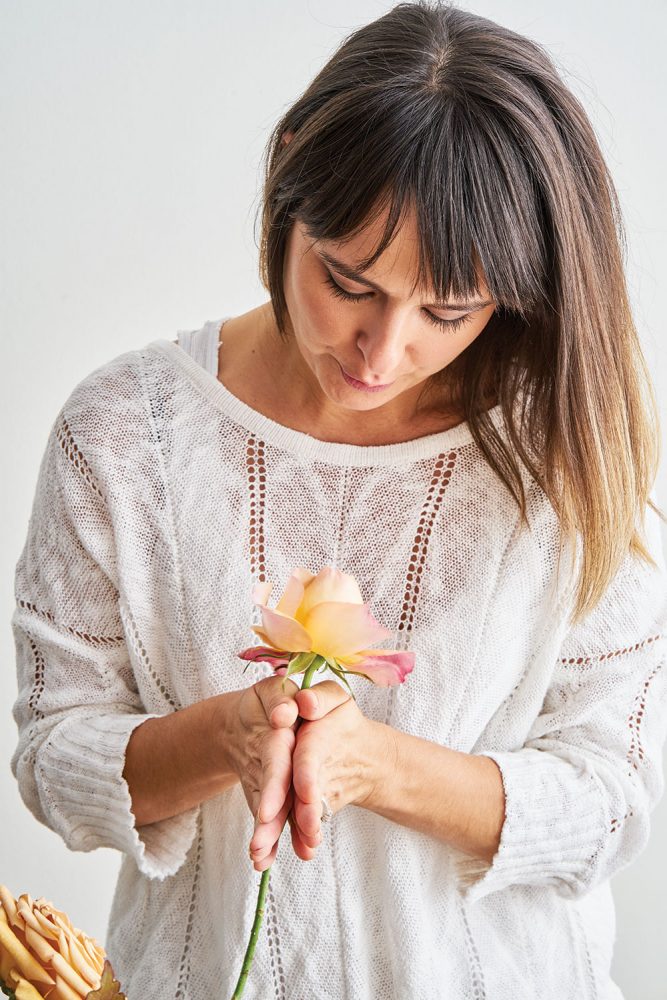
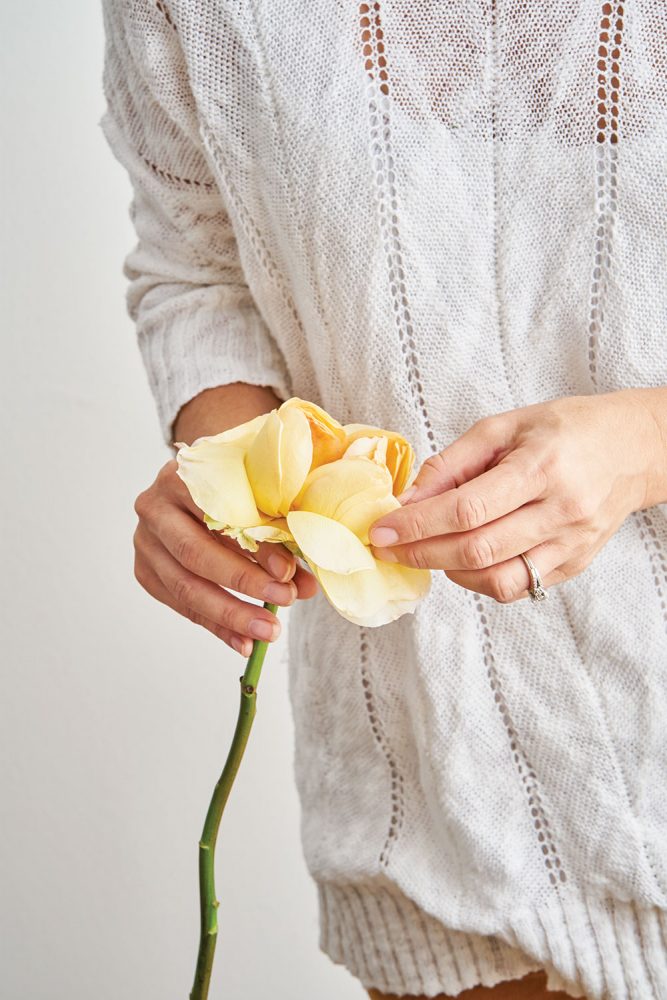
Prepare the roses to put into the arrangement. To open them up more, I either blow in the center of the bloom while twirling the stem in both hands—this will give standard roses the look of more expensive garden roses—or I gently peel back the petals away from the center, which makes the rose resemble a ruffled peony.
Step 5
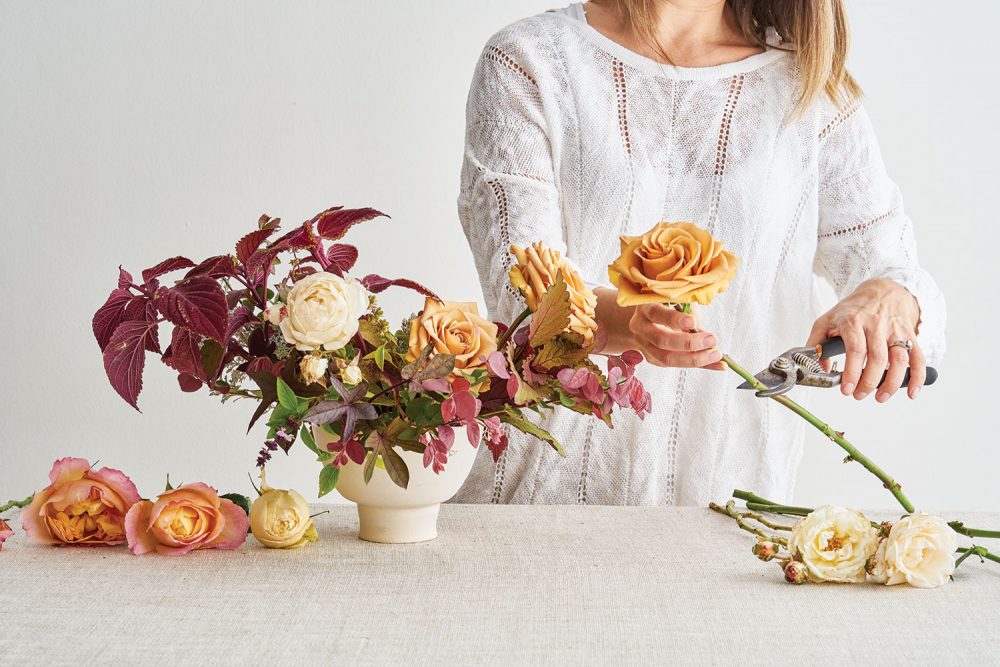
It’s time to add the focal flowers and build the color palette, starting with the roses. Make sure to cluster a couple of the same blooms together, which is how they would look in nature. The mustard combo rose is the star; place one front and low on the arrangement, and then add two more, creating a triangle. Make sure not to crowd the flowers; give them breathing room, which makes for a more organic look. Continue with the V shape.
Step 6
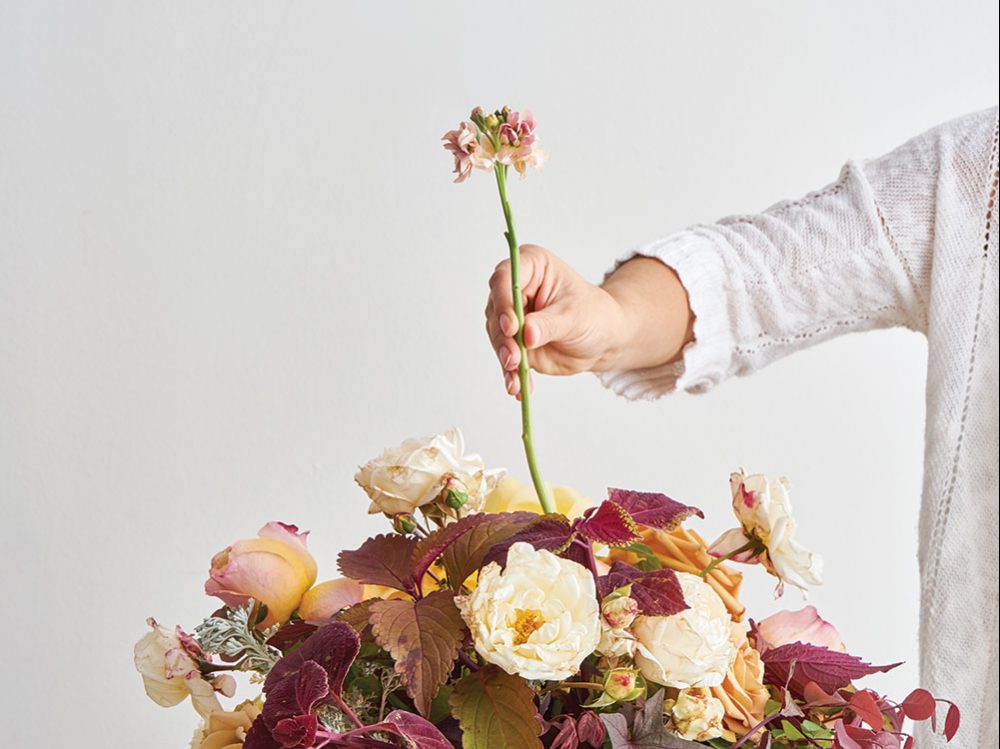
Accent flowers add movement and height and build on the palette as well. Use ranunculus, scabiosa, and a few stems of peach snapdragons. I often cluster the accent flowers in groups of three. You want them to have a lot of breathing room, so an imagined butterfly can flit around, which is how I like to think of it.
Step 7
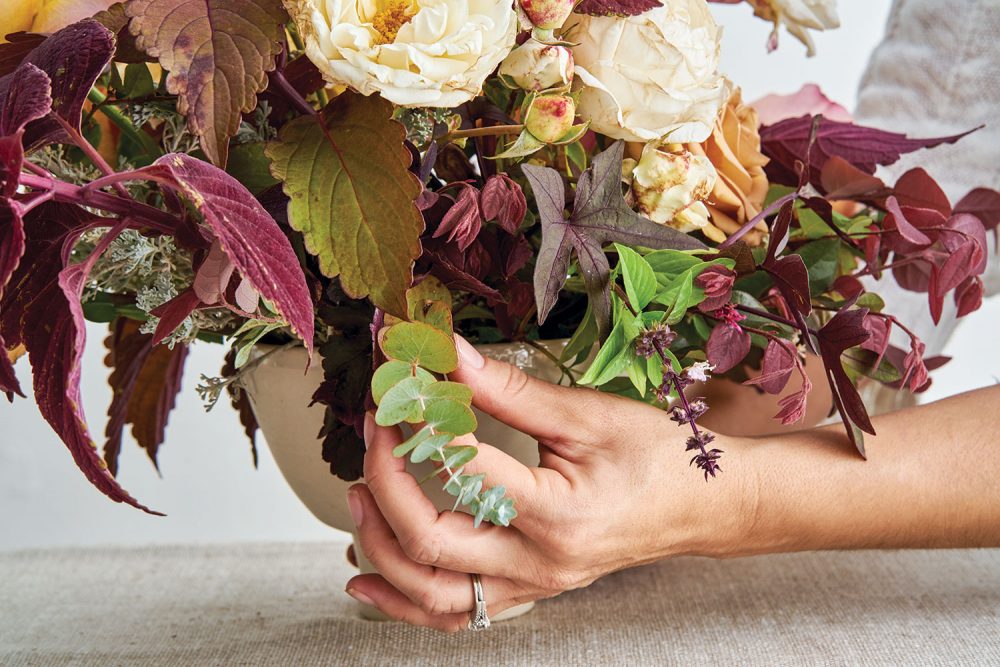
For another layer of texture and interest, place a few sprigs of ‘Baby Blue’ eucalyptus around the bottom of the arrangement, clustered off to one side. They will drape nicely over the edge of the container along with the coleus.
Step 8
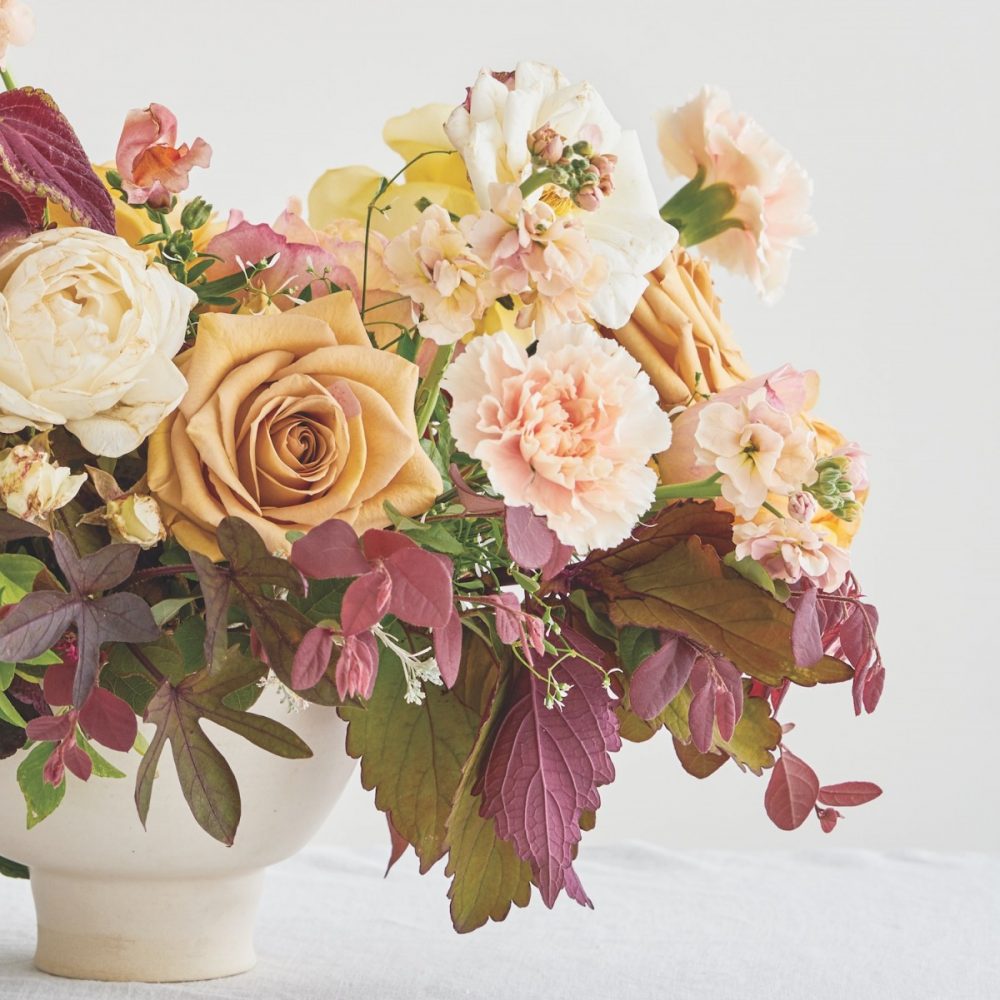
Sometimes you think that you’re finished with an arrangement but then change your mind. Be open to that because there really aren’t any rules. I added two peach carnations to one side. The color provides the perfect transition from the deeper burgundy shade of the coleus to the white roses. Check all angles again, fill in any empty spots, and you’re done!
By Adri Smith of Moss Floral Design mossfloralfw.com | Produced by Alice Welsh Doyle | Photography by Stephen Karlisch

