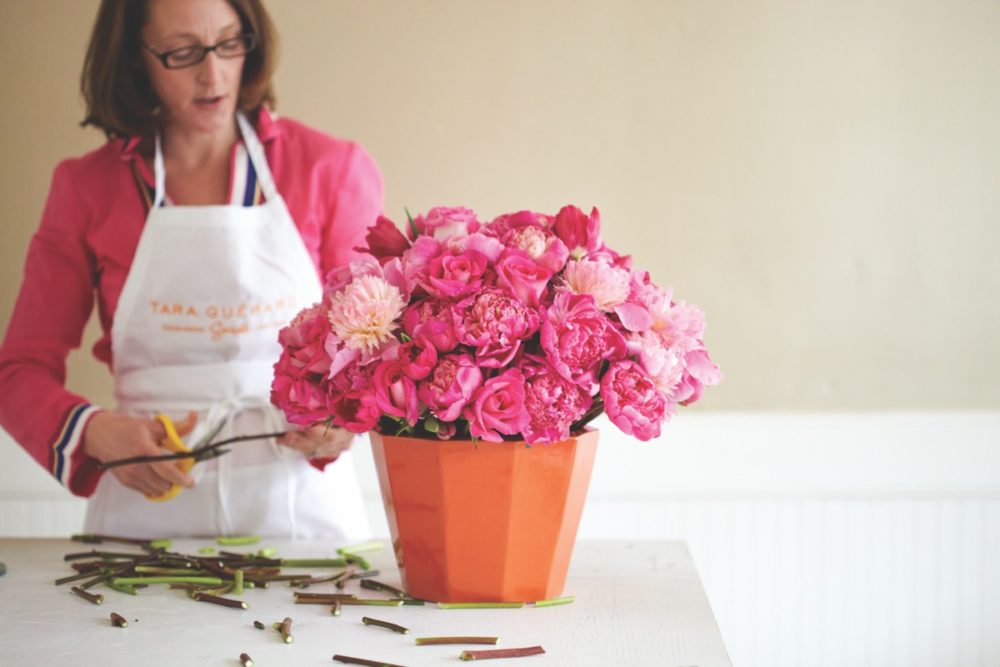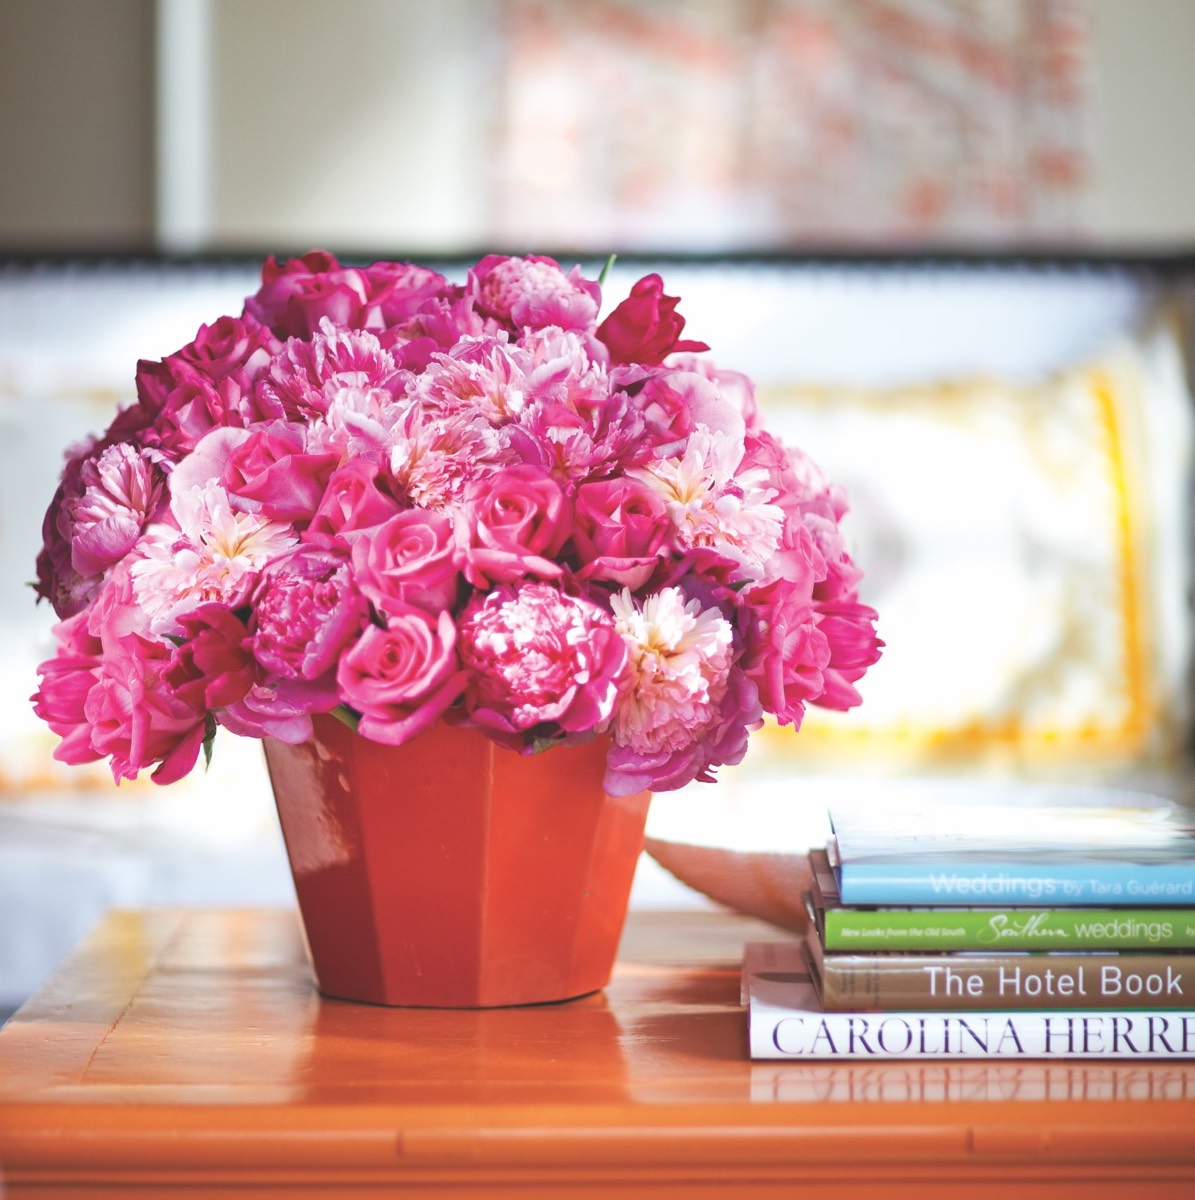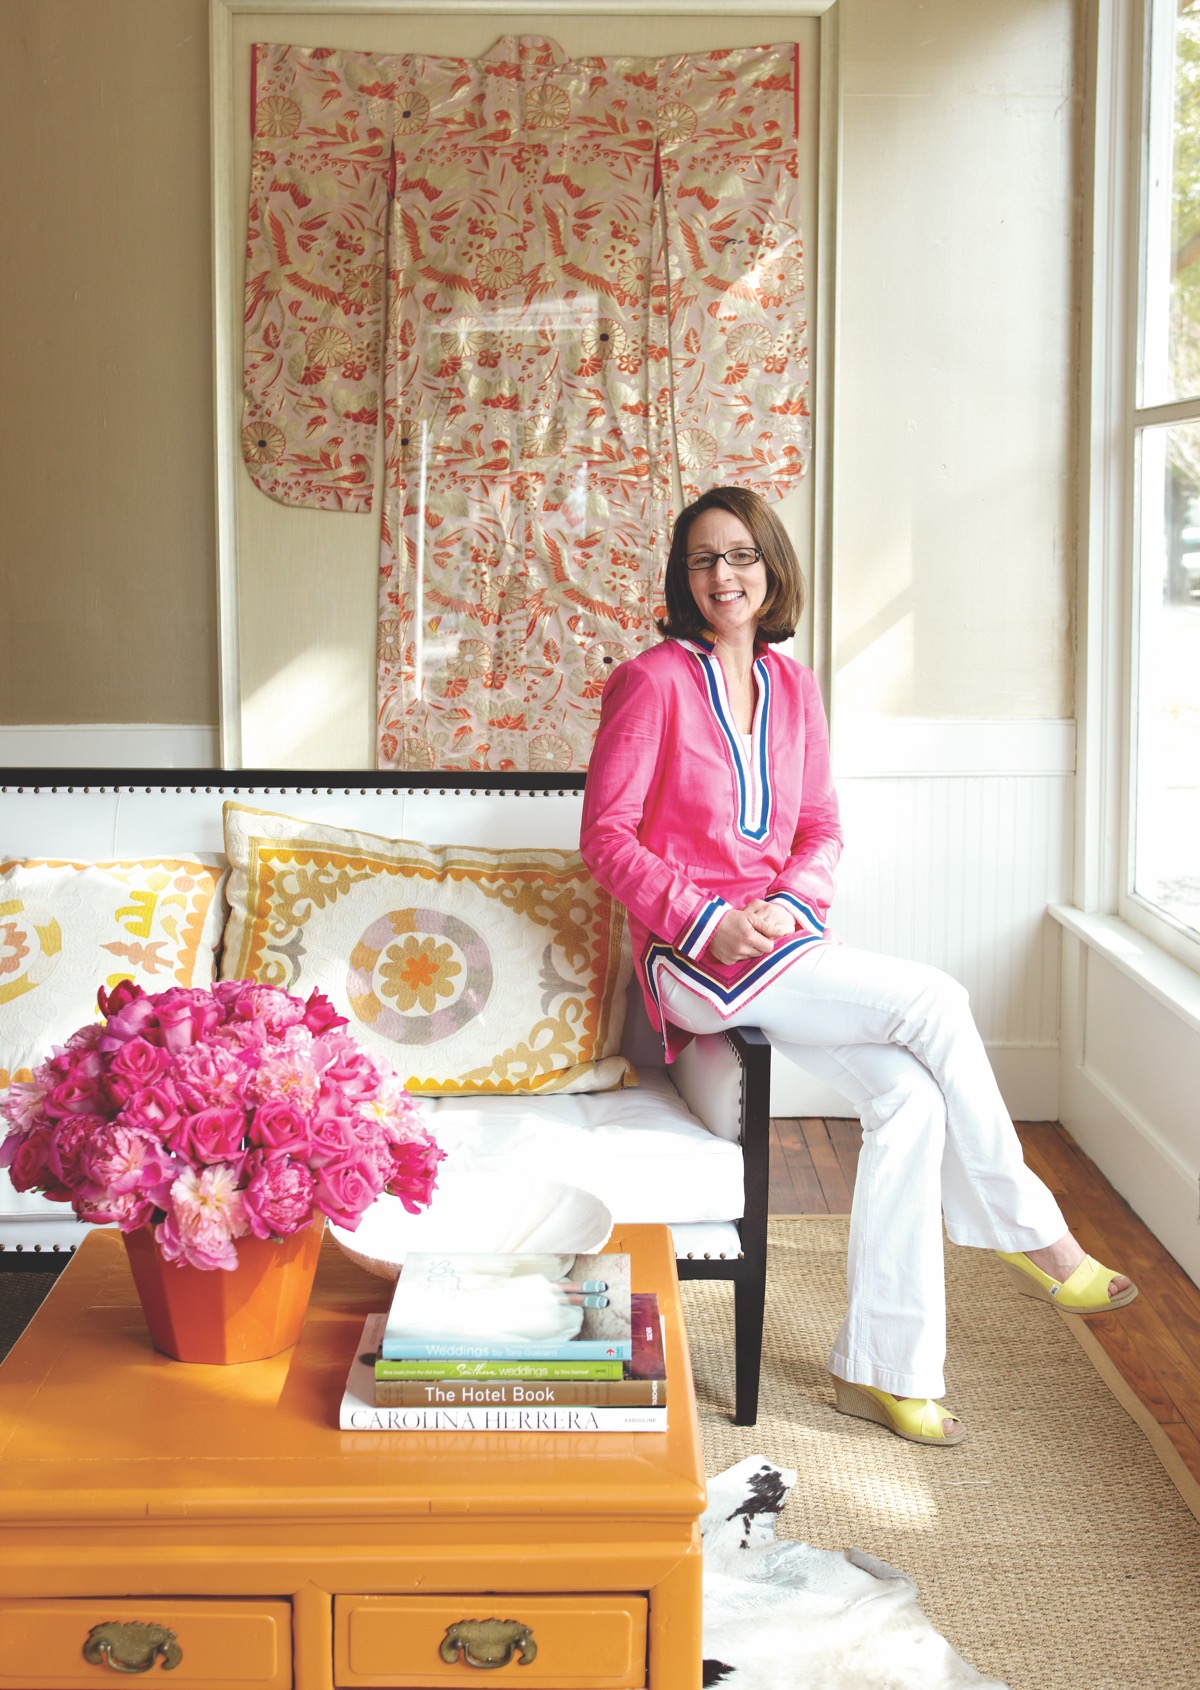
Tara Guérard shows how to make this summery, pink flower arrangement, step-by-step.
My inspiration for this arrangement was Pantone honeysuckle color. It’s young, vibrant and cheerful—perfect for our Charleston studio. Monochromatic centerpieces have always been my favorites. I love varying shades and textures, so when choosing flowers, I am also constantly trying to envision the shape the shape and size that I’m selecting (how they will mesh, if you will). It’s important to have small, medium, and large-sized blooms—some soft, some tight. I don’t like using greenery as a filler; I prefer a flowering filler like alstroemeria with the leaves removed, bouvardia, or even berries.
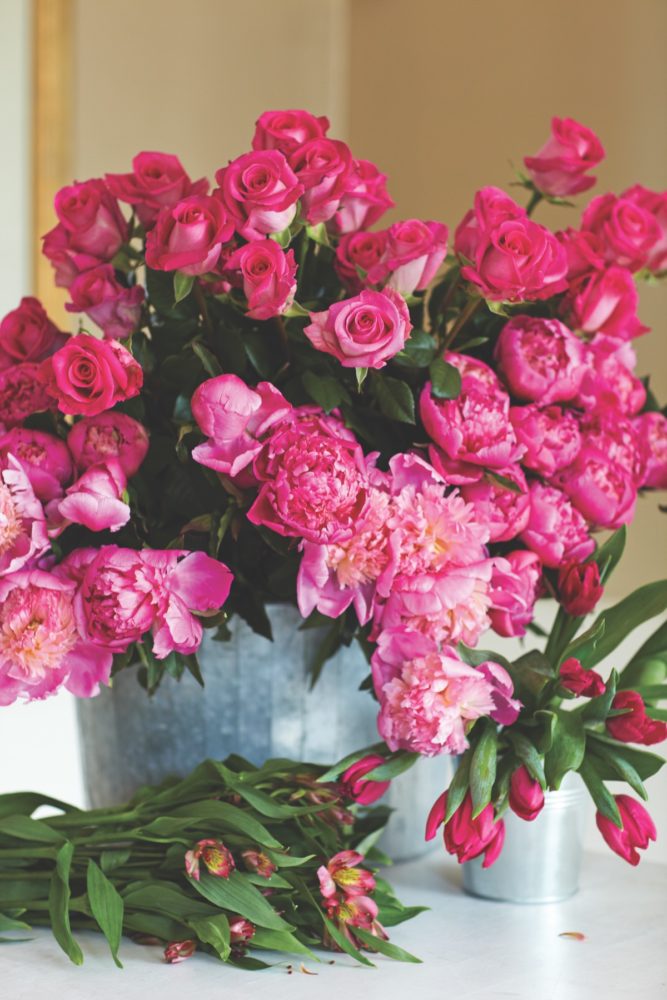
Materials
- peonies
- roses
- tulips
- alstroemeria
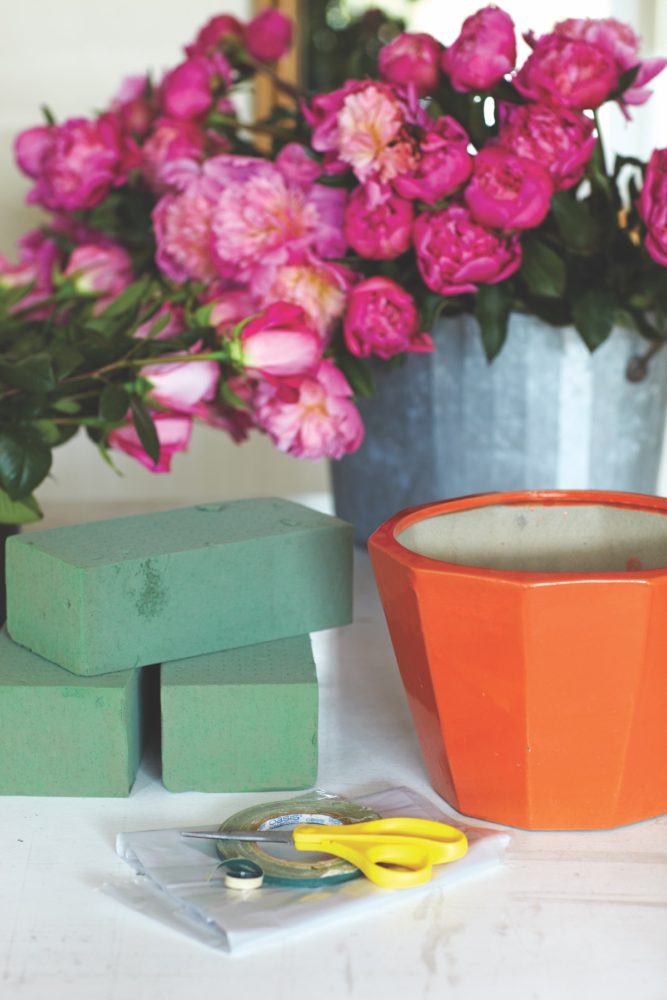
Tools & Supplies
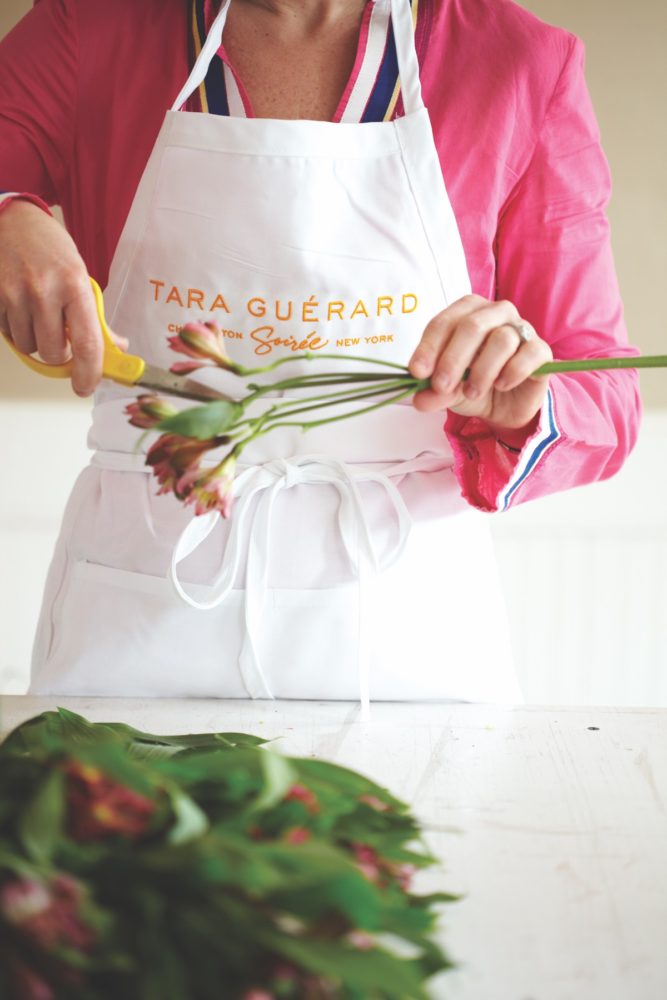
- scissors
- container
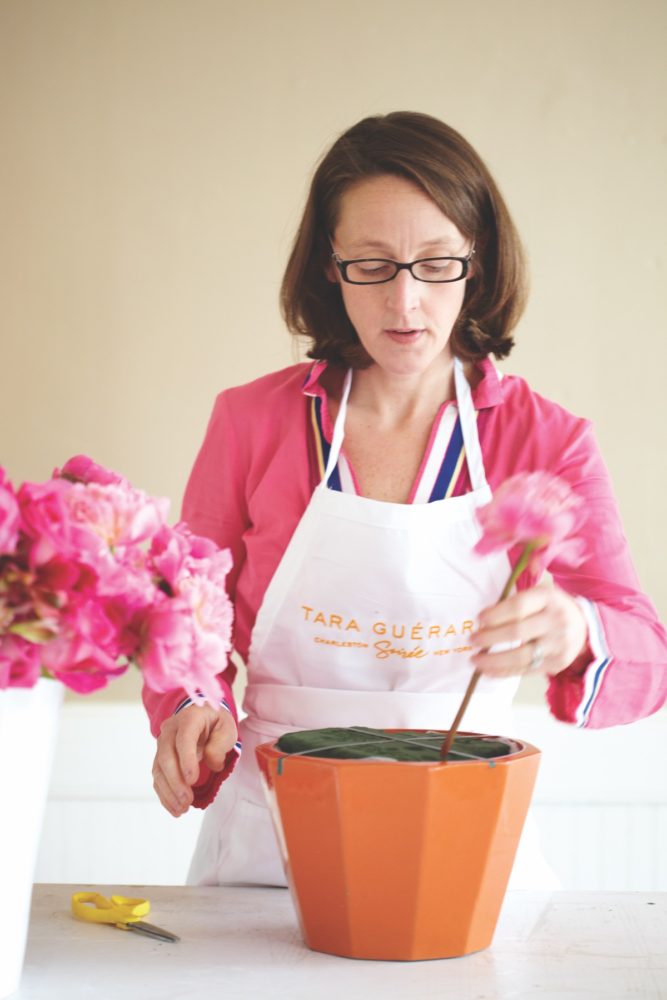
- bricks of floral foam
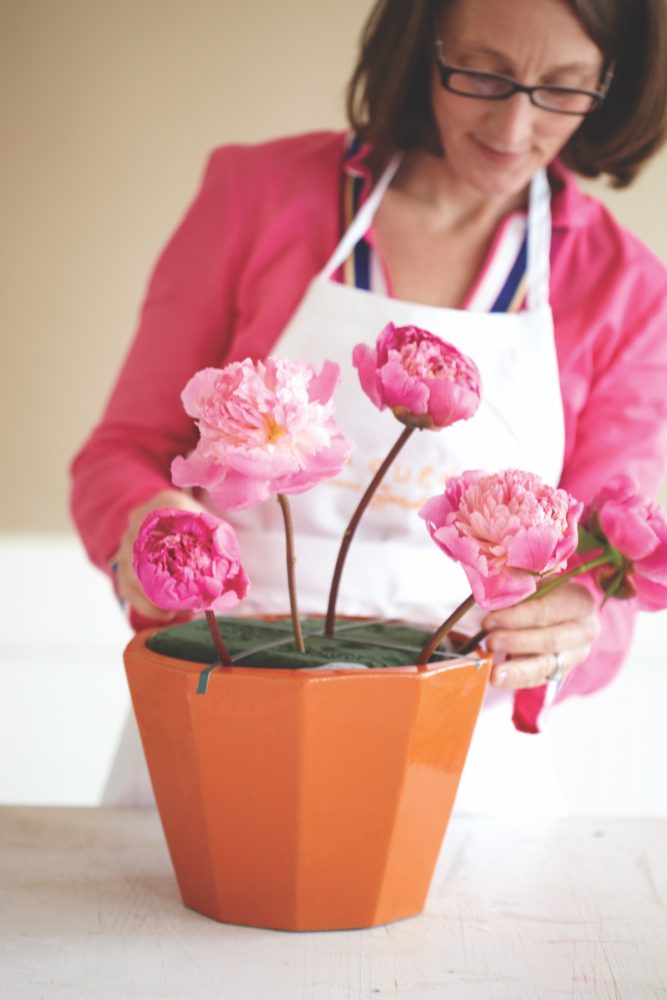
- foral tape
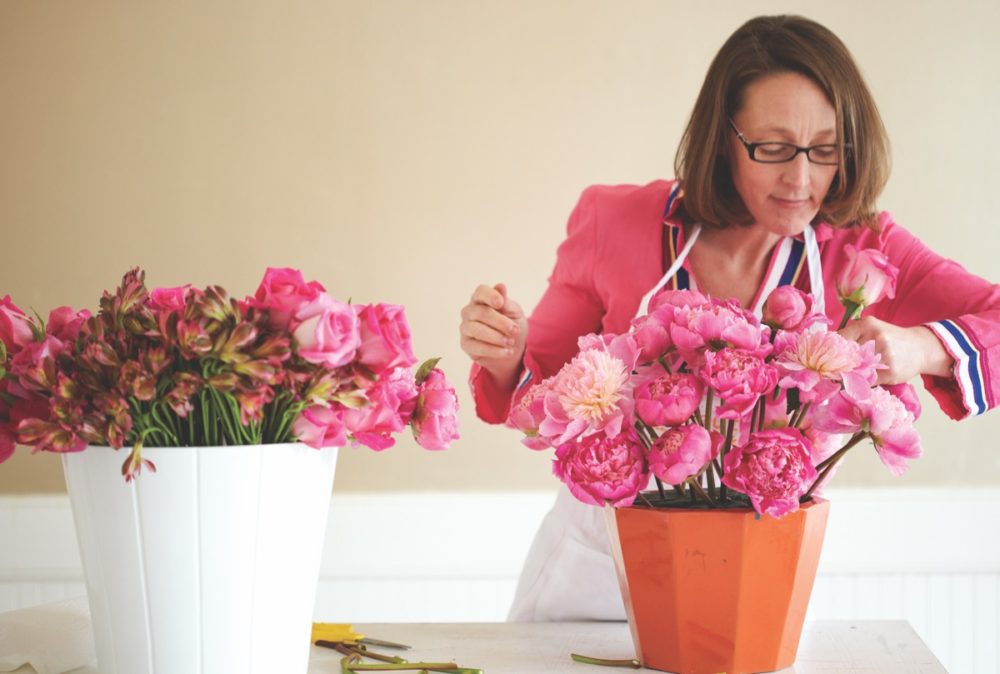
- clear trash bag
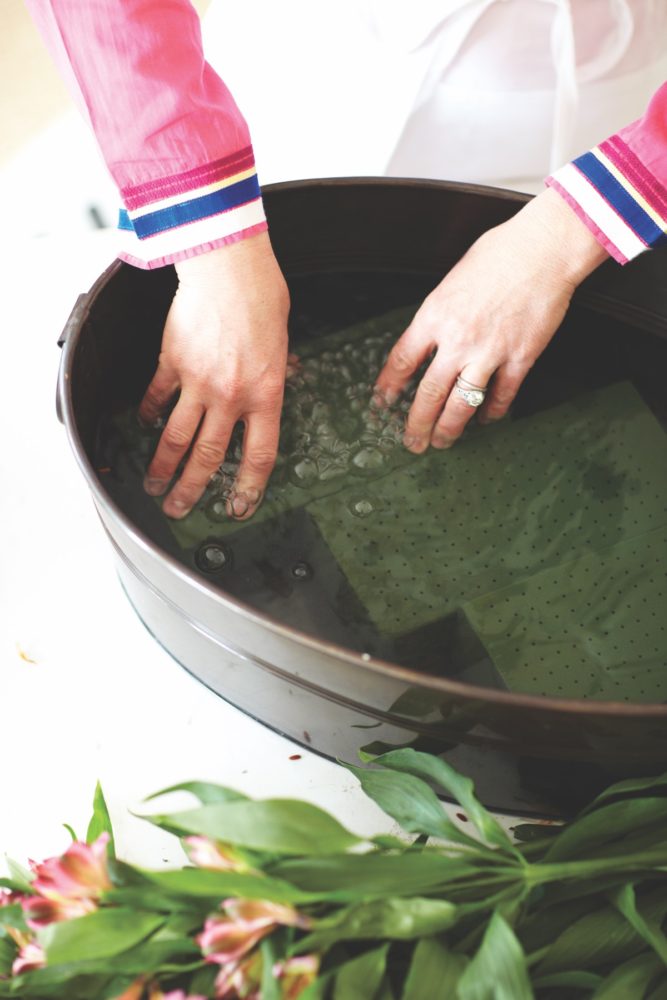
1|First, soak the floral foam. Make sure it is completely saturated. I used a size called a brick and soaked three to begin, although I ended up using two for this project.
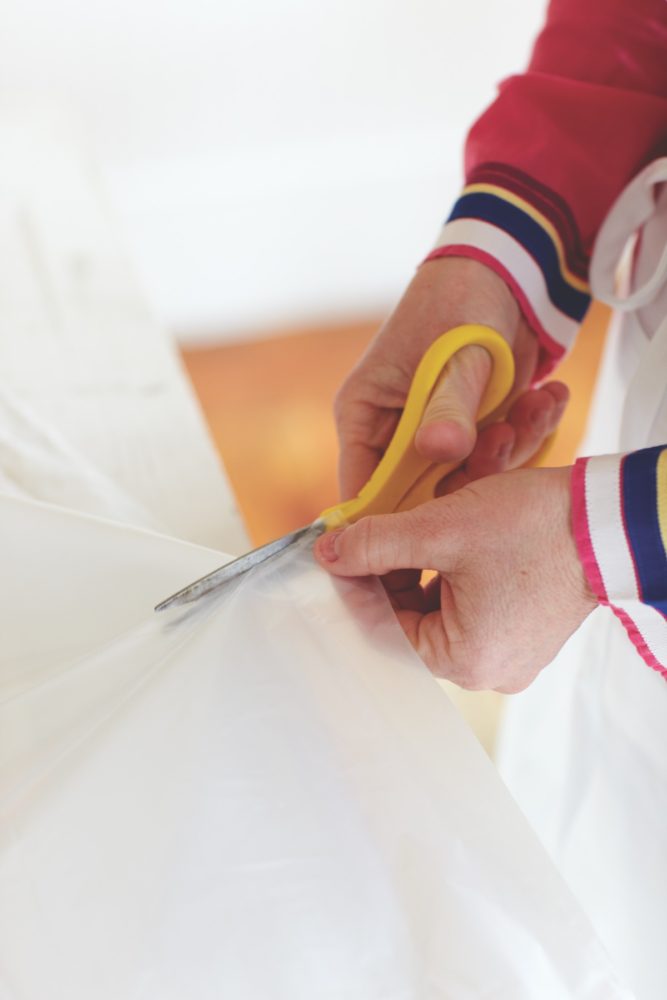
2|Cut a plastic trash bag to make a liner for the container. I usually cut the bag approximately 6 inches taller than the container—there is nothing worse than having it too short once the floral foam goes in, causing the water to seep out.
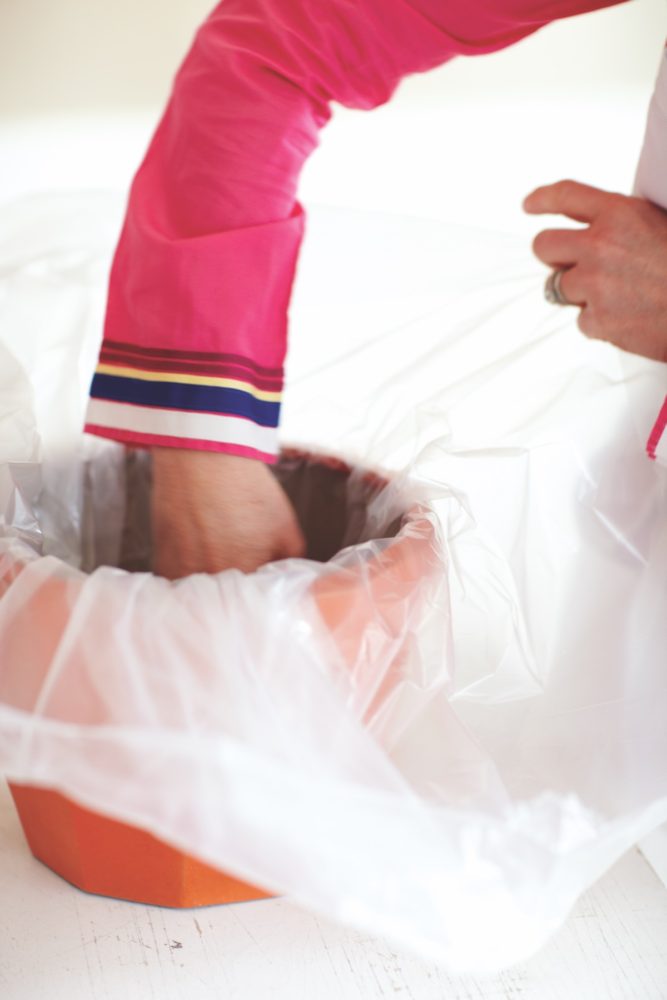
3|Place the plastic bag within the container, just like you’re lining a wastepaper basket. I chose this vintage ceramic pot to accent our Soirée logo. I liked that it had a fun shape and would add texture to the piece.
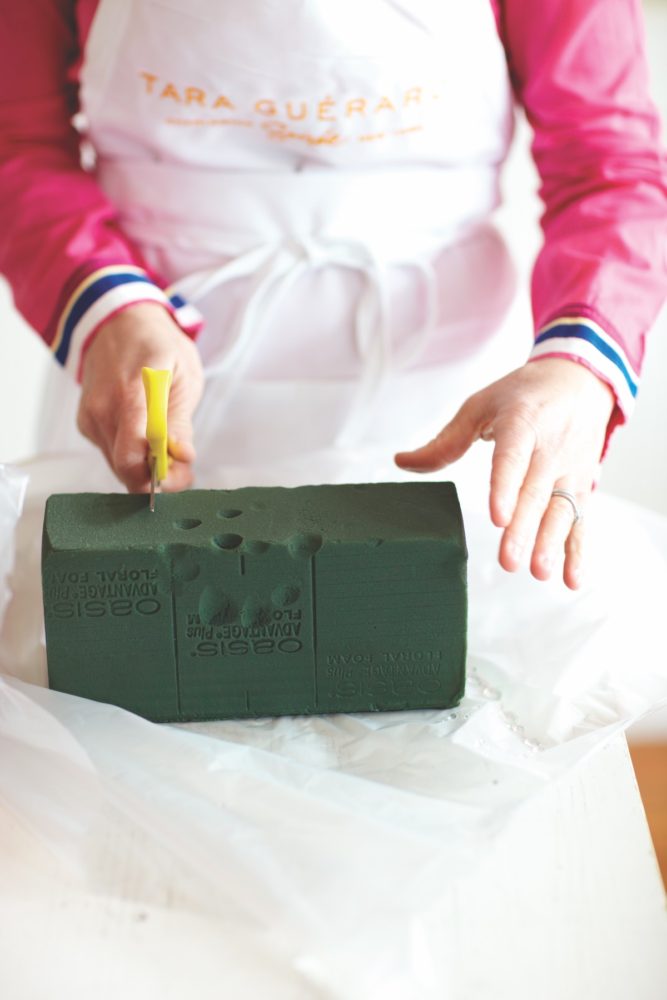 4|With scissors or a knife (a large cake knife works best), cut the floral foam to fit snugly inside the container.
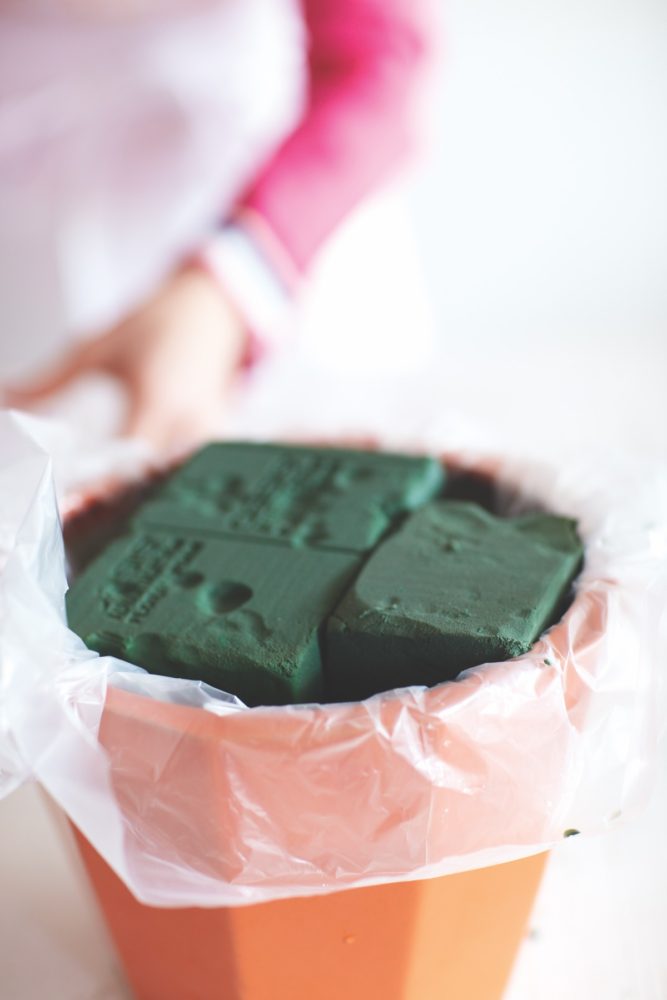
5|Then, fill the container with floral foam. Use large pieces—the fuller, the better.
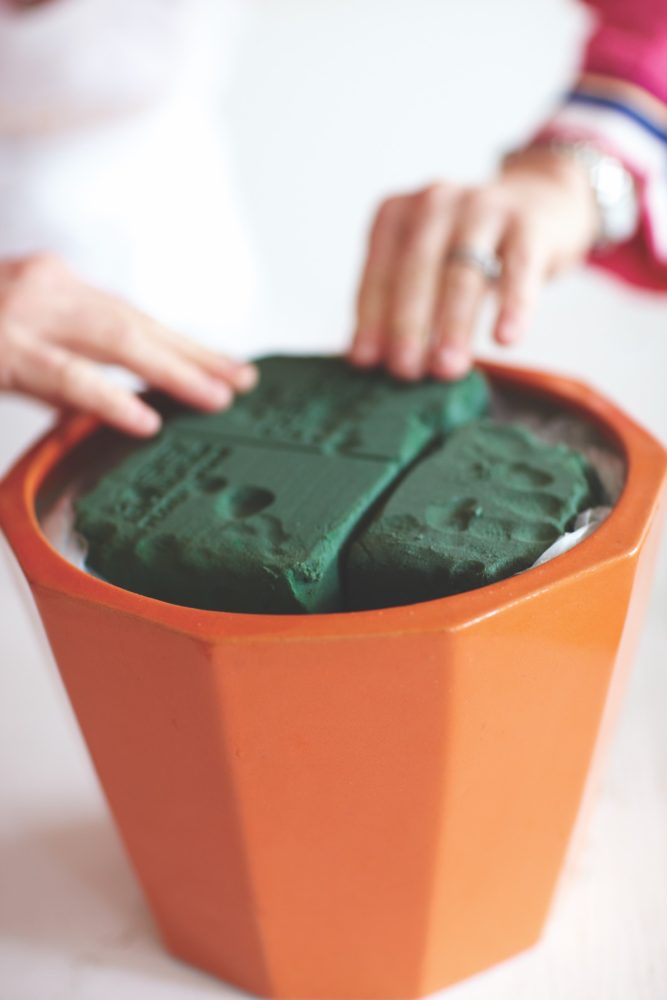
6|Roll the edges of the plastic liner and press them inside the edges of the pot to hide it.
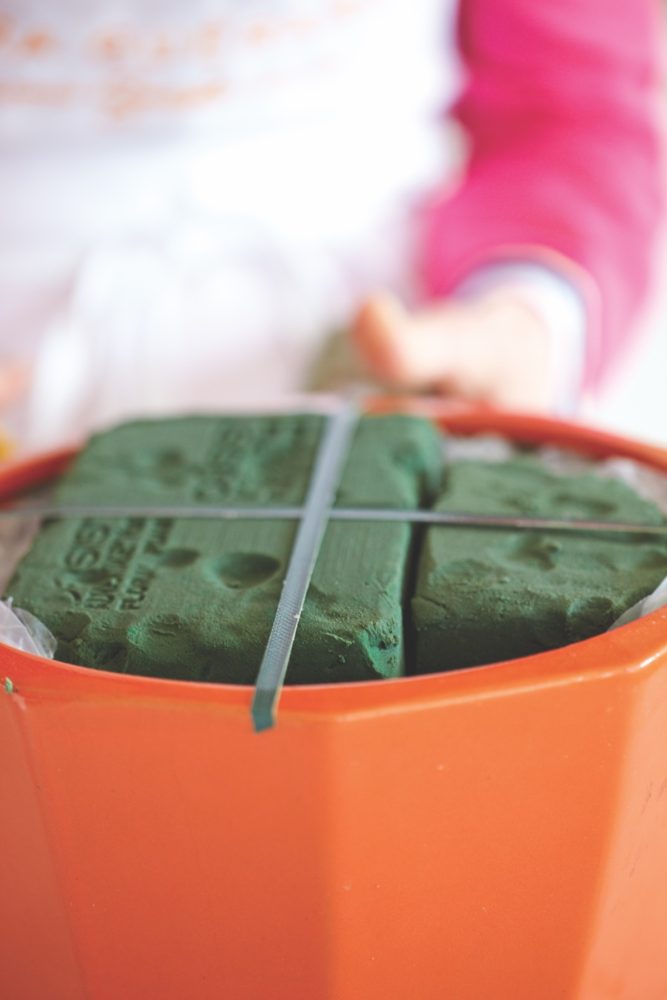
7|Use floral tape to hold the floral foam in place. This will keep it from coming out once it’s filled with flowers. If the floral foam falls apart or starts coming out in pieces, the only thing to do is start over. No worries—this has happened to me on many occasions! I just mutter a few choice words and move on.
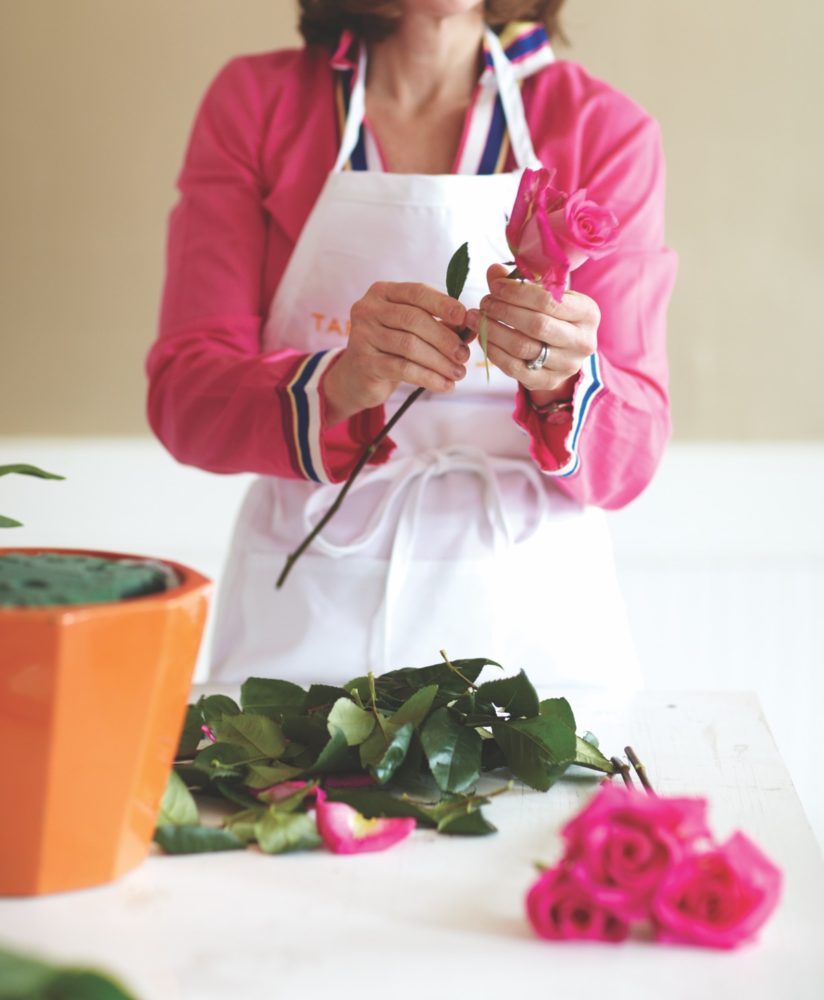
8|To avoid extra work, first cut the stems close to the correct height. Then you only have to clean the part of the stem you are using. If you’re not sure, leave a few extra inches.
9|Clean the stems of each flower. I like to have zero leaves and no thorns. Processing the flowers is the most time- consuming process—but it is calming to me, and I do some of my best thinking during these mundane tasks.
10|To begin, start with the flowers that comprise the bulk of the arrangement—in this case, a peony. Place it firmly in the floral foam.
11|Continue placing the flowers at approximate heights, in different areas of the center of the pot. Create the outline of how high and how wide you would like your centerpiece to be. Then fill in.
12| I do love to cluster two, three, and four flowers to create larger- looking blooms. I think it is important not to be perfectly bundled or exactly symmetrical. By being a little off-center, the centerpiece has much more personality and depth. Besides, who expects perfection?
Design by Tara Guérard | Produced by Julie Cole Miller | Photography by Brie Williams
See more of our most popular Pink Flower Arrangements.
MORE STEP-BY-STEP FLOWER ARRANGEMENTS
-
- Seeing Red (and Pink) with Connie Plaissay
- Keen on Green with Maurice Harris
- The Romantic Bridal Bouquet with Robert Long
- Maria Maxit | A Recipe in Bloom

