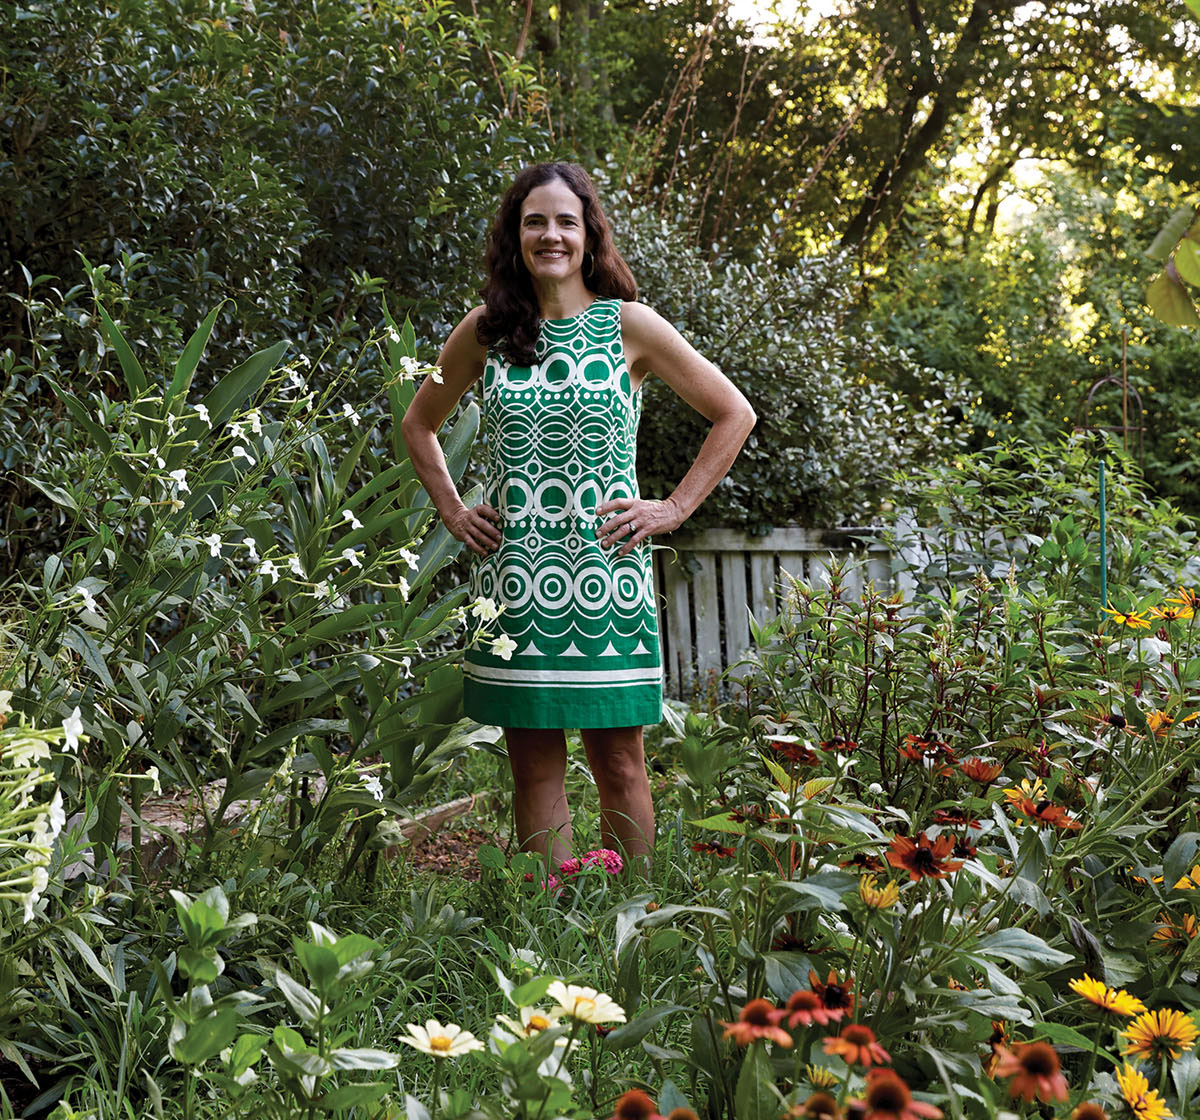
Follow floral designer Kappi Naftel at @kapflower. See her step-by-step tutorial at the end of this post.
—Kappi Naftel of Kap Flowers
—Kappi Naftel
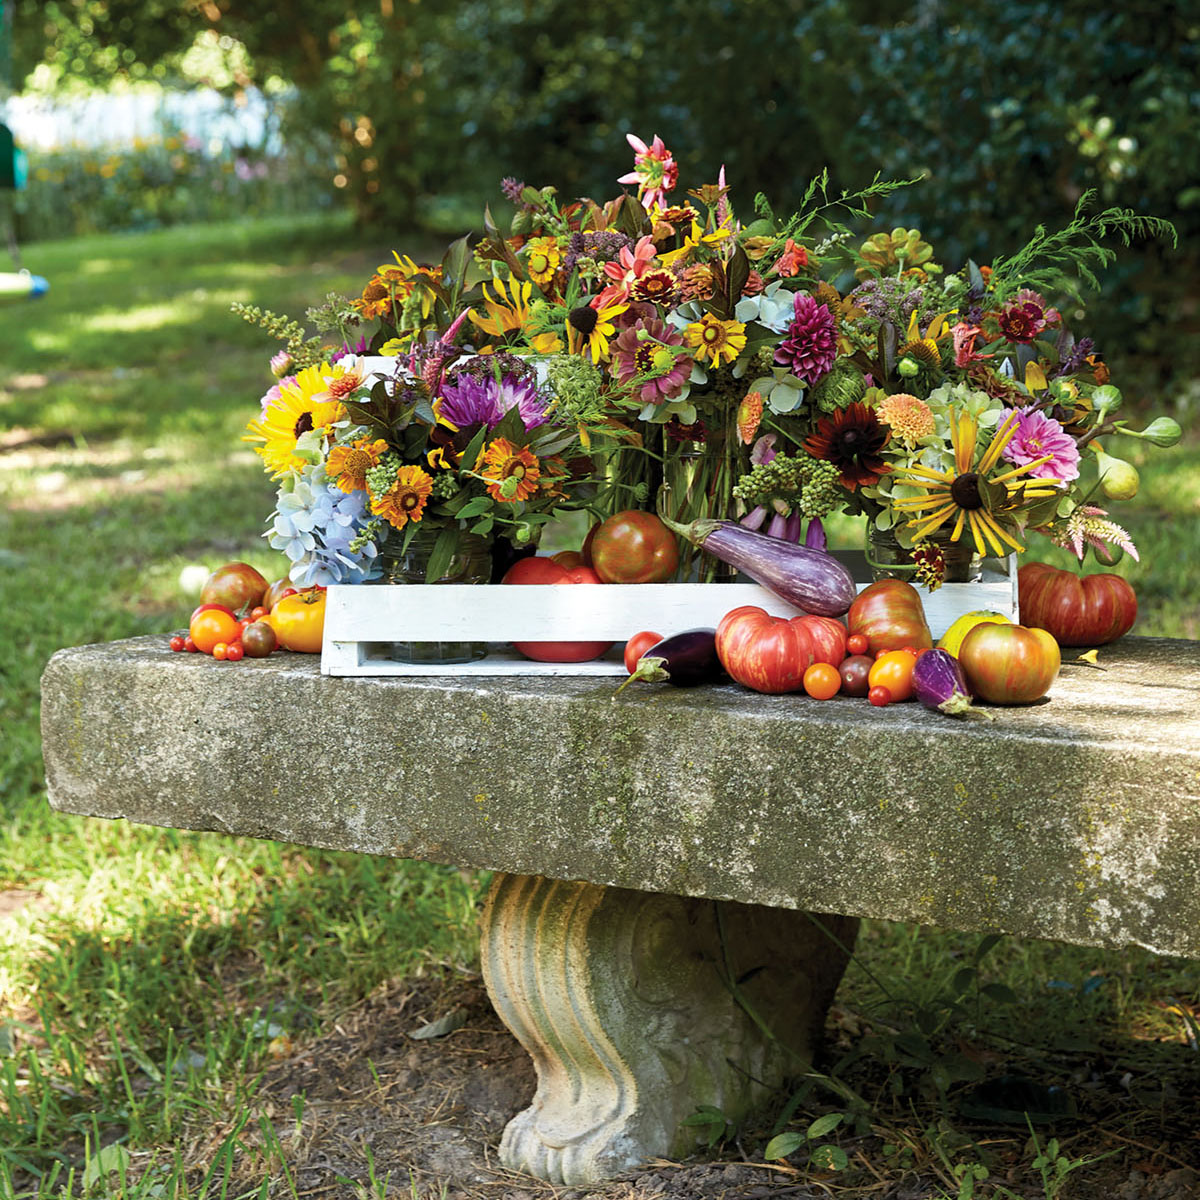
MATERIALS
- Zinnias
- Celosia
- Dahlias
- Heuchera foliage
- Foxgloves
- Rudbeckia
- Weigela
- Coneflowers
- Chocolate lace flower
- Chaste tree
- Fig
- Hydrangeas
- Fresh herbs
- An assortment of tomatoes in different colors and sizes
- Other produce, such as squash and mini eggplant
- Small glass vases
- Twine
- Handled container
STEP 1
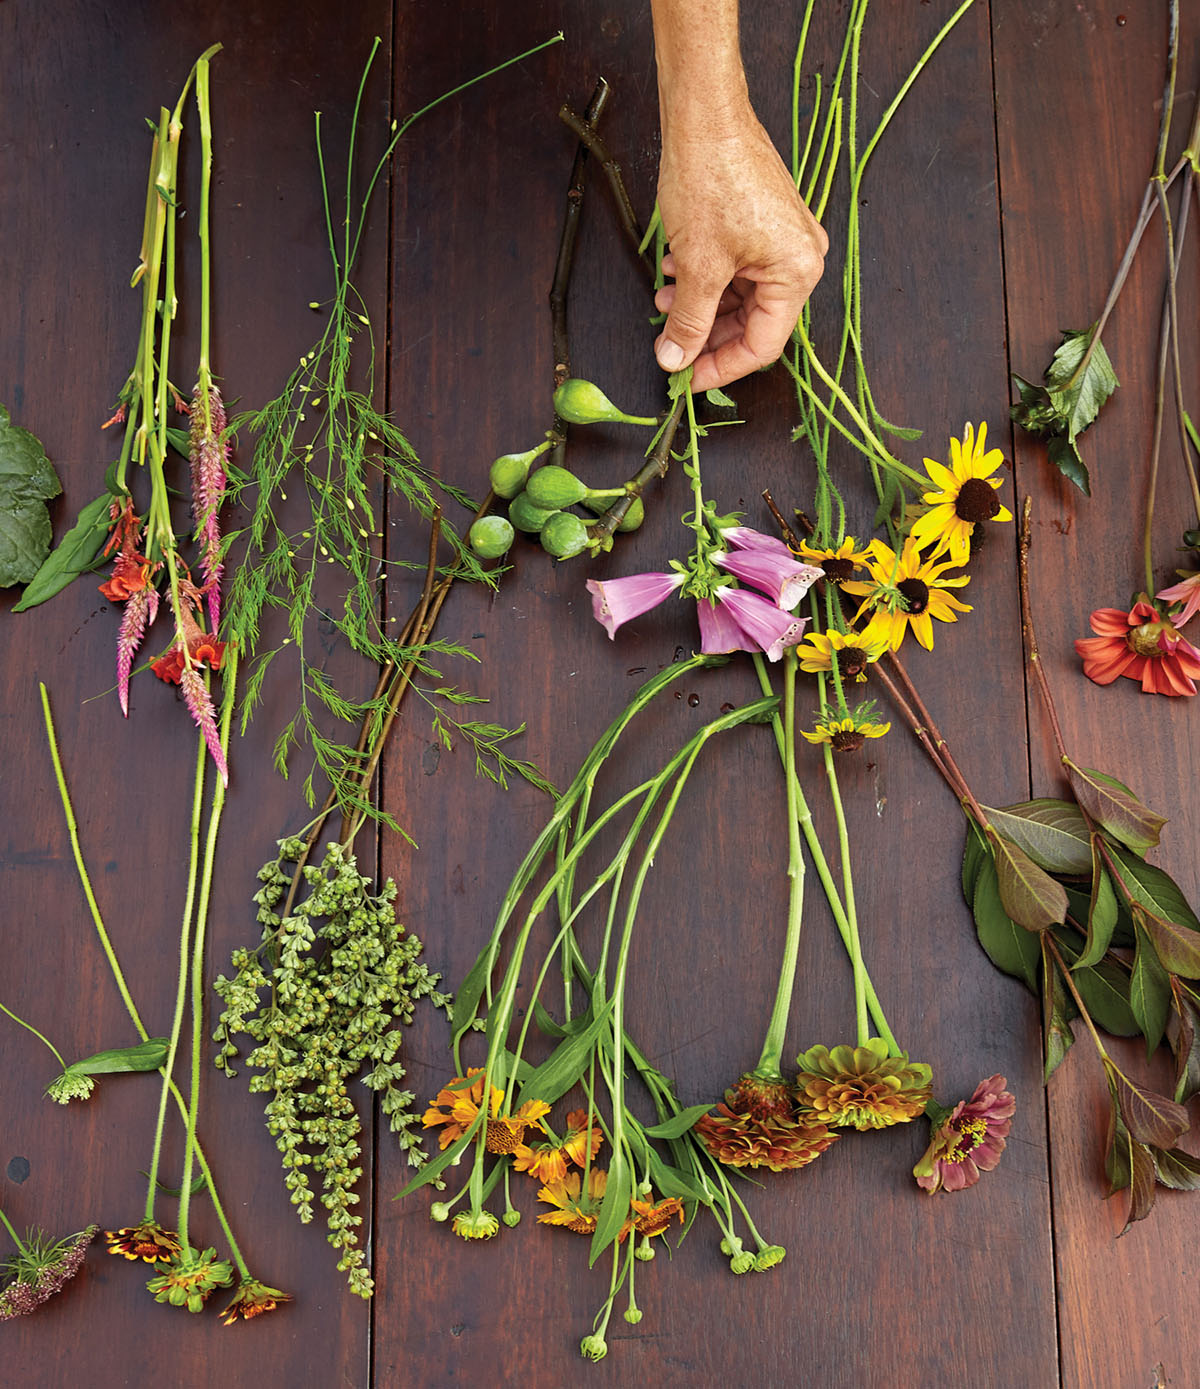
Prep the materials: Strip lower foliage and trim stems, and organize bundles on work surface.
STEP 2
Begin your hand-tied bouquet by creating a binding point—the point at which the first stem is held vertically. The second stem should cross the first at an angle. All other stems can be added in a counterclockwise angled fashion, almost as if they twirl around the primary stem. The higher on the stem the binding point, the smaller and tighter the bouquet, and vice versa. Combine colors and blooms as desired.
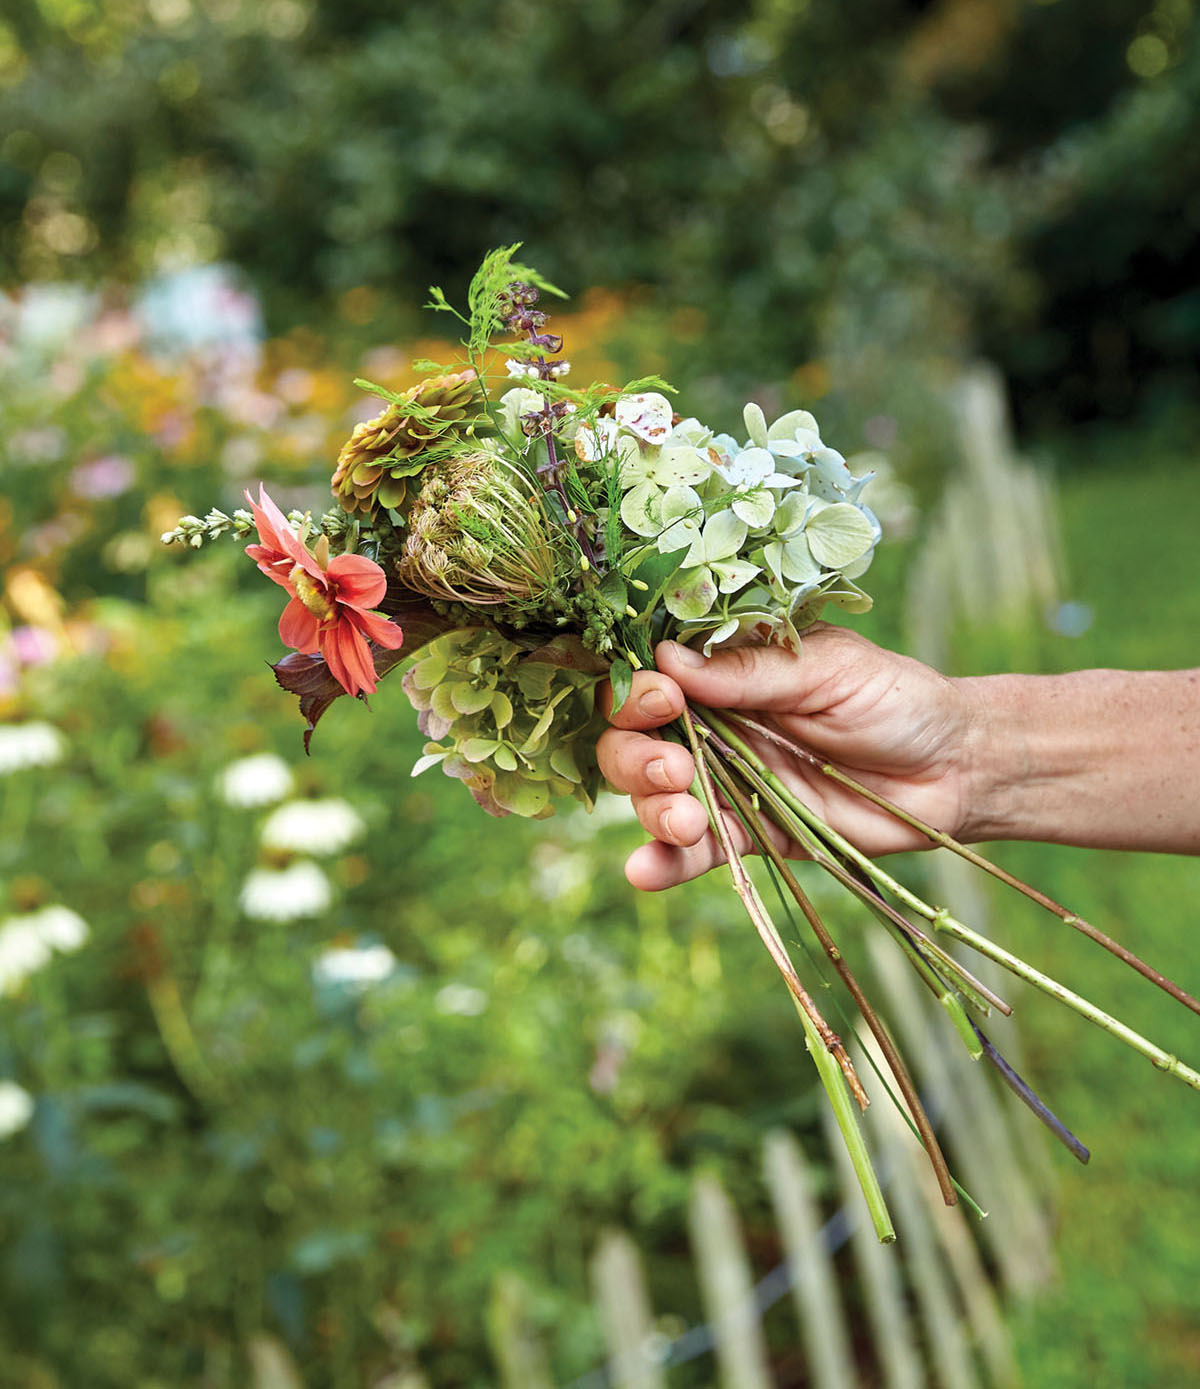
STEP 3
Once you have created the basic shape of the bouquet, you can start to poke in other materials to add fullness, color, and texture.
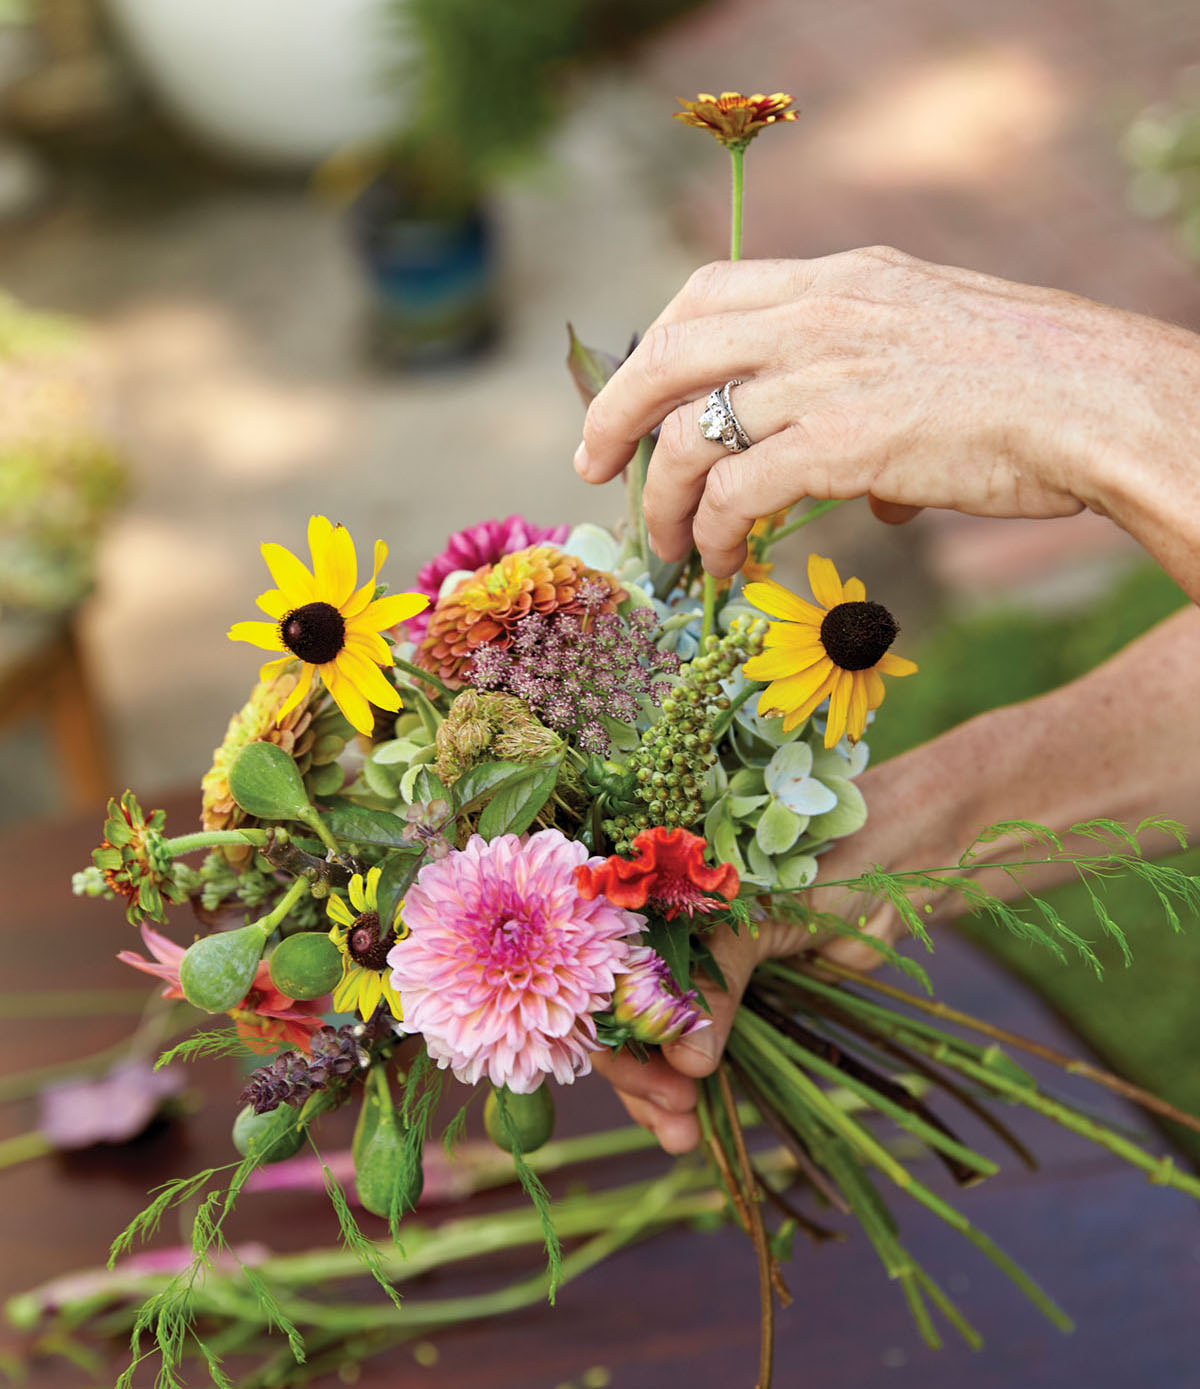
STEP 4
Once you are happy with your bouquet, it needs to be secured with twine. Wrap the twine around three times, tie off, and trim the ends of the twine.
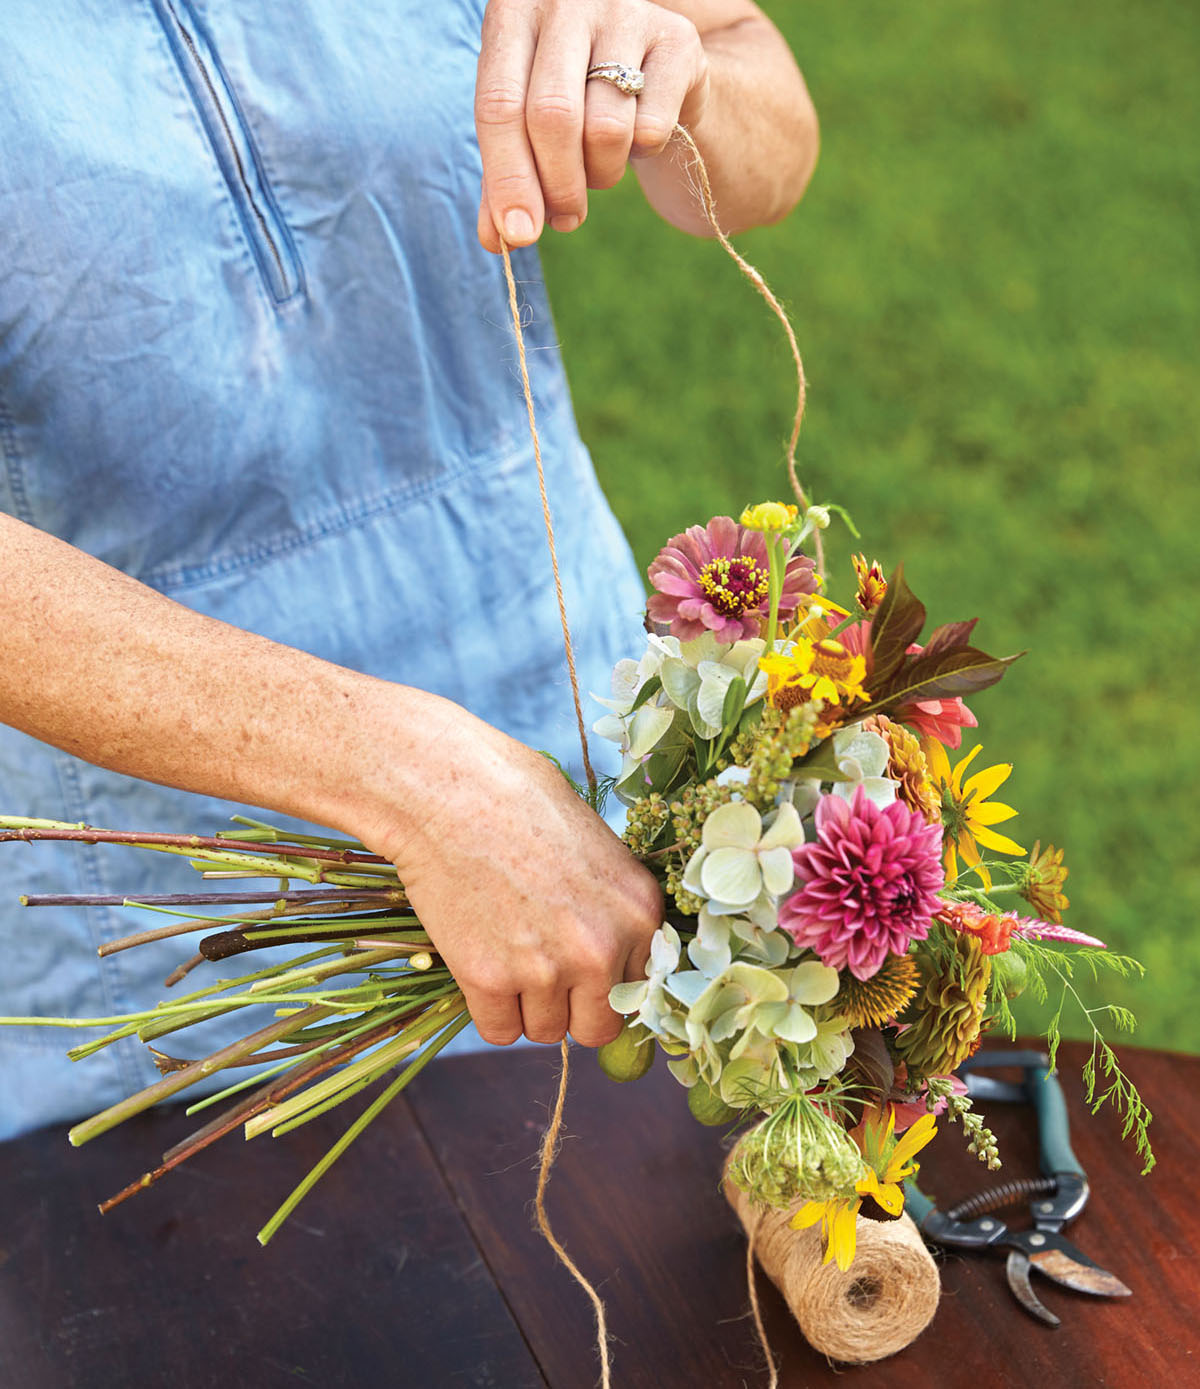
STEP 5
Place your tied bouquet next to the container you are using to determine where to trim the stems so the bouquet sits well in the container. Trim the stems straight across and evenly.
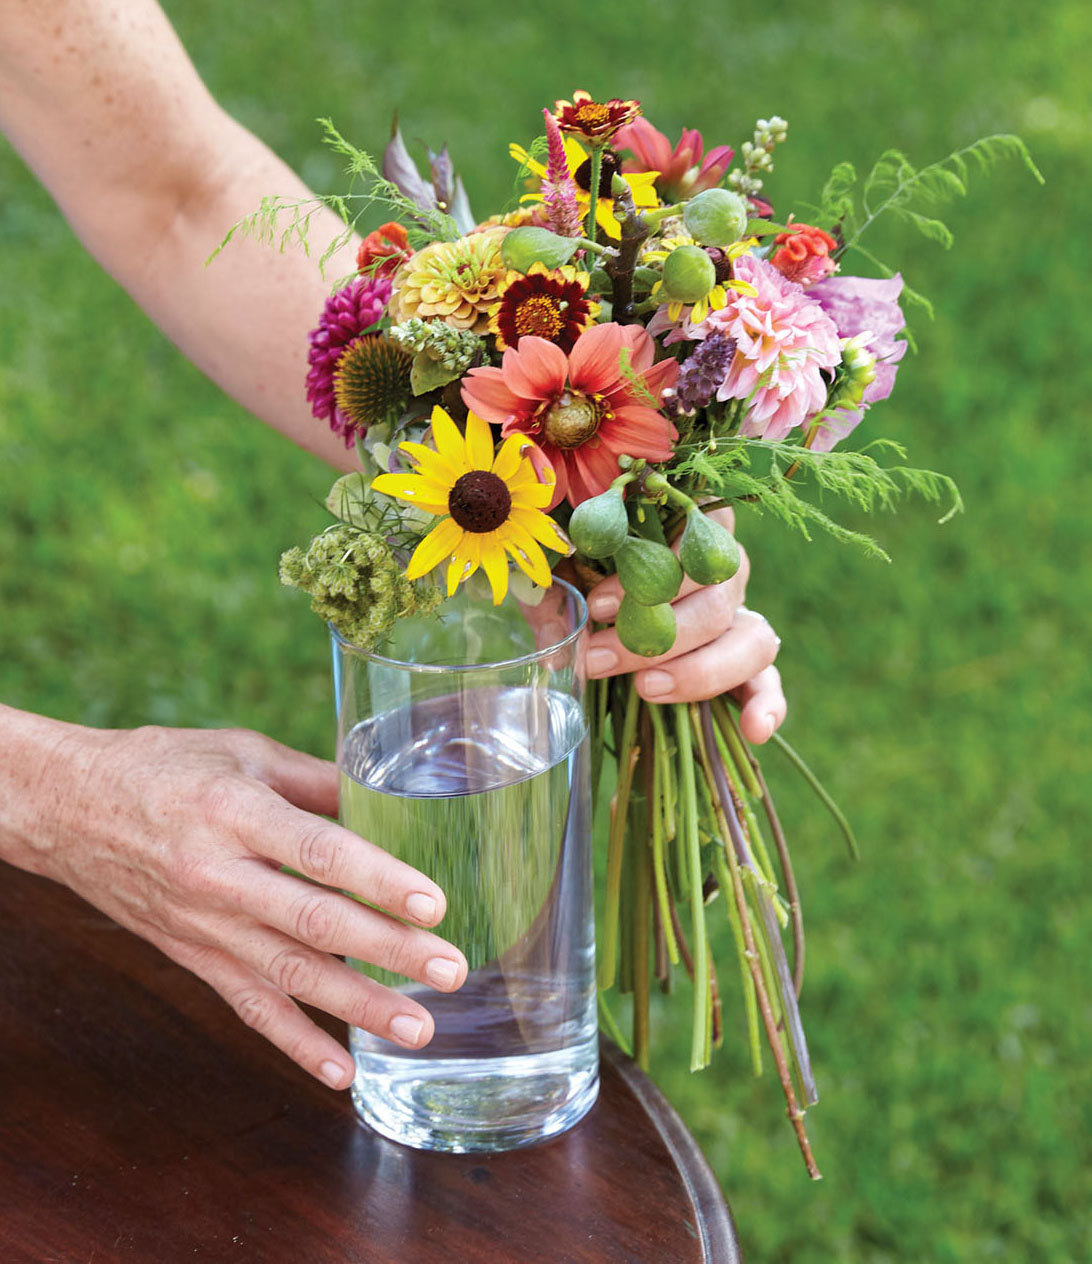
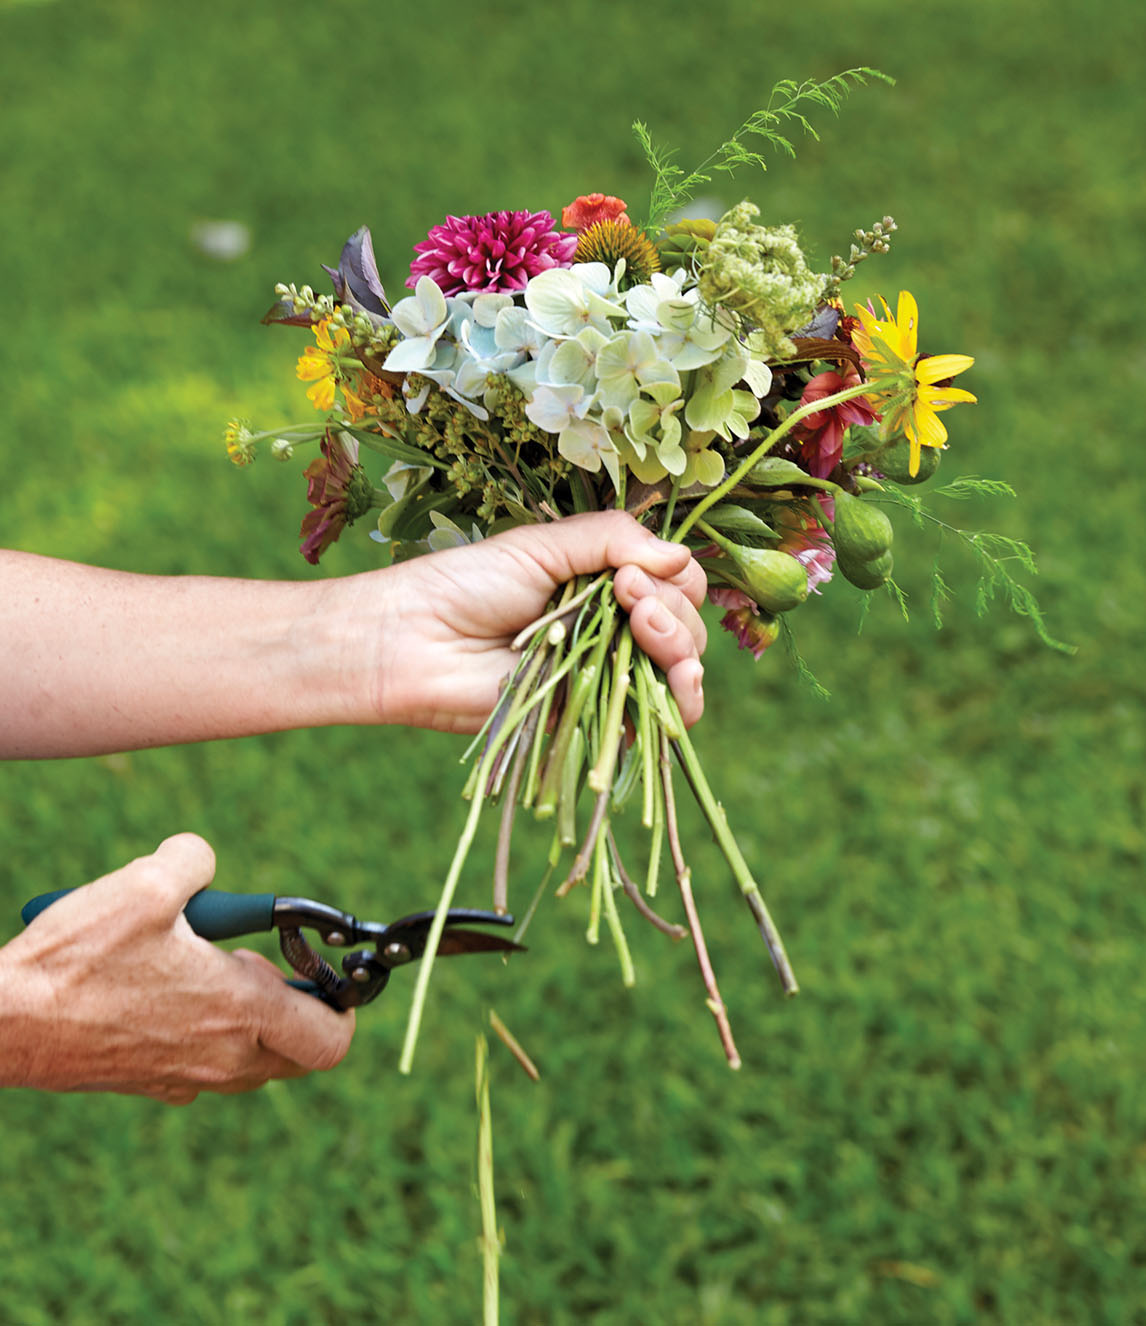
STEP 6
Repeat the steps above to create enough hand-tied bouquets to fill the glass vases, and then place in the large handled container, which will serve as the centerpiece.
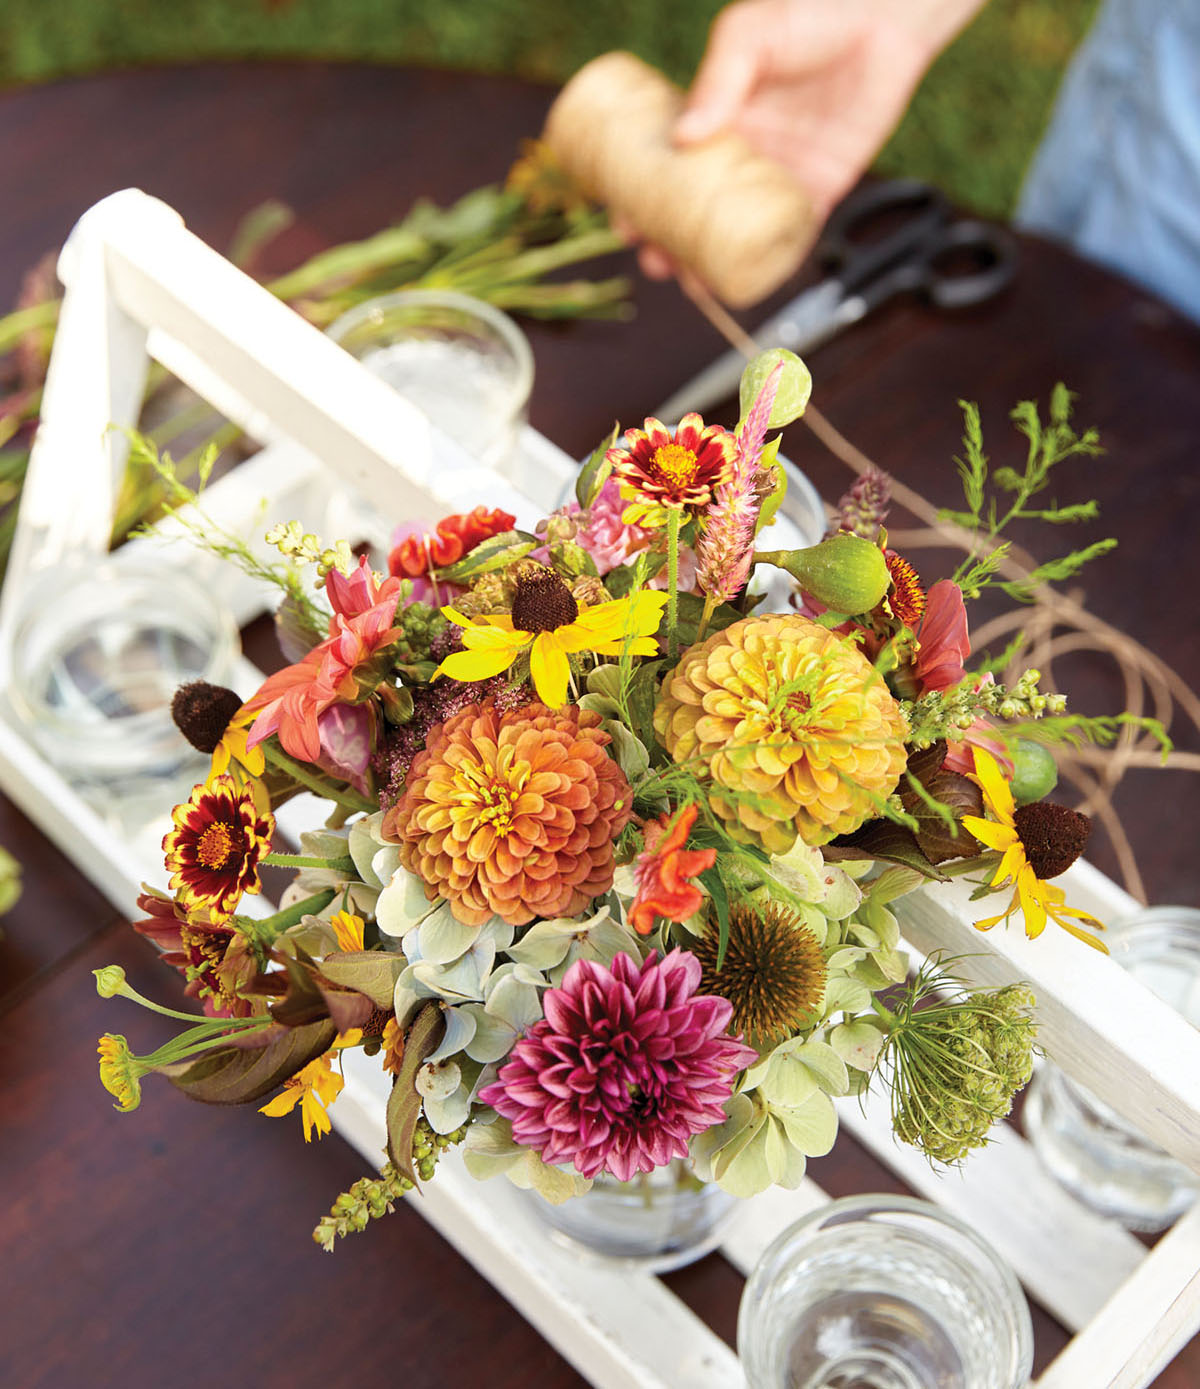
STEP 7
Create a summer vignette by placing farm-fresh tomatoes and other colorful produce around the arrangement. When placing on a dining table, you can also arrange produce by each table setting, if desired.
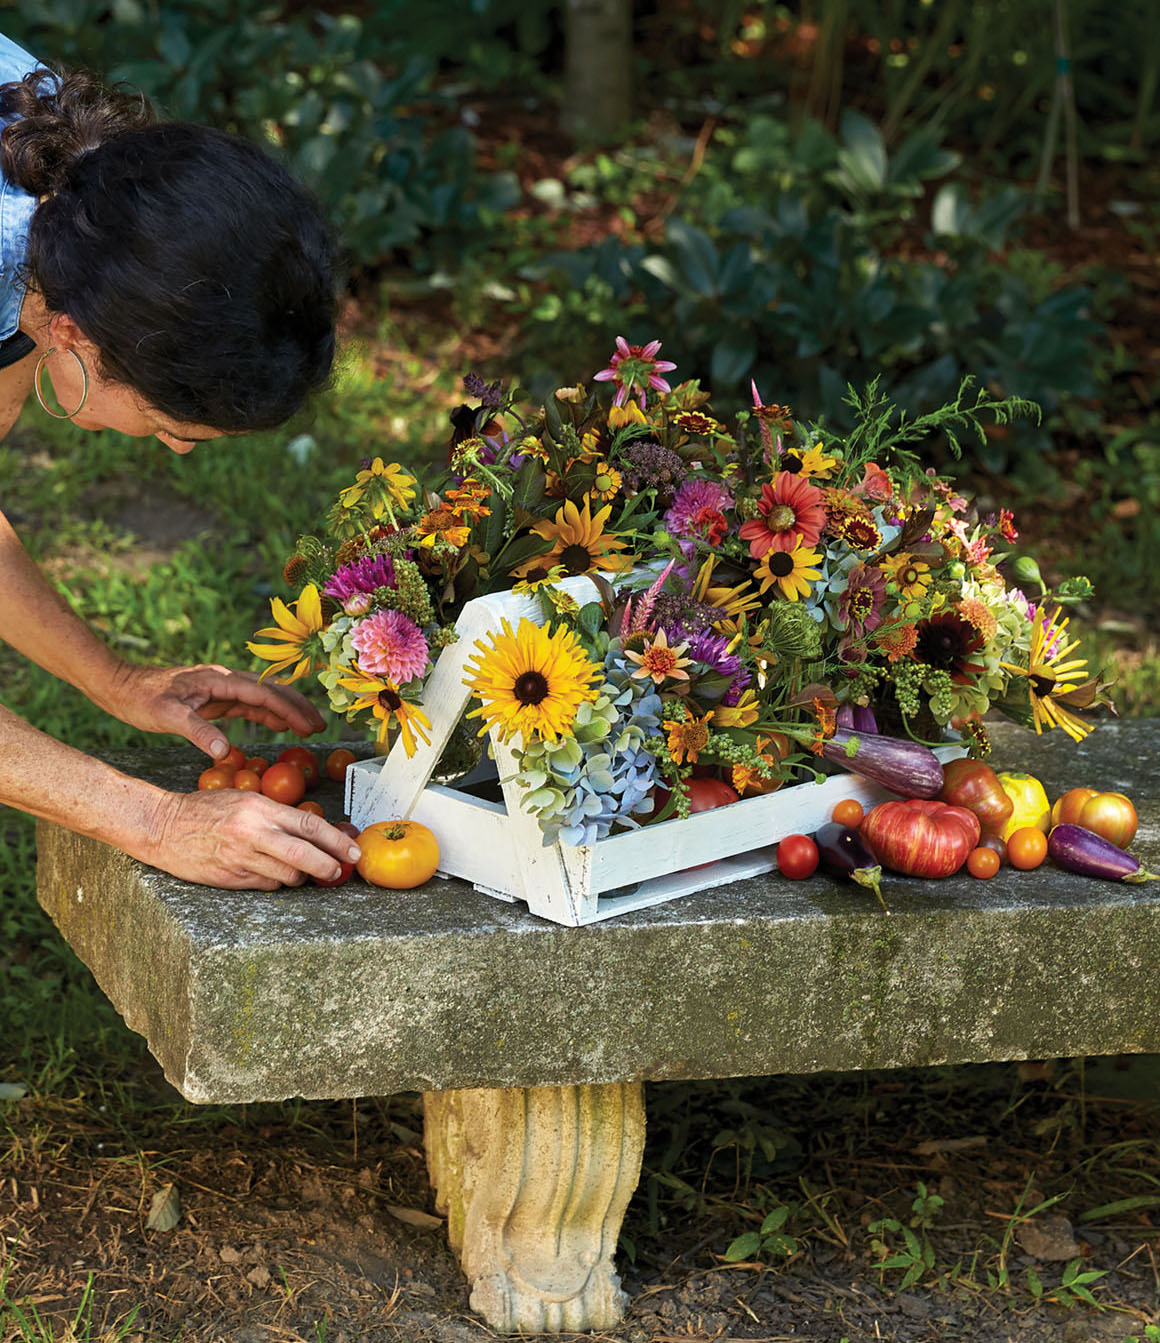
Produced by Alice Welsh Doyle | Photography by David Hillegas
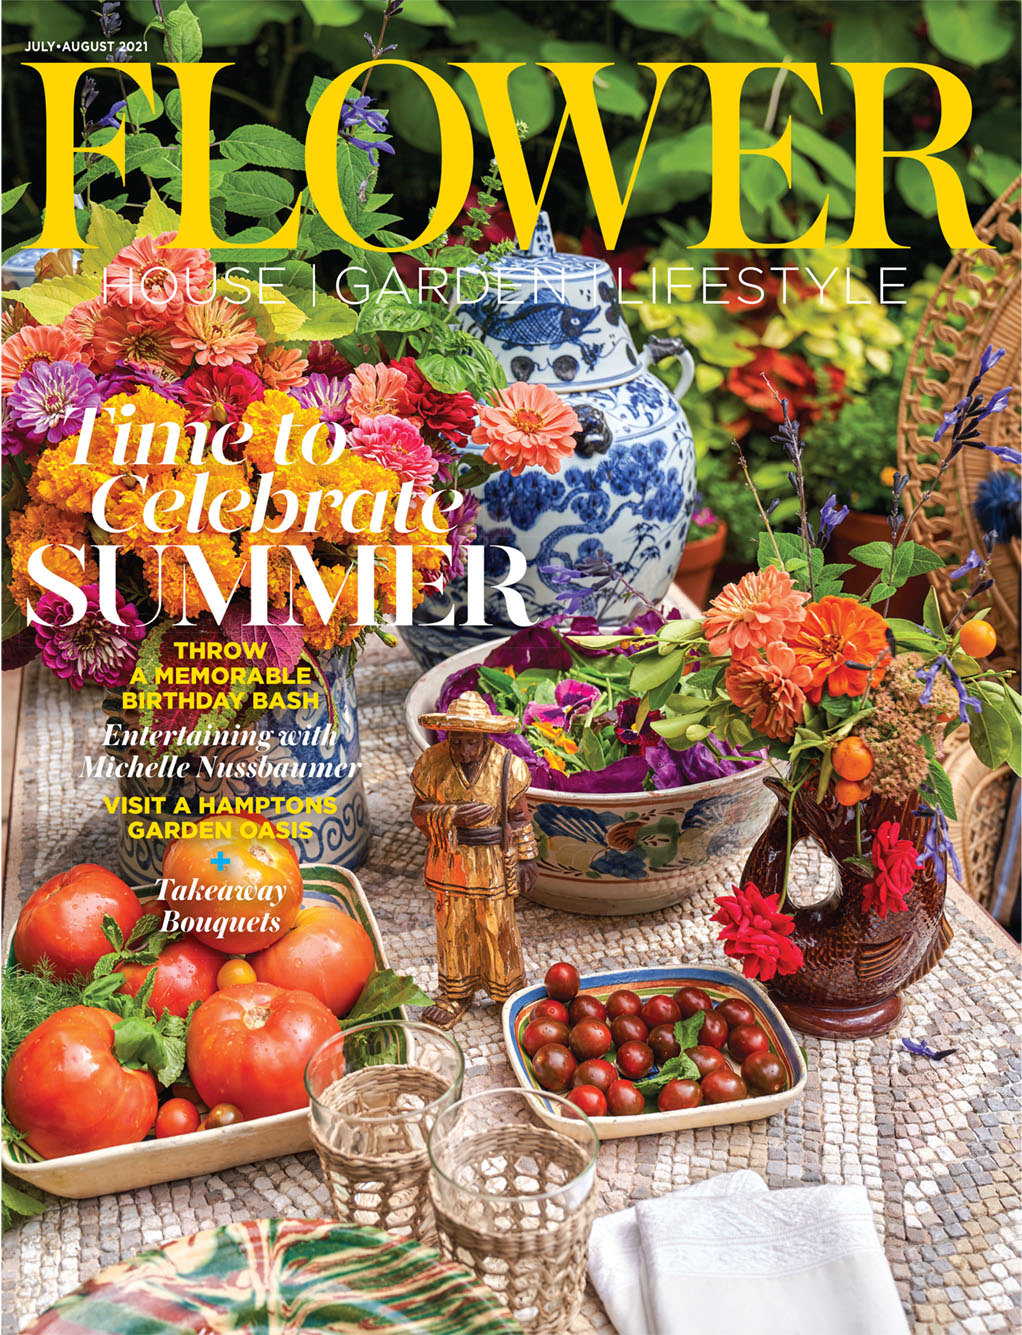
This story originally appeared in Flower magazine’s July/August 2021 issue.

