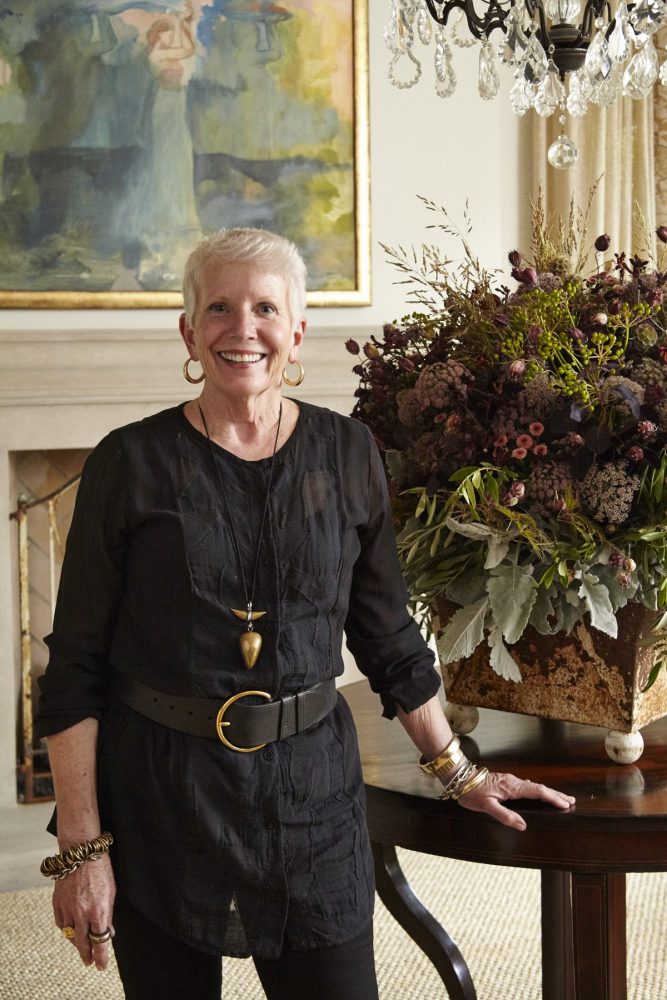
My inspiration for this design is the layering of fabrics in fashion and interiors. Organic and textural are the buzzwords for the day, and this fall centerpiece embodies that to a T. I’m creating the arrangement for Birmingham designer Dana Wolter’s beautiful home, and the interesting textiles and details throughout help kick-start my imagination and influence the plant materials I include. Dana’s house has high ceilings and spacious rooms that can accommodate such a large design (this one is about 30 inches by 30 inches), but it can easily be re-created on a smaller scale with a different-sized jardinière.
The Steps

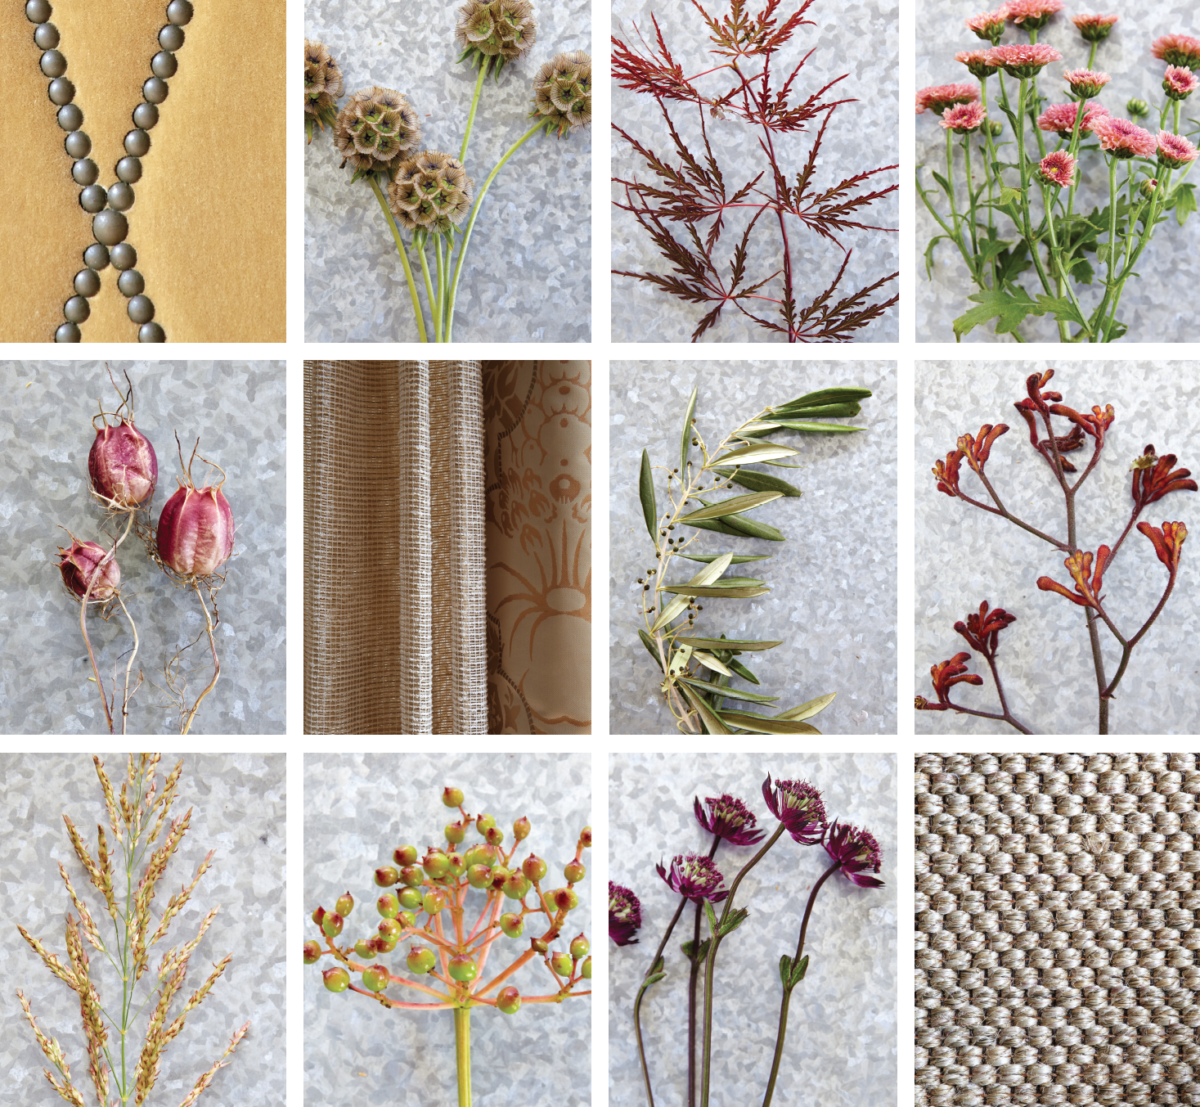
Materials & Tools: dusty miller, cocoa Queen Anne’s lace, smoke bush, scabiosa pods, Japanese maple foliage, santini chrysanthemums, dried nigella pods, olive branches, kangaroo paw, Johnson grass, viburnum berries, astrantia, jardinière, garbage bag, duct tape, Styrofoam, papier-mâché liner, and chicken wire
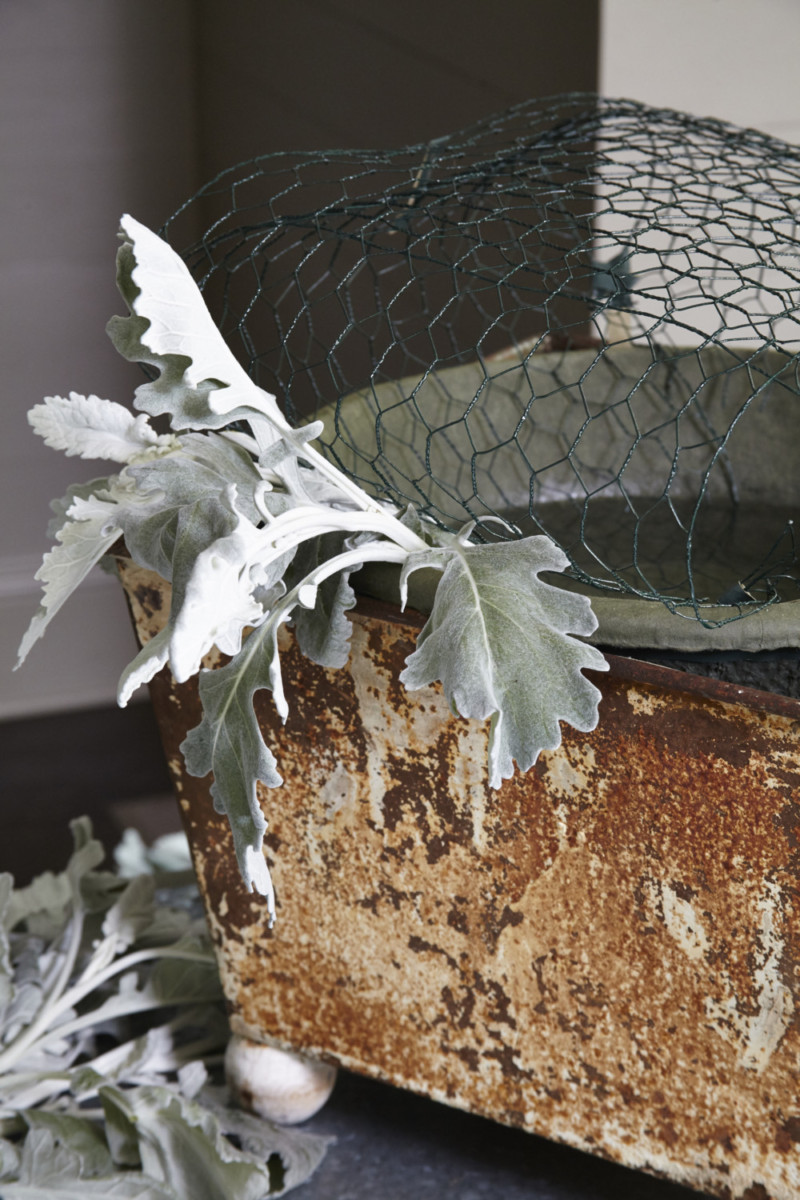
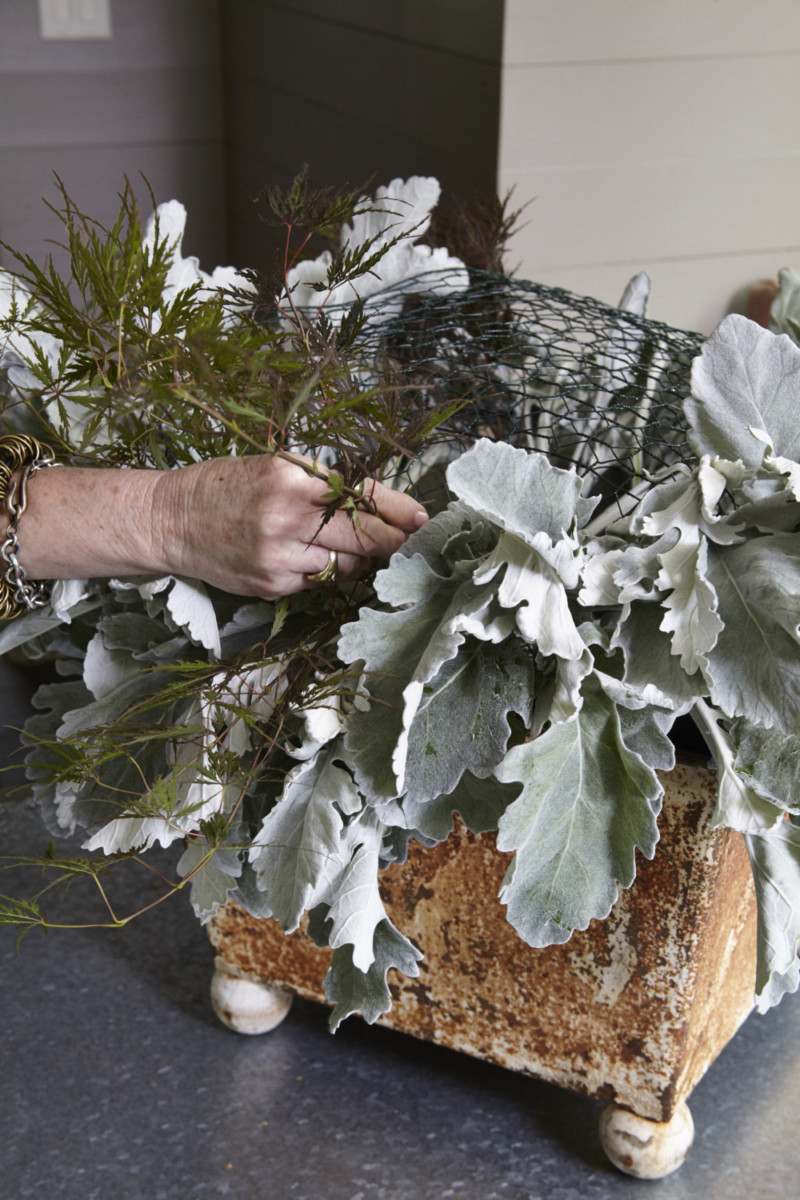
Step 1: Start with the soft and velvety dusty miller, which will go around the rim of the container. Remove any lower leaves, cut the bottom of the stem at an angle, and place it in the wire so that it hangs over the edge of the container. Continue all the way around the container until it looks like a ruffled collar. Fashion and flowers have so much in common, and this design will have a boho look.
Step 2: Next add the Japanese maple foliage, which is fuzzy and fluffy. With this and the other materials, be sure to remove all leaves that will be under the water level, because they will rot and cause bacteria, shortening the lifespan of your arrangement. After cutting the bottom of the stems, position them in and over the collar of dusty miller all the way around.
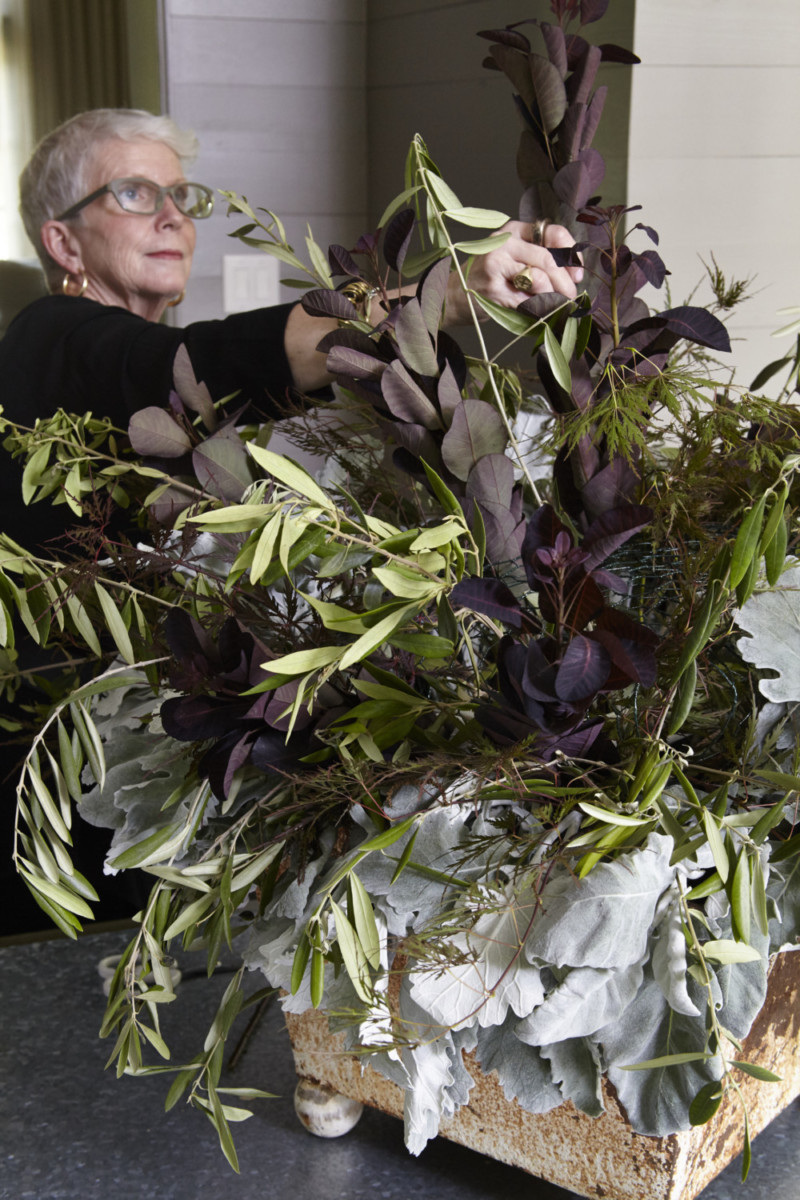
Step 3: Now it’s time to include the olive branches and the smoke bush. Sometimes olive branches can be a tangled mess—and if so, just shake them out. The wild pieces are good, though, because the arrangement should not look too perfect. Strip the lower leaves, cut the stems, and add them to the arrangement around the circumference. Then put in the smoke bush, some of which can go in the middle, but also place a few in the collar of dusty miller. It’s a bit taller than the other materials, and that’s OK. Remember that the layers should mingle with each other; you don’t want each to be a definitive line. Seeing the elements mixed shows you that the textures play well together.
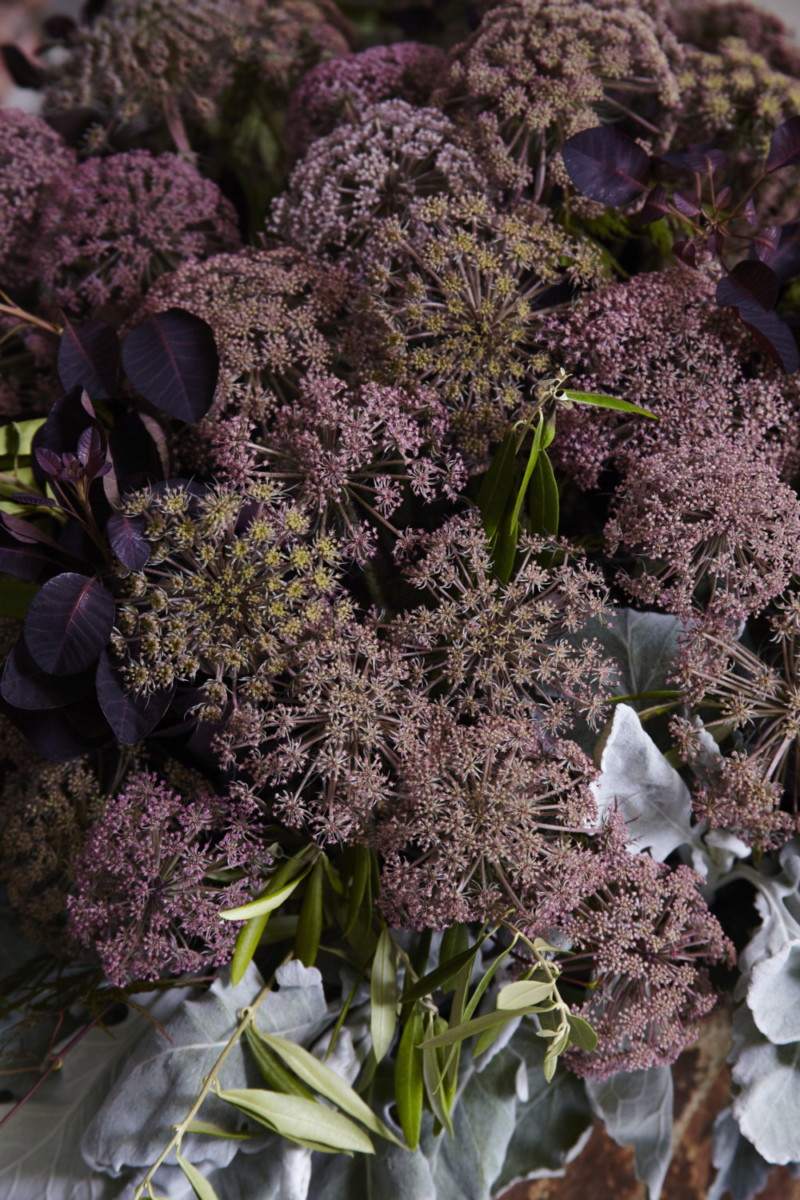
Step 4: We’re ready for the cocoa Queen Anne’s lace, my favorite of our materials. The striations remind me a little of dupioni silk, and when massed together, they look like a cloud, which I love. Take off the lower foliage, cut the stems, and stick them in the center and all around until you have a big fluff. Shorter pieces go around the edge, and taller ones, in the middle. Place them at various levels, because it adds to the cloudlike effect if some are a little lower. Fill in as much as you can.
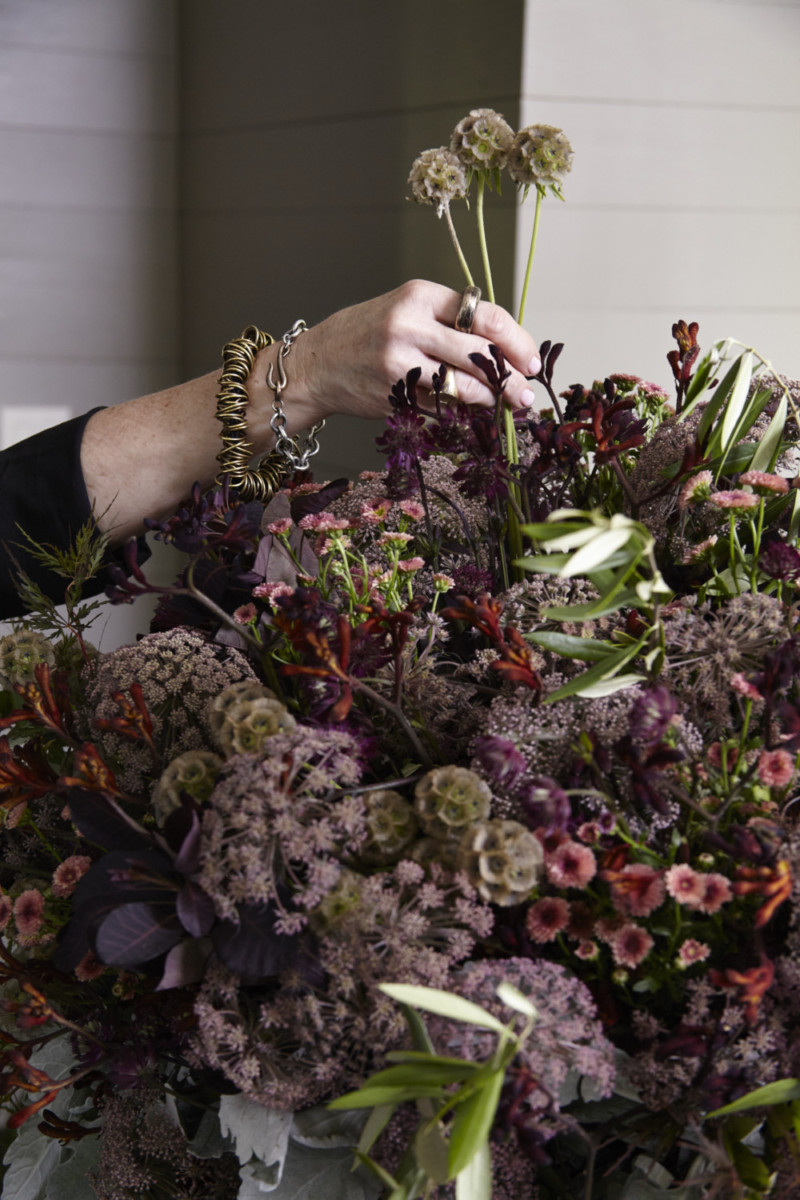
Step 5: Look for gaps in the cloud, and reintroduce velvety texture with the kangaroo paw. Then include the astrantia, which resembles baby Queen Anne’s lace but with multiple blooms on each stem. The flowers are small, so place a few stems together. Do the same thing with the little pink santini chrysanthemums to brighten up the arrangement. Then add the scabiosa pods, which feel papery. Cluster these together, using multiple stems as one.
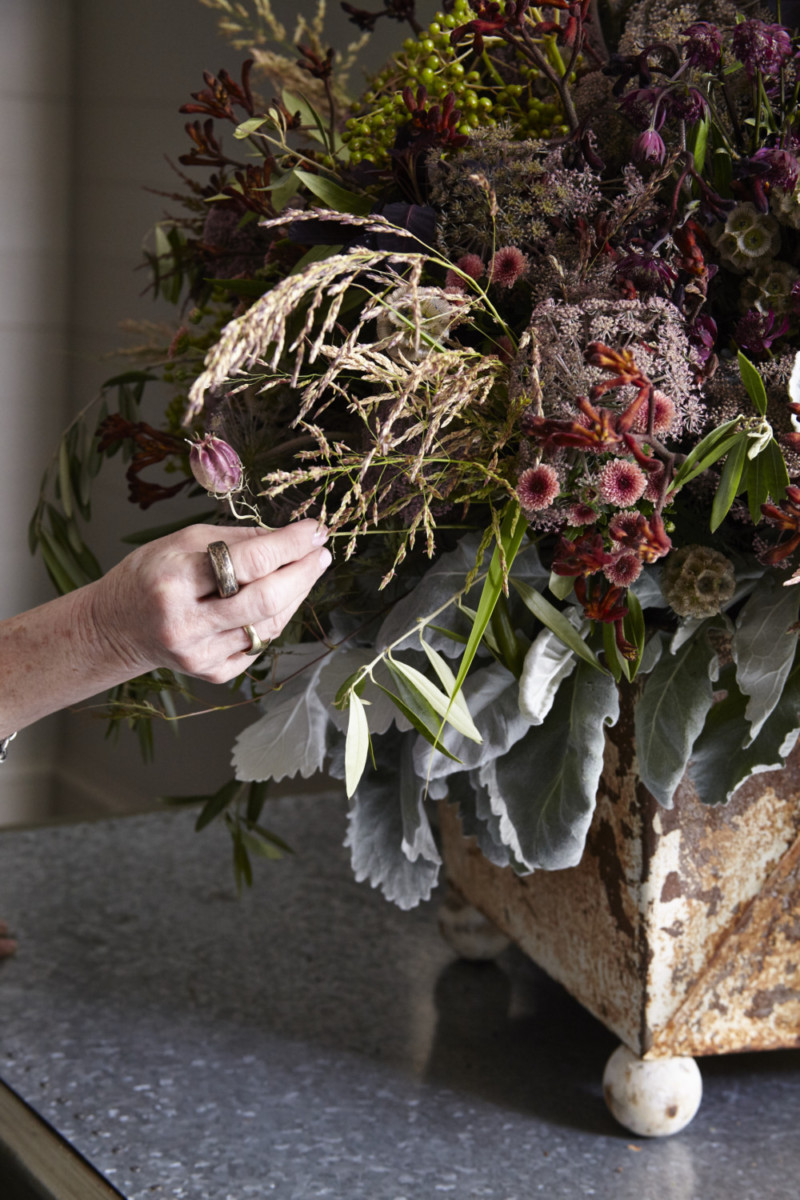
Step 6: Add the Johnson grass, which grows all along the roadside, and then unripened viburnum berries to give a hint of green. Now the cloud is really full; when you get to the point where you can’t push anything else in, you know you’re almost finished. All that’s left now are the dried nigella pods. Don’t bunch them together like the others—each should stand out individually—and drop them in wherever you think they look best.
"This layered, boho arrangement is elevated with its sophisticated autumn color palette of burgundys, browns, tans, and pinks." –SYBIL SYLVESTER
Container Prep
I’m using an antique metal jardinière, but anything can become a container with proper materials that will allow it to hold water. Line the vessel with a garbage bag, pull it out over the edge, and trim the excess. Then tape it to the inside of the vessel to ensure it will be water-secure. Place the Styrofoam inside, and follow with the liner. Cut some chicken wire to make a loop that’s approximately the height of the container. When you fold it over to make the loop, be sure the wire lines up so that the stems can fit through the holes. Then bend the ends of the cut edges to secure the loop, and tape to the inside of the container. Fill the liner with water, and now you’re ready to start arranging.igart-Stayner

