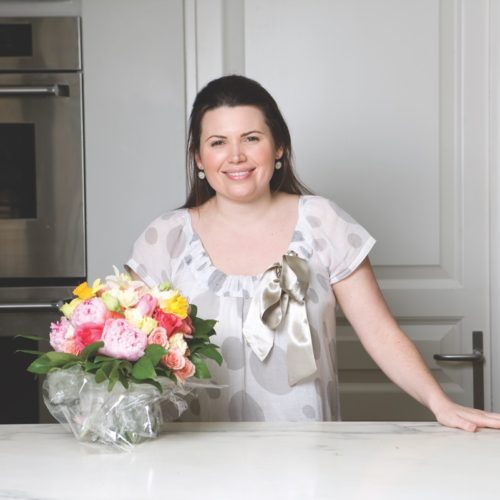
One of my favorite pastimes is to stand (mill about, rather) in a European flower shop and watch as the staff cranks out these bouquets, quickly and effortlessly. I’ve learned many ways to teach this technique and have found this method to be the easiest.
Right off the bat, let me say this: Do not be intimidated. It looks complicated, but it’s not. Anyone can master it. I used to agonize when we would receive an order for delivery in the flower shop where I worked, knowing it would take me at least 45 minutes to even produce a small hand-tied bouquet. Now I can do them blindfolded in less than five minutes.
 Materials
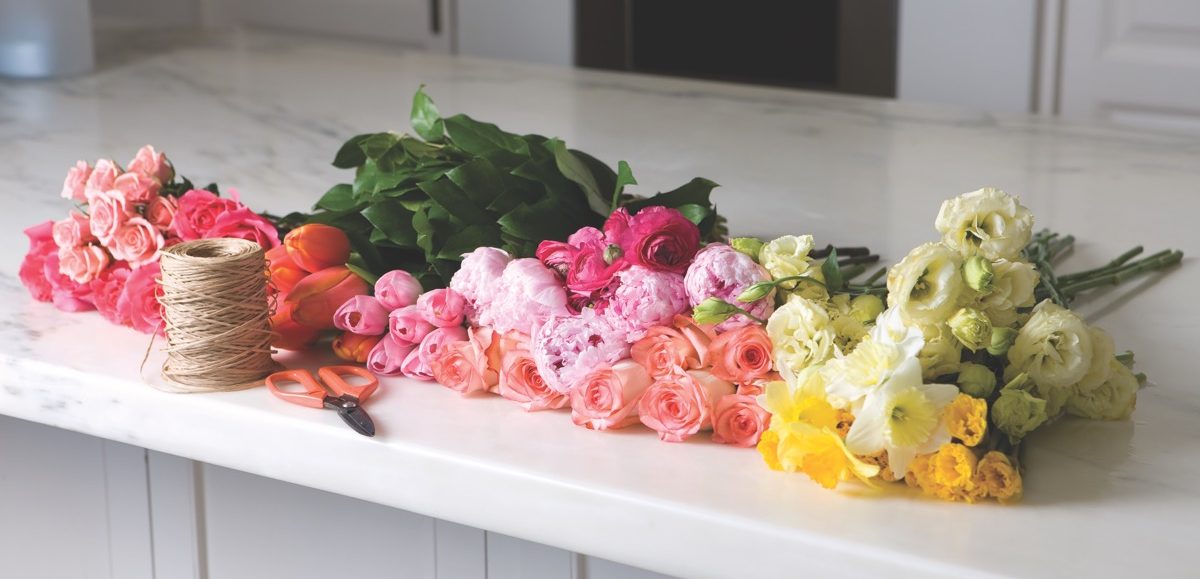
- ‘Blush’ roses
- Cream lisianthus
- Pink and orange tulips
- ‘Isle’ spray roses
- ‘Shocking Versillia’ rose (hot pink)
- Daffodils
- Salal (lemon leaf)
- ‘Sarah Bernhardt’ peonies
- Ranunculus
Tools & Supplies
- snips
- binding wire or raffia
- cellophane wrap
Step-by-Step
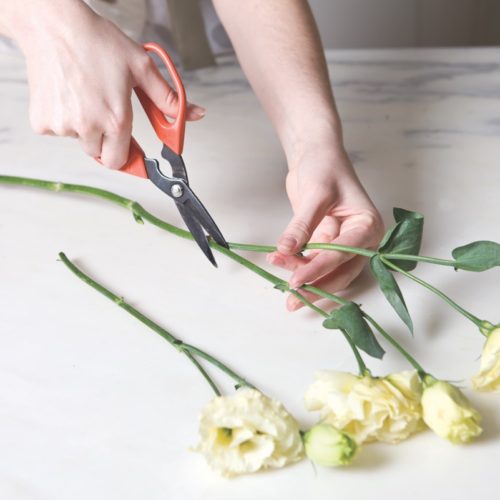 1 | Your first step is to clean all the stems of excess greenery, shoots, or thorns. It will make or break your success. Break down the spray roses, lisianthus and ranunculus, removing shoots of new growth or even single blooms if necessary.
 2 | Peel the leaves off the tulips carefully as their stems are more delicate, and remember to remove grower (outermost) petals from the roses.
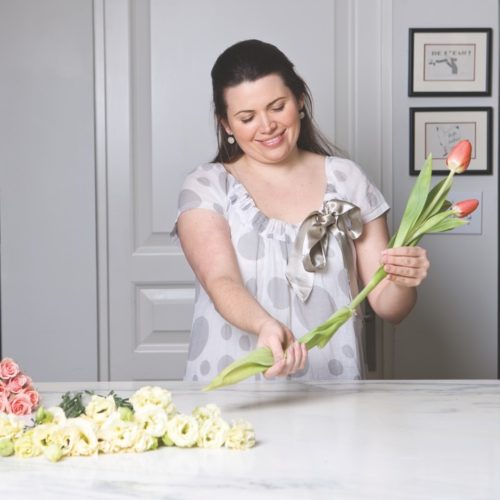
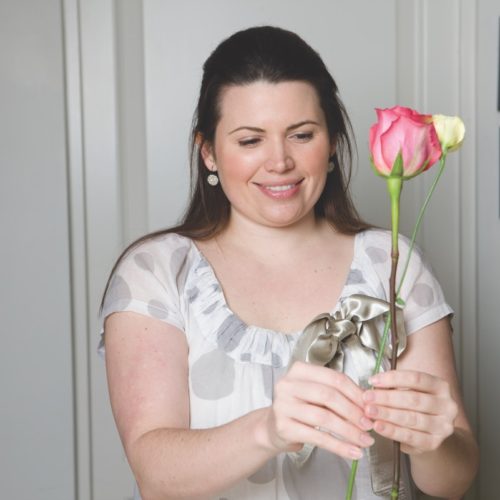 3 | Begin by holding a single flower. I usually choose a rose with a good, solid, straight stem to start. Hold it in front of you and add another flower to the left of the rose, crossing the stems as you do. My second flower was a small, cream lisianthus. Turn your bundle slightly to add another flower to the left of the lisianthus. Don’t panic if the panic if the flowers shift as you turn, and do not hold the the flowers too tightly or you’ll pinch the heads off or dent the stems.
 4 | I added a tulip next, to the left of the lisianthus, remembering to cross my stems. Keep repeating this process until you reach the size you desire. (Do not get hung up on color and texture and distributing everything evenly at this point. Master the basic technique and then graduate to positioning flowers by color and kind.)
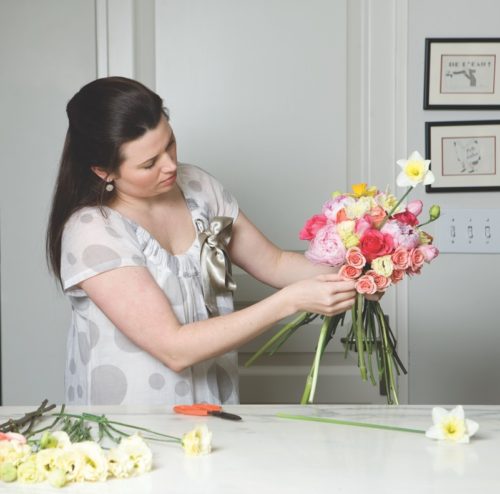 5 | Thread the daffodils in by poking their stems into a small hole in the top of the bouquet and wiggle them gently down (using a corkscrew motion) so the daffodil head fits in with the rest of the bouquet or rests on top of other flowers. I find with delicate flowers, such as daffodils, hyacinths, ranunculus, etc., it can be easier to thread them into the bouquet—once you have a nice shape going—instead of adding them by crossing the stems.
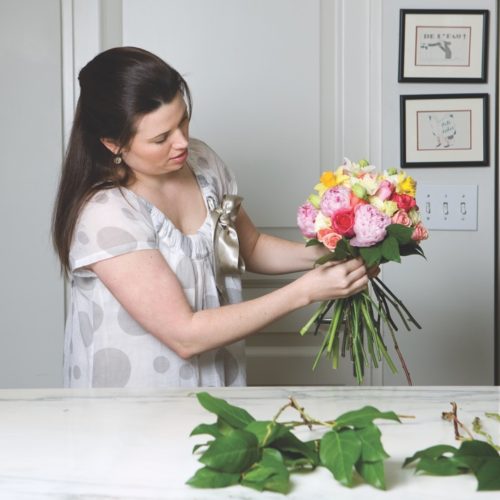
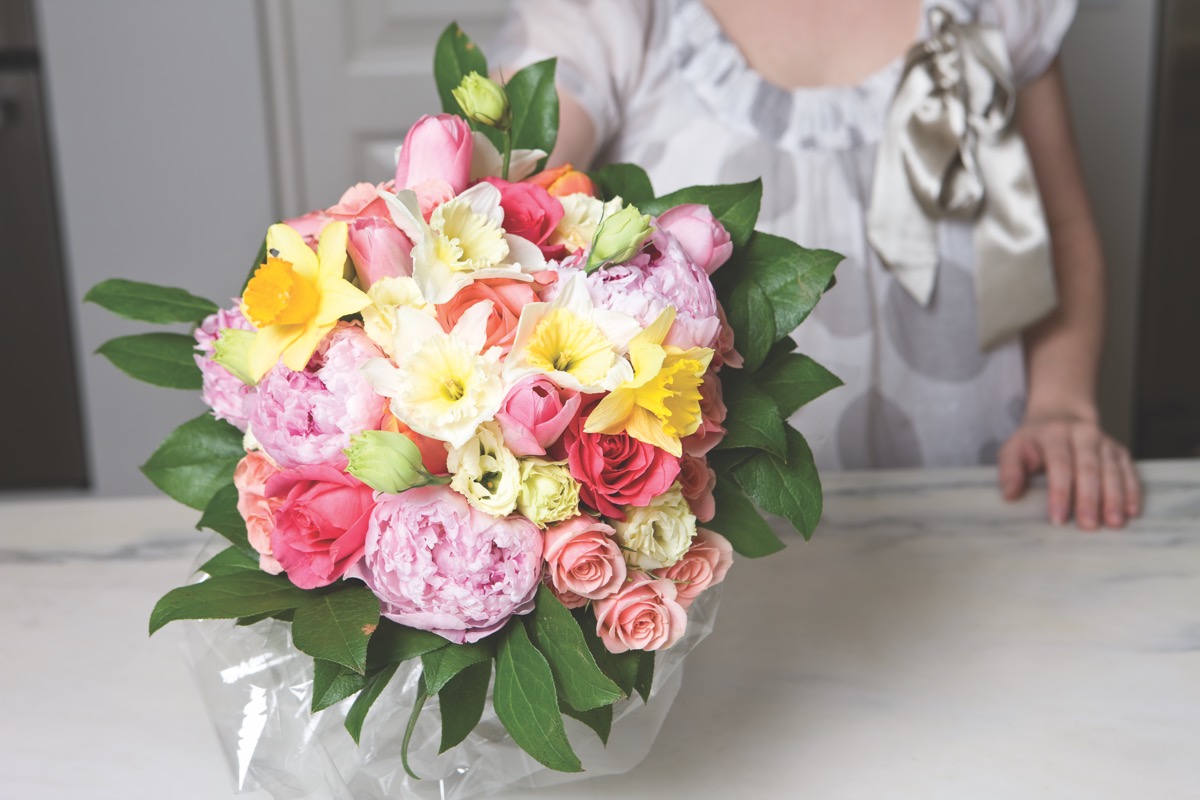
 6 | When the bouquet has almost reached the size I am shooting for, I tie it off and then add a collar of salal. Galax, hosta, and also aspidistra folded back would make a nice collar, if you don’t have salal.
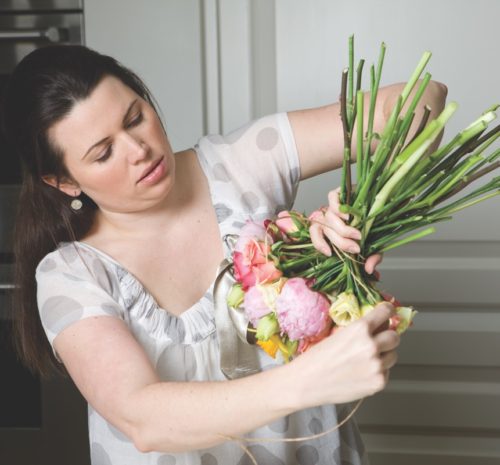
 7 | Tie the bouquet off again to secure the collar. Be sure to pull tight enough; you want everything to stay in place. That being said, you don’t want to sever the stems by pulling too hard. I find that wrapping and wrapping the stems with either binding wire or raffia protects them better. Go around and around multiple times with your raffia or wire and then fasten a knot.
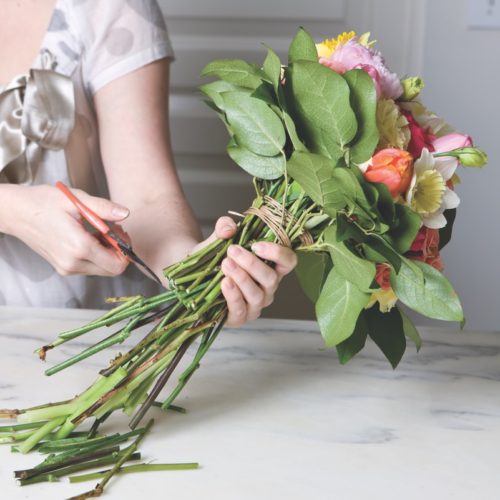 8 | Trim the stems to your desired length. I usually hold the bouquet in my left hand and trim the stems just below my hand. Now, for the test: see if it stands on its own. This is the proof of a true hand tied! Don’t worry if it doesn’t, just hold the bouquet upside down, and trim the inner stems a little more, leaving the outer ones to support it.
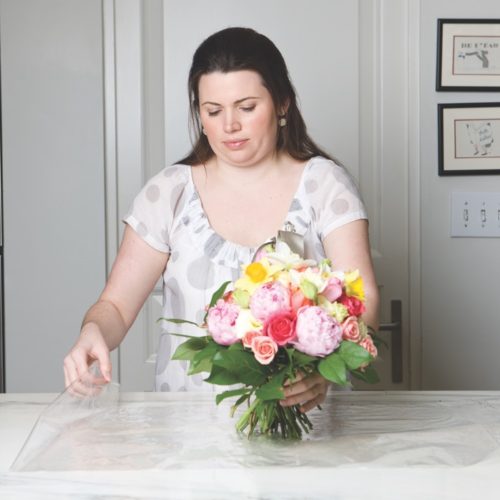 9 | If you want to transport your flowers in the European fashion, cut a piece of cellophane and double it up. Center the bouquet and gather the cellophane completely around underneath the collar so no water will leak.
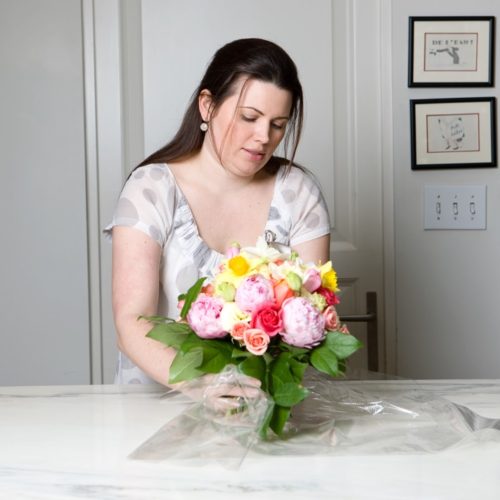 10 | Tie wire or raffia around the cellophane to secure, and then hold the bouquet under a faucet, letting water trickle down into the cellophane bag. Your flowers will stay fresh until your recipient can cut them lose and put the bouquet in her own container. Finally, add a pretty piece of ribbon or a gift tag to make it really special.
 If the bouquet is a present to yourself, skip the cellophane and place it in a julep cup if your bouquet is smaller, or a glass cube lined with a leaf to hide the stems—any container will do. Just trim the stems so that the bouquet rests gently on the lip of the container.
And, ta-da! The European hand-tied bouquet is yours!
By Mimi Brown | Photography by Jason Wallis
More Hand-Tied Bouquets and Wedding-Worthy Flowers
- Bridal Party Bouquets with Matthew Robbins
- Making a Flower Crown with Janie Medley
- The Romantic Bridal Arrangement
- Make Cut Roses Last
- More Wedding Flower Arrangements