Every year I wait eagerly for fall to arrive; its color and temperature please me more than any other season and it’s easy to get inspired! This fall, the inspiration comes from a marché in Provence. One early September morning, I filled my basket full of fresh produce with dirt still on the roots and flowers gathered from a nearby field. It occurred to me that my purchases looked like an arrangement themselves.
Back at home, I recreated that experience with local produce, flowers, and plants from Oak Street, a local market, and I’m taken back to that September morning in France. There is no arranging to it—this is fall at its best!
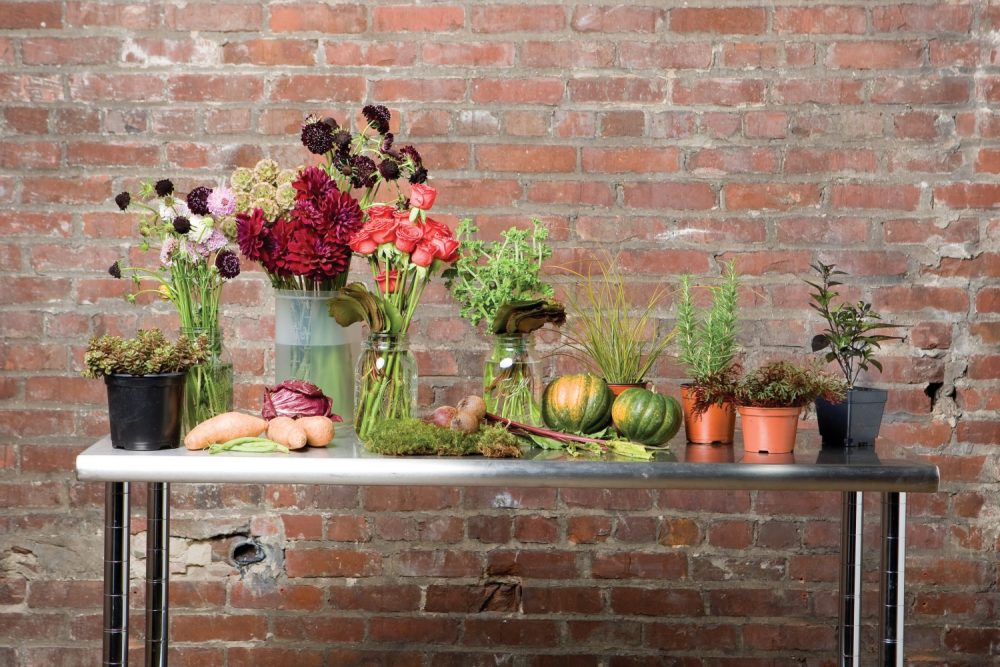
STEP 1: Selecting Materials/Containers
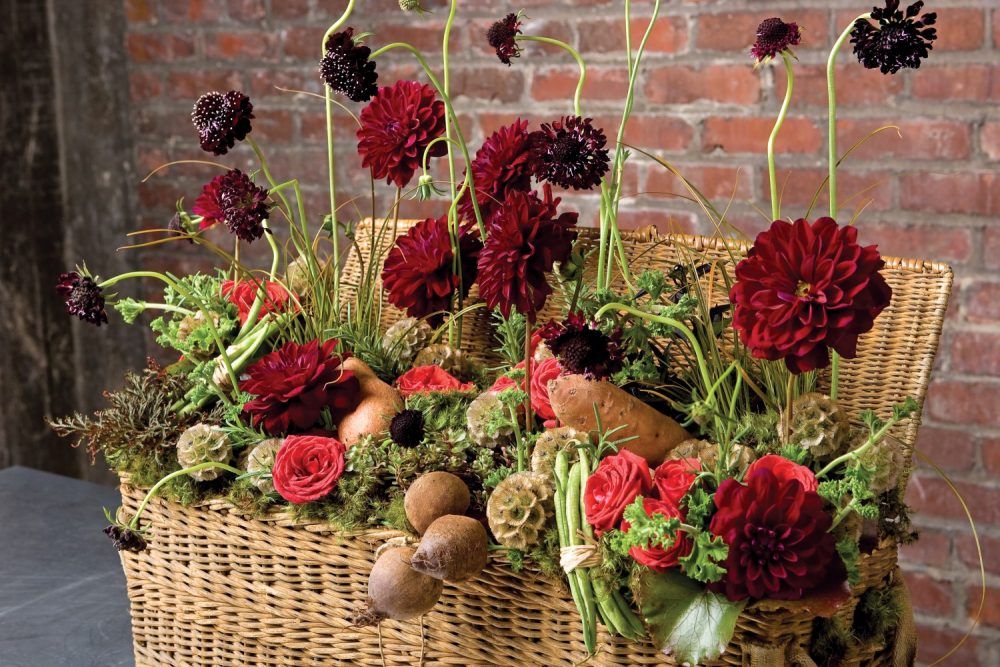
I chose a palette of black, brown, terra-cotta, green, eggplant—earth tones you would see while driving in the fall. The plants dictated the color because I chose them first. I tried to get some grasses and herbs and different textures in there. My flowers introduce only one new color: the bright terra-cotta in the ‘Moreno’ roses. The lighter green in the rosemary and scented geranium bring out the softer shades of the green in the plants and keep the arrangement from becoming too dark.
This antique basket I chose was purchased on one of my buying trips to France and used to be for carrying live birds to the marches. There are holes in the sides where their beaks could stick out on the way to the market. Tin pinch pots work nicely with the rustic feel and provide a watertight vessel to hold spots of flowers.
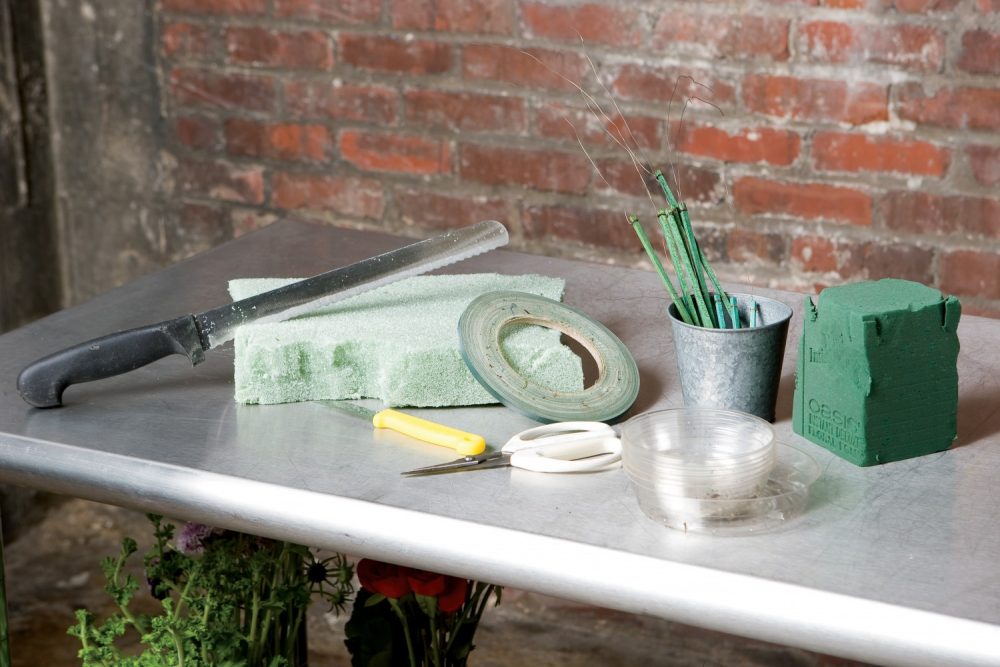
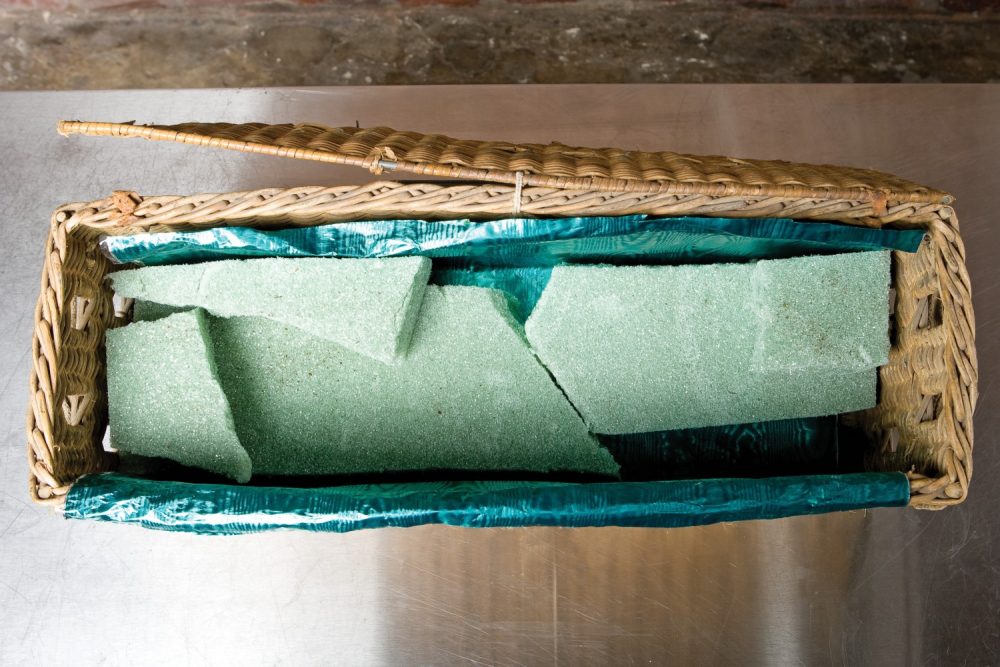
STEP 2: Prep the Container
First, I lined the basket with floral foil and cut pieces of Styrofoam with a serrated knife to fit down inside the basket and serve to elevate the plants.
STEP 3: Put the Plant Puzzle Together
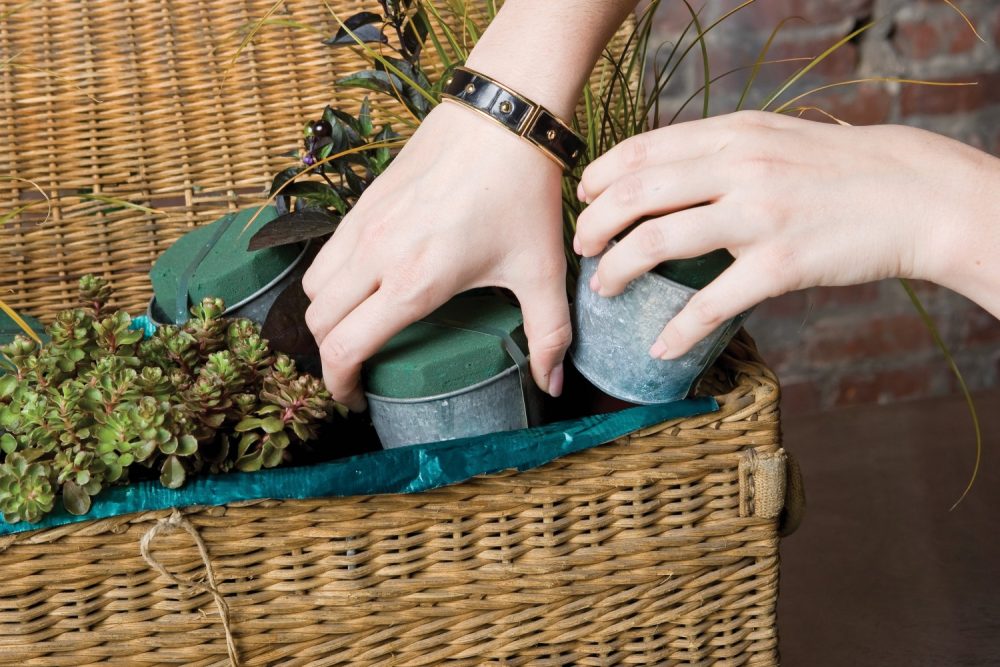
- Fit each plant to a liner and place in the basket on top of the Styrofoam. I constructed two different levels of Styrofoam pieces to vary the height of the plants.
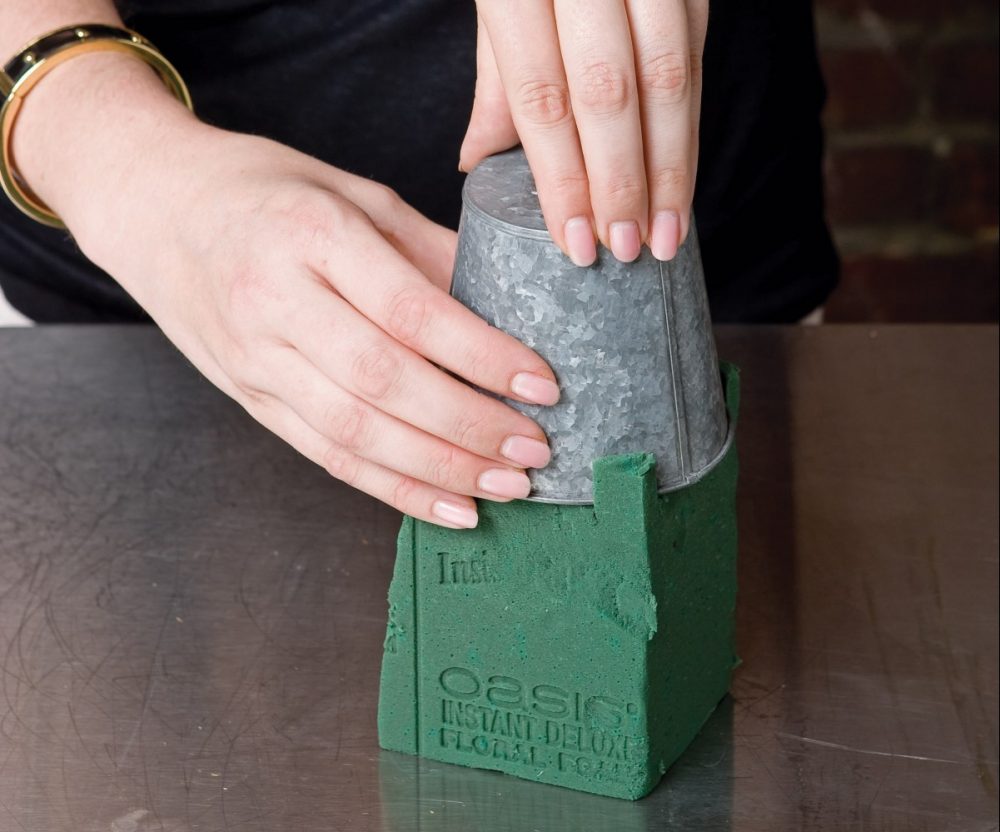
- Prep the tin pinch pots by inverting one pot onto a third of a block of floral foam. Shave off the excess and secure with floral tape.
- Arrange the plants and pots so that all fit securely down in the basket. Pay attention to your placement. I love having the ‘Ruby Red’ selaginella spill out on one side and the sedum nestled down in the middle. Try to stay away from symmetrical arrangement when you are placing your plants to make it more interesting.

STEP 4: Add Flowers
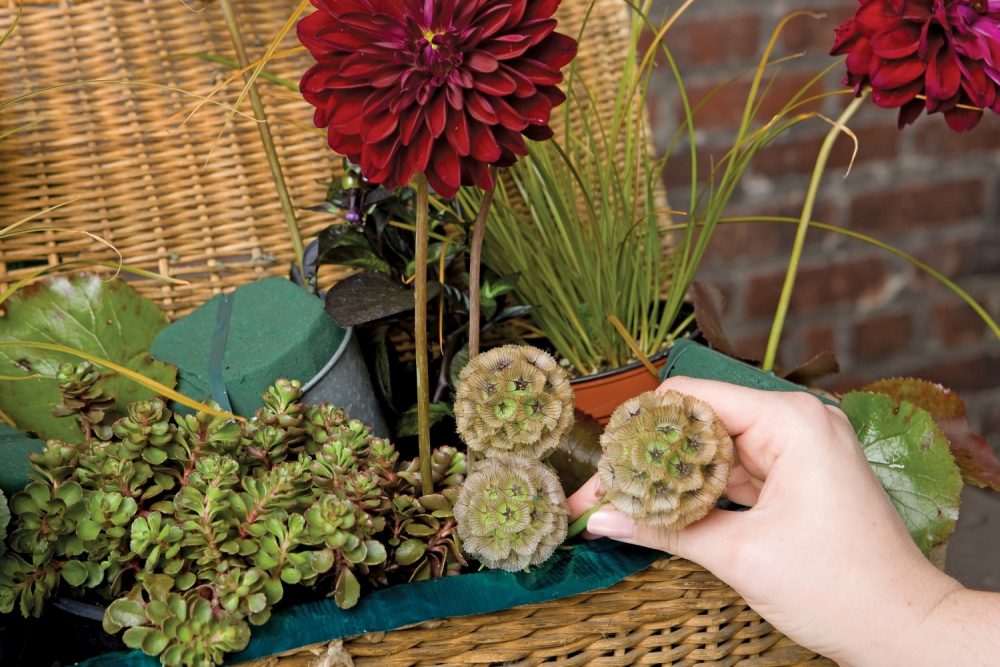
- Stick a few galax leaves in each pinch pot to help conceal the mechanics (tape/Styrofoam/plastic liners, etc.). Start with the dahlias first. Let them be the star by dancing tall above the rest.
- Cut the scabiosa pods down low and cluster them together.
- Roses are cut short and clustered next to the pods. I pulled more petals off than normal because I wanted them to be closer in size to the scabiosa pods.
- Black scabiosa stems grow up and out, holding court with the dahlias. Small tufts of scented geranium and rosemary sprigs (cut from the plant) fill in the remaining holes.
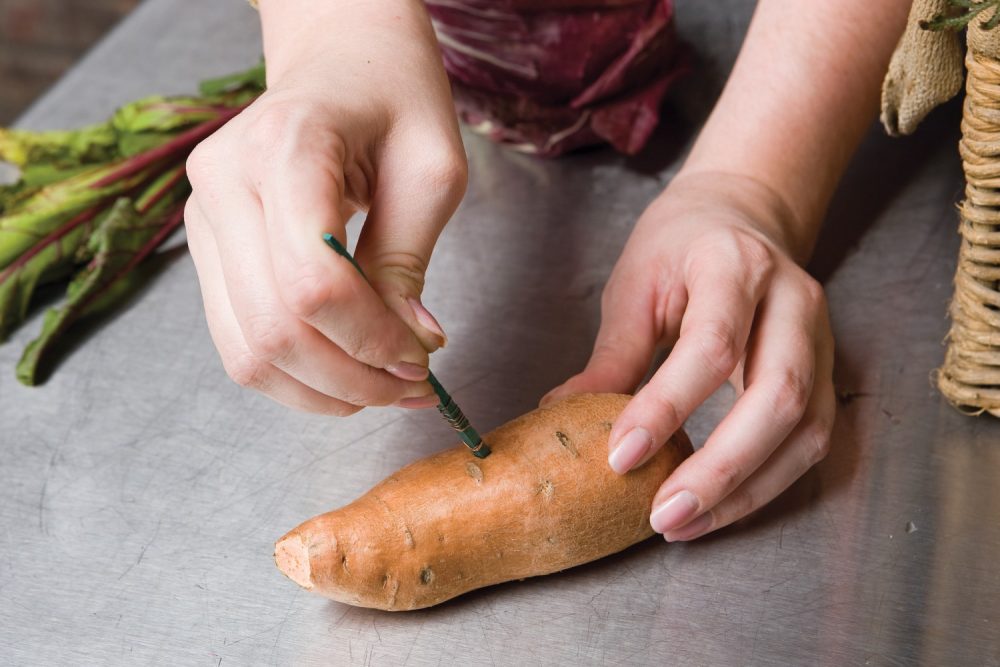
STEP 5: Add Produce and Filler
- I bundled five or six green beans together with raffia and used a wire pick to attach them to the arrangement. The pick will go into the Styrofoam or Oasis and stay in place.
- For the sweet potatoes, I wrapped the loose wire around a larger pick and stuck the end with the wire into the potato. You’ll pick the potato directly into the Styrofoam here because Styrofoam can better handle the heavier weight of the potatoes.
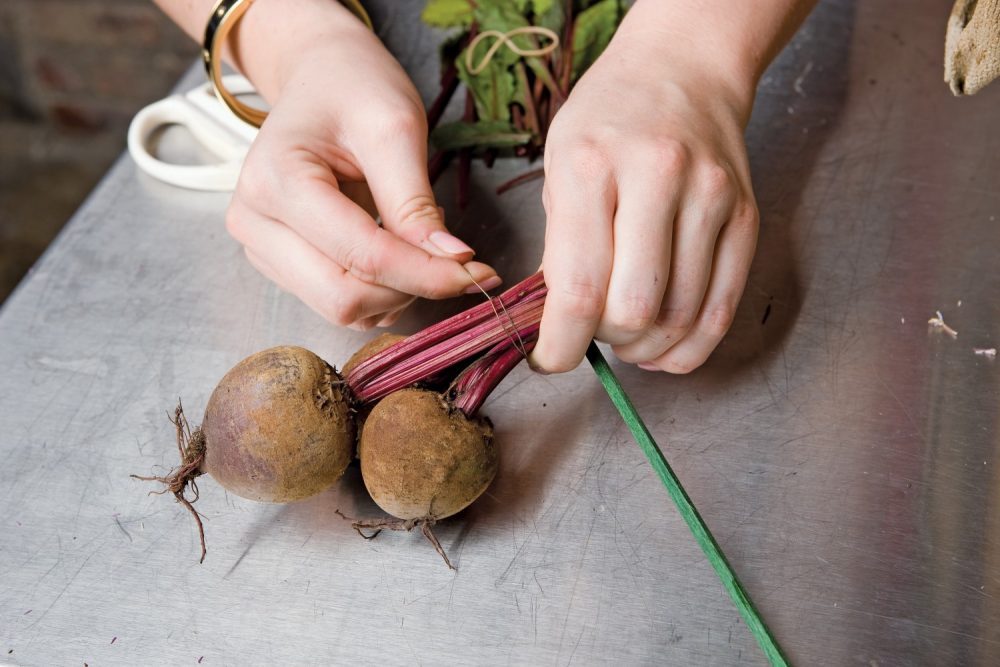
- I cut the foliage off the beets because it was wilting (had it been pretty I would have used it) and wrapped the wire around the stems before fastening to the pick. Again, insert the pick into the Styrofoam for the same reason as the potatoes.
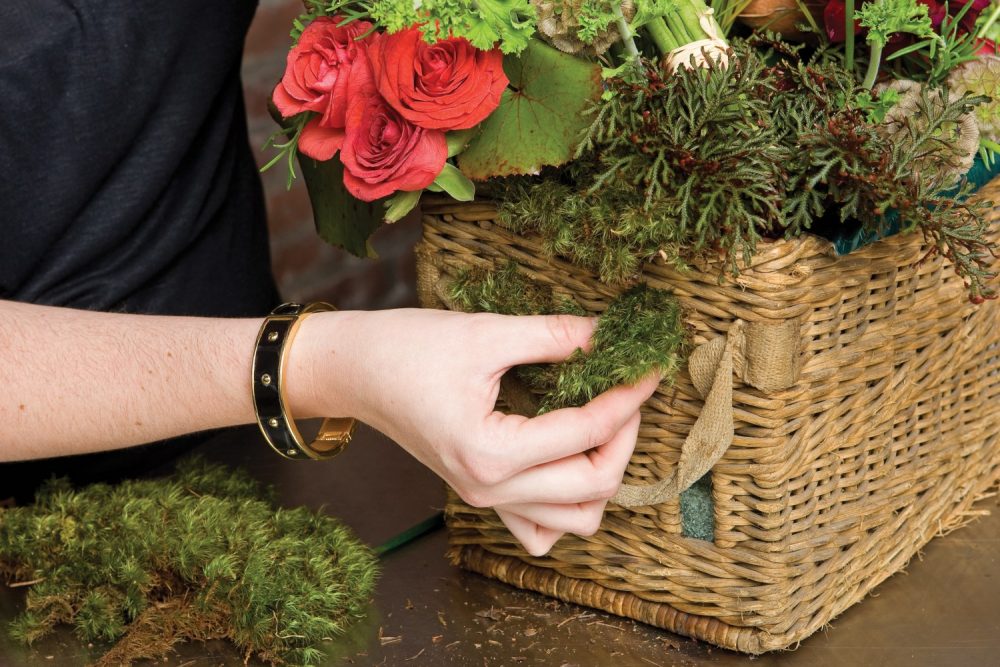
- Bun moss fills the four holes on each side of the basket and covers the foil around the perimeter of the arrangement. I also “mossed” around the plants and filled in so that if you look down on the arrangement you don’t see any gaps—only plants, produce, and flowers.

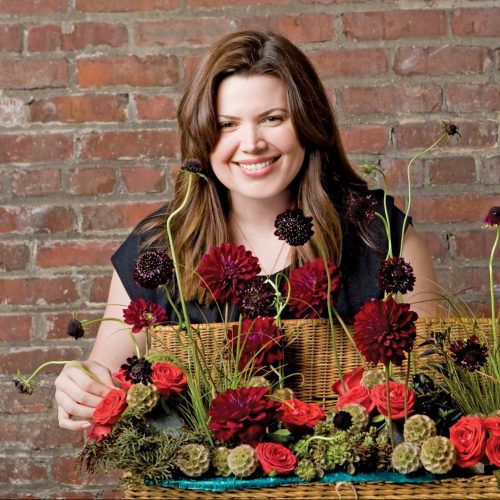
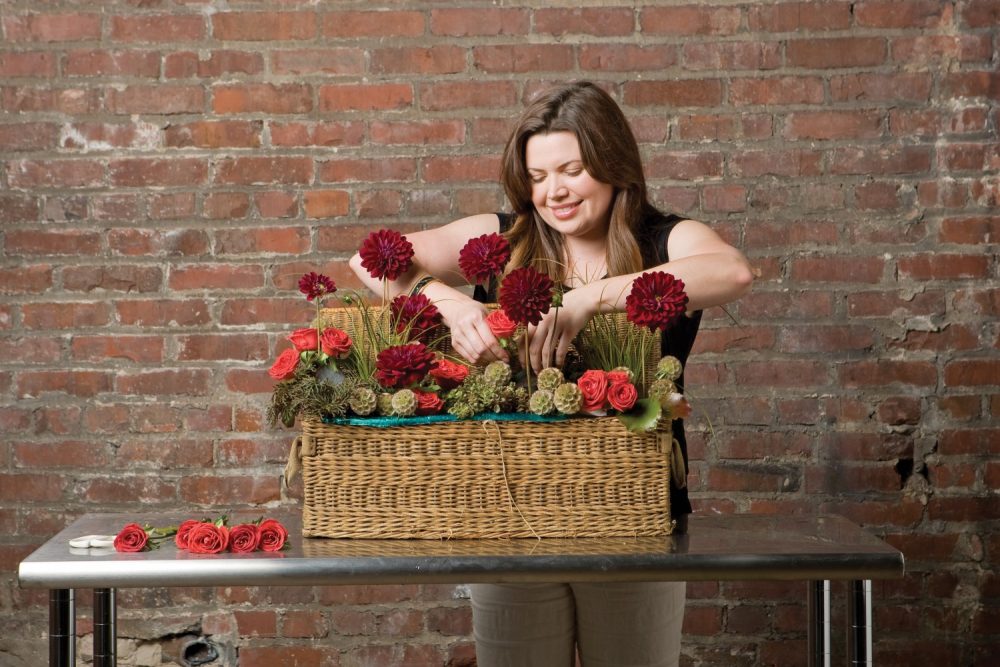
FINAL ARRANGEMENT
By Mimi Brown | Photography by Jason Wallis
More Flower and Vegetable Arrangements
- Jonathan Andrew Sage’s Marvelous Mantel Arrangement includes grapes, pears, artichokes, and mushrooms
- Maria Maxit’s Recipe in Bloom incorporates artichokes, eggplants, and winter greens
- Emily Kennedy’s Fruitful Holiday Arrangement used figs, pomegranates, and persimmons
- Buffy Hargett Miller’s Summer Harvest Arrangements look inspired by trip to the farmers market